Mission 007: It’s Raining Piotr!
Hello again.
This time I am coming back with 2 more complete battle reports. Generally I am only now coming to terms with AD troops. That as a Nomad player for me is caused by months played with Bakunin that has only 1 AD REM and it’s mediocore for it’s price.
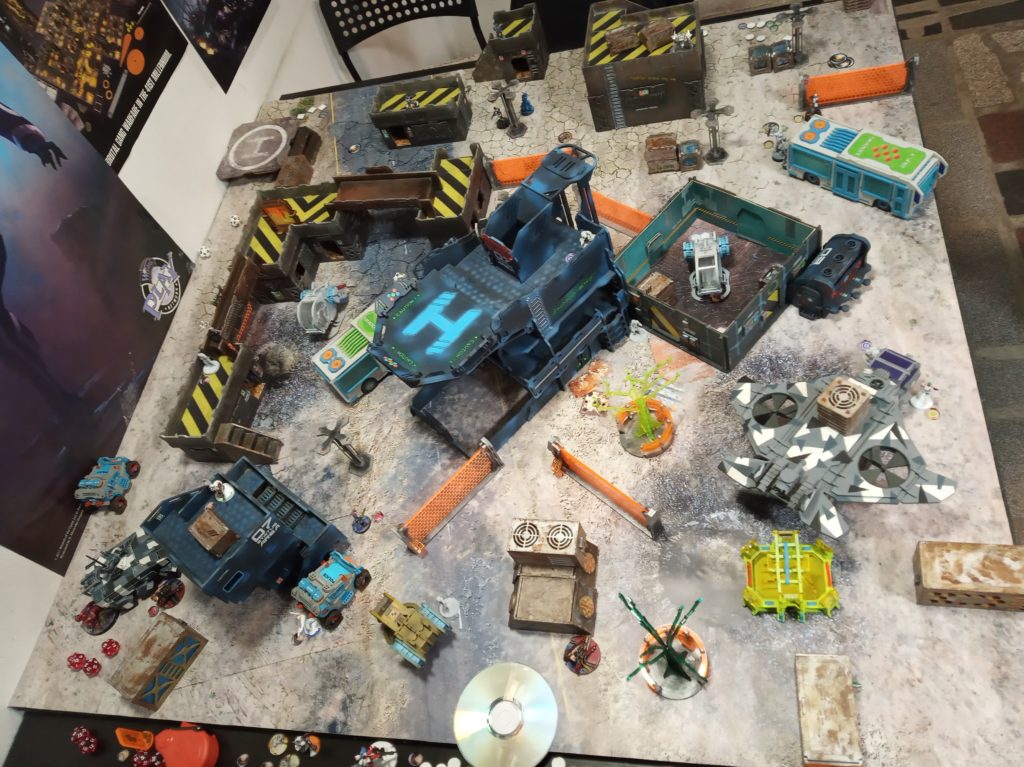
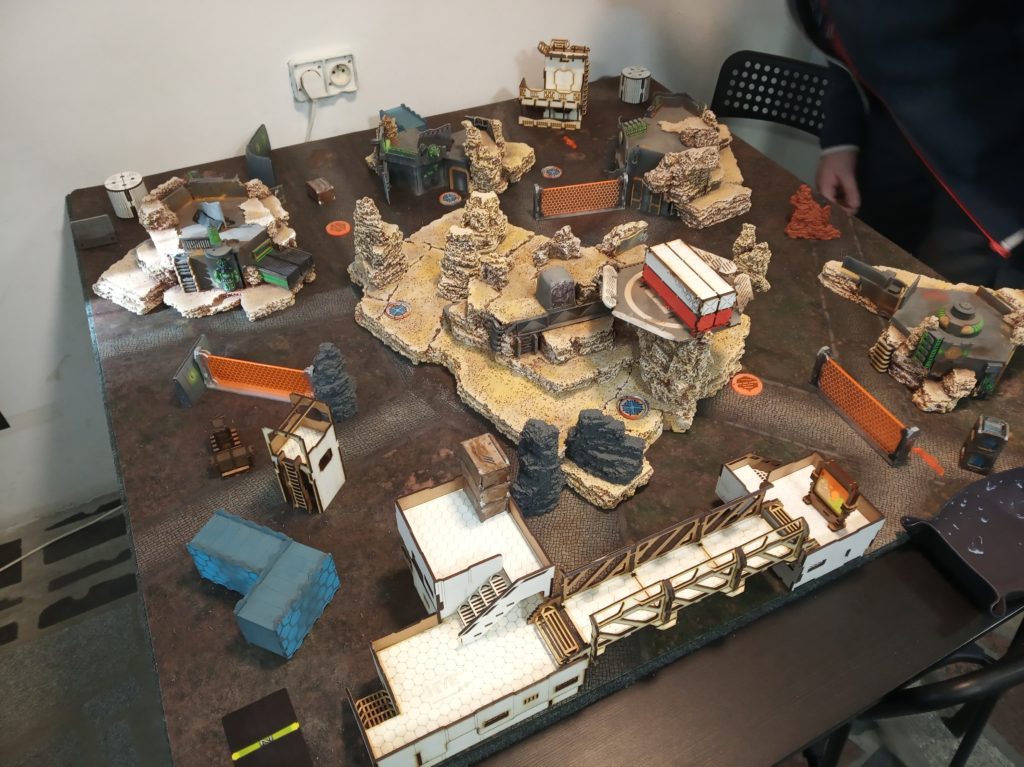
Game 1 – 20×20
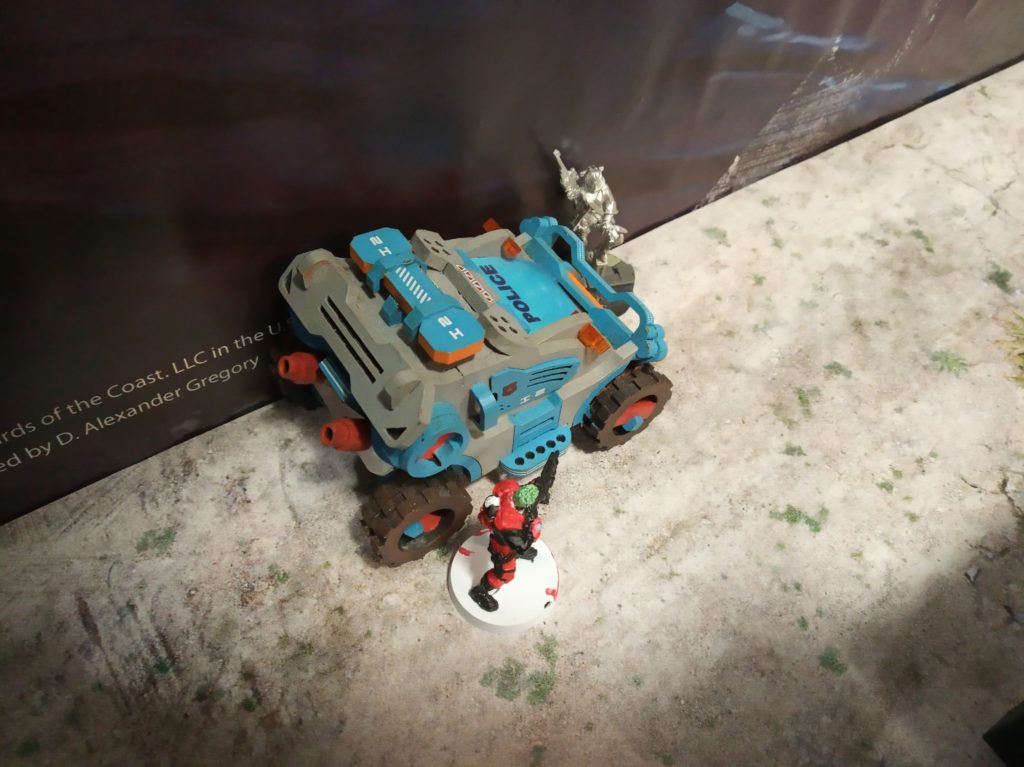
So the first game took place in a 20×20 mission vs Aleph. It was Emergency Evacuation Primary Mission with Eliminate Enemy Command Structure as Secondary.
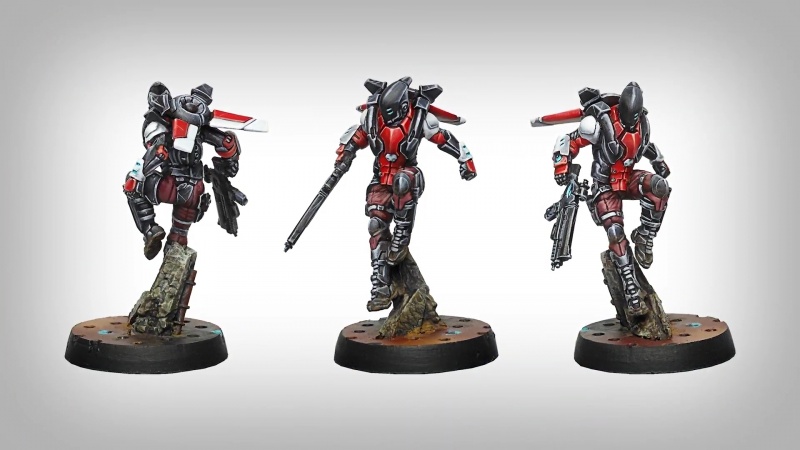
I had 2 AD troopers and some HD support to help one of them land. Jaeger as I was expecting him to take Achilles with him to the game. The other one was some Spec-Ops gimmick with AD3.
I started first seeing that my opponent only has 1 combat group with a few Myrmidons in forward positions guarding as much ground as possible with Chain Rifles and having one TR drone for ARO purposes. On his left flank was his Spec Ops with CoC (but I counted his other stuff wrong, so I thought he has only 6 points in Private Information.
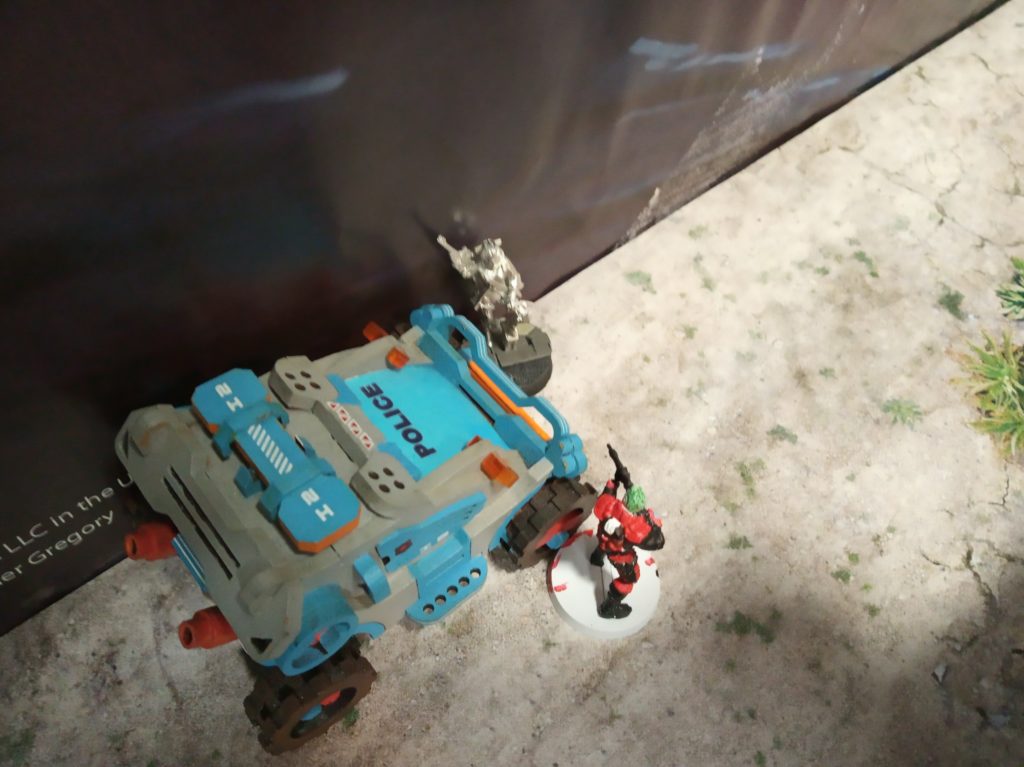
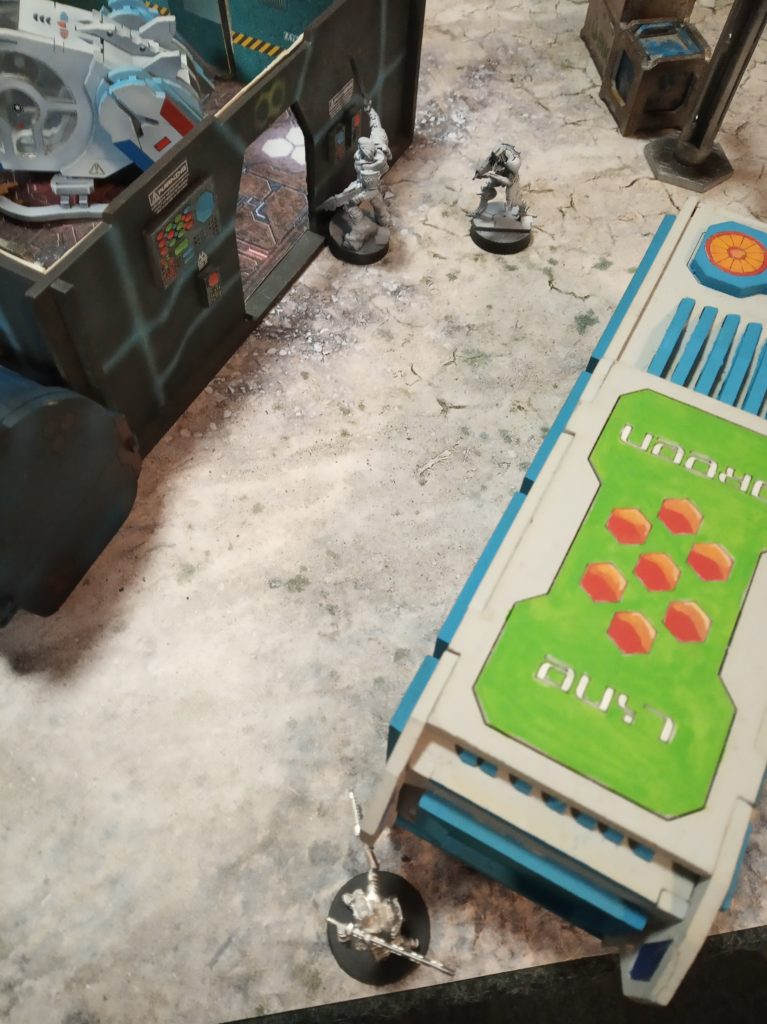
First turn I have opened with Intruder killing Aleph TR drone from smoke laid down by my Assault Pistol Morlock in his Impetous. Then the same Morlock run on my left flank behind cover to threaten one of the Myrmidons and FO Proxy. Whole exchange ending up with Proxy going into NWI and my Morlock having to Regenerate himself (random MetaChemistry rolls sometimes are even useful). It’s basically where the first turn ended.
The opponent on his turn moved up Achillles to his left flank, but left him near his DZ. His main focus was on my Intruder in Suppresive Fire state. First FO Proxy already in NWI moved up towards Moran dodgin both Koalas. He deployed his Diomedes near my Intruder (I left him facing a bit too far right) and shot him in the back. Then Dart moved up in her Camo to threaten the midfield. All the action was happening on my left flank until my 2nd turn.
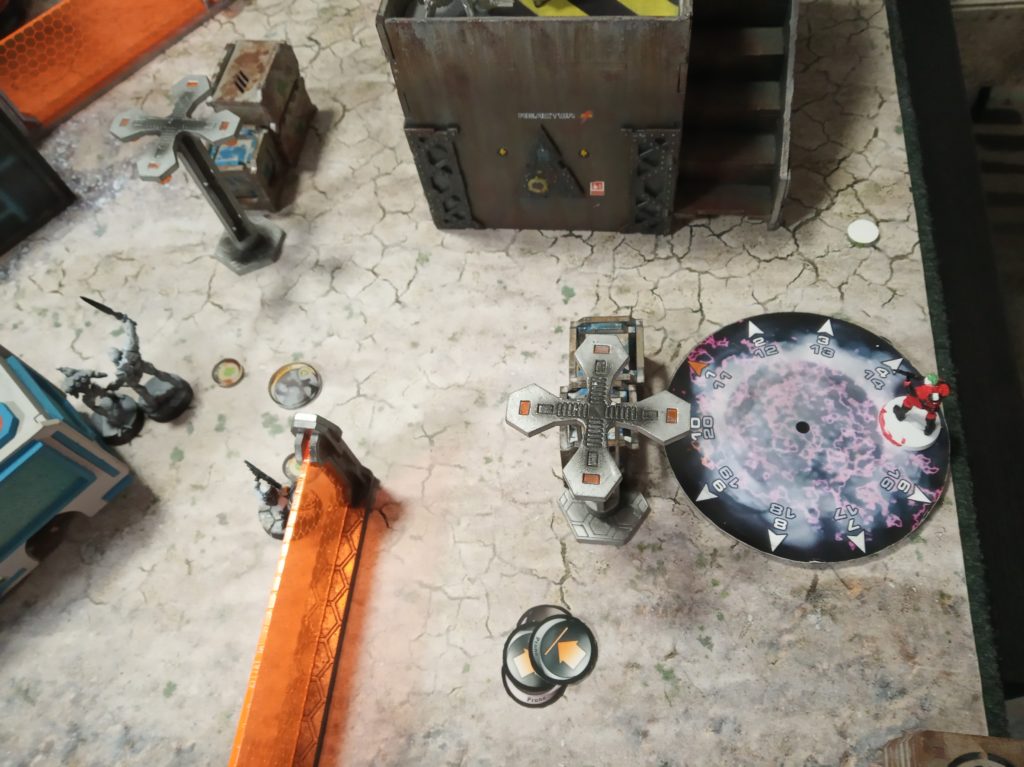
I tried to reposition Kriza in the middle of my DZ to threaten the FO Proxy and Dart. As a result Kriza ate a shot from enemy TO Proxy with MSR from the back of opponent’s DZ. It was too risky for me to move him again.
My next idea included my Spec Ops. I decided to turn on Controlled Jump, and put him behind enemy Achilles, Myrmidon and Spec Ops near the far edge of the table. But my Aircraft Transport gets hacked by 2 Aleph troopers and Dispersion takes him out of the table. Soooo I deploy on the edge of my DZ, right next to Diomedes. 2 more orders and he is dead. My friend didn’t have enough orders to put him into SF mode.
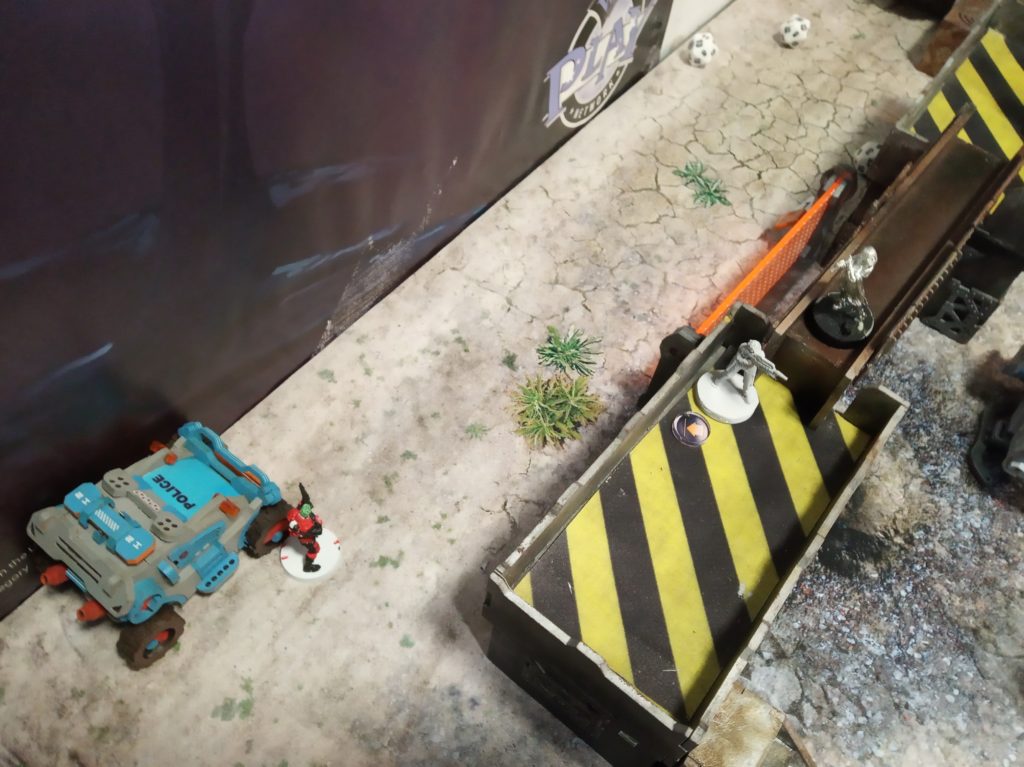
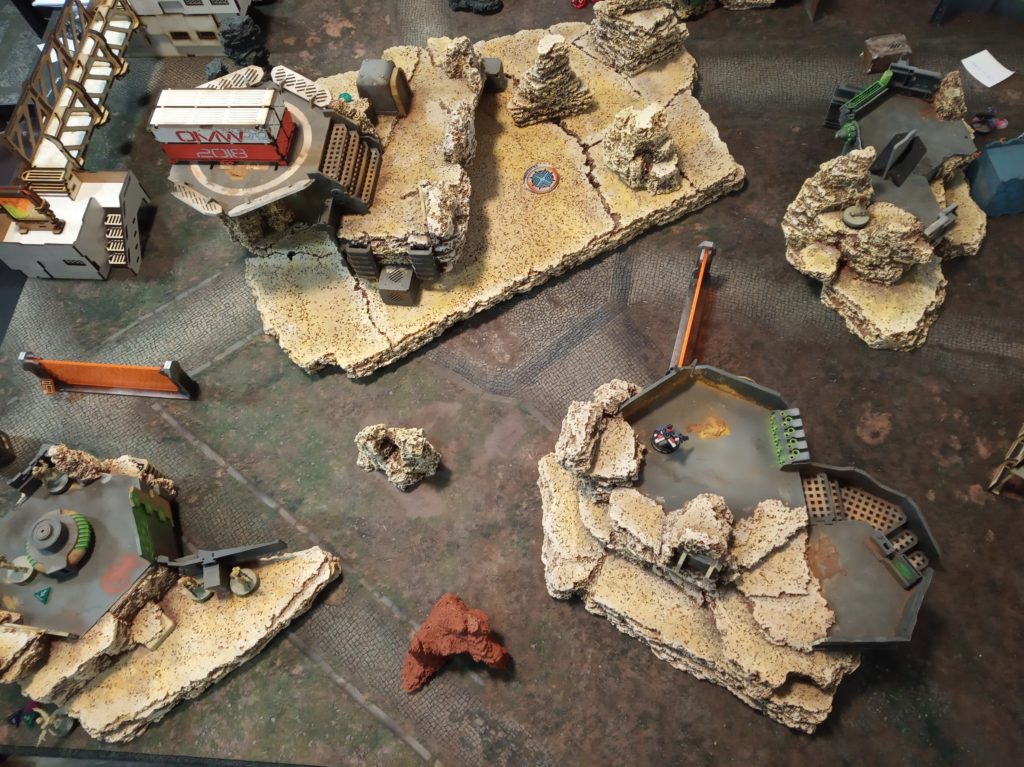
On Aleph’s second turn Dart takes out my Moran near FO Proxy, Achilles moves up towards Objecvite Room with one of the Elevators (we used compact helicopters to mark them) and opens the door so I can’t move into too freely. Achilles gets backed up by a Myrmidon with his Chain Rifle.
Next turn I try to move towards the Elevators with my units hoping to get them through the enemy firelanes, but most of them fail to do so and I end up evacuating only KHD Zero. But before that my Jaeger goes out from the edge on the back of Achilles. Achilles fails to Change his facing. Jaeger pops out from cover (having no chance to reach Achilles in single short skill – I wanted to hope for luck on my CC roll) and shoots his SMG into Achilles’ back eating Myrmidons Chain.
Aleph on their turn Evacuate Achilles FO Proxy and I can’t recall what else and basically own the game.
Game 2 – Firefight
So the other game happened today during our small 4 player Escalation friendly games. We played 150-200-300 with 3 ITS Scenarios Tic-Tac-Toe, Firefight and Biotechvore respectively. Browsing through the scenarios I realised that Firefight is just perfect for AD troops. Not only we get +3 to our PH roll for landing anywhere on the table but also can enter the playing are INSIDE ENEMY DZ.
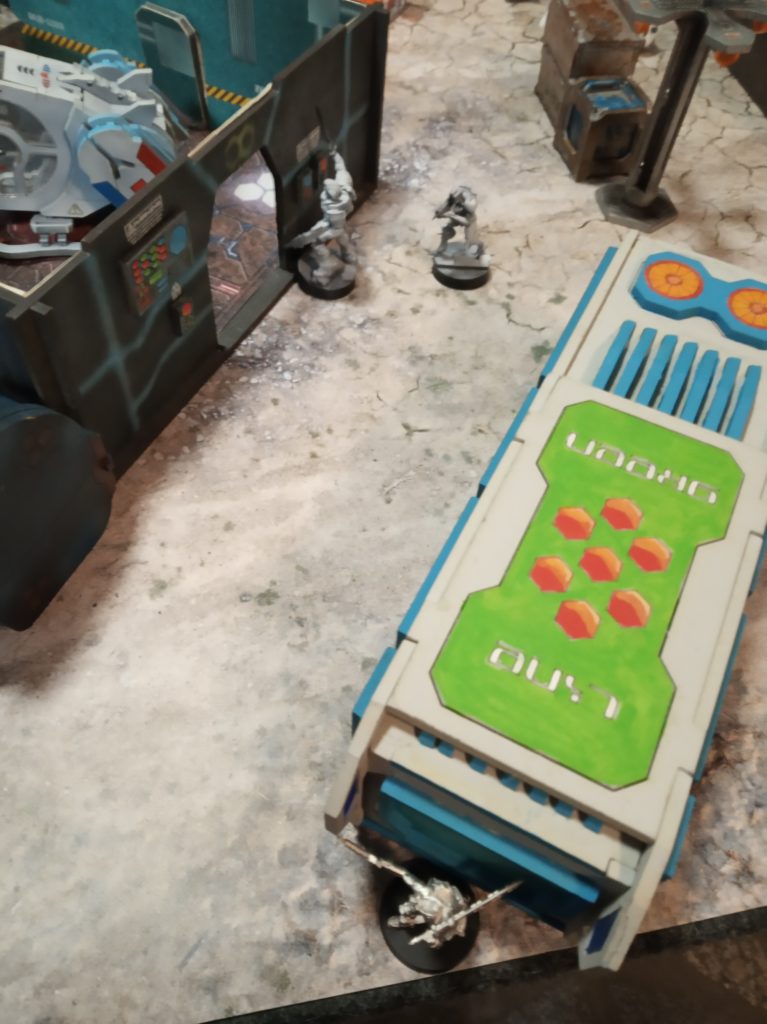
So not wandering for too long i took Spitfire Hellcat for that mission and faced Hassassin Bahram that was ready to play vs Nomads. He had his Fiday prepared, he knew what Lt options Nomads have and how conveniently I had put my Combi HD+ Interventor (Lt obviously) on top of some lonely tower in my DZ. What was even worse I could have put her in the middle of that tower aaaand I didn’t. I put her just as always in the corner so Fiday could fit near me on top of that tower.
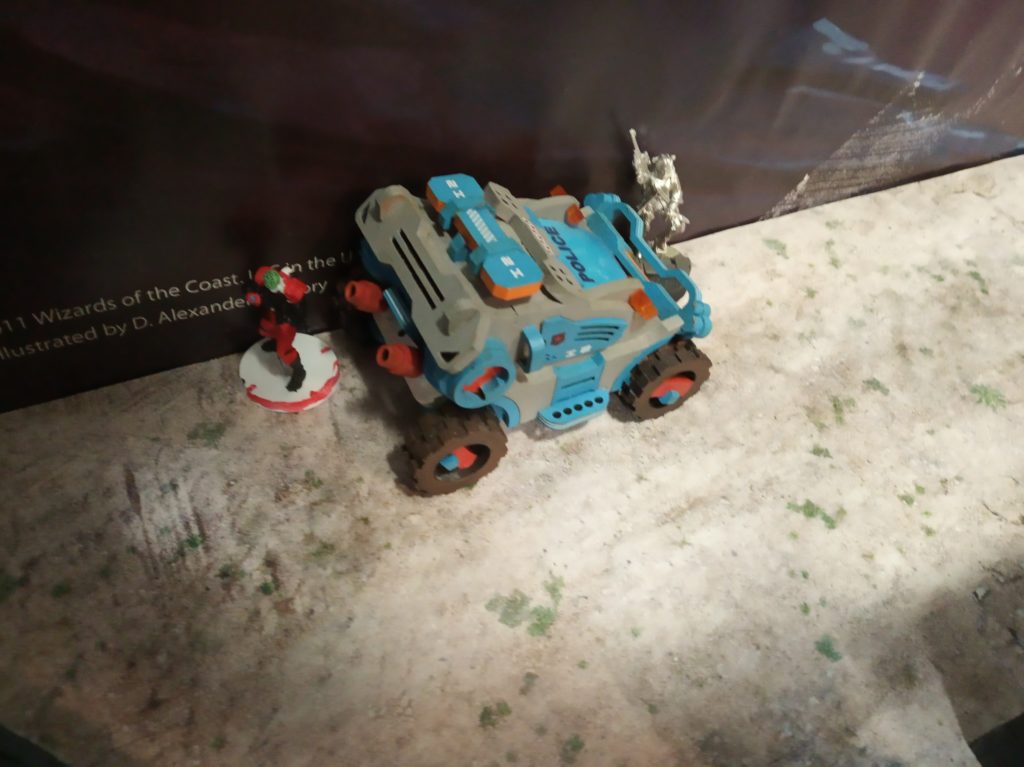
So, Hassassin Bahram has Initiative. First turn starts. First regular order of Fiday, my Lt is dead – gonna have to wait for opening a little longer that usually. Before that some Mutts move up my right flank throwing some smokes on the way. Fiday then climbes down the tower and goes towards my lonely HMG Moira. And the best thing today happens. He wastes 6 orders failing to kill the Moira. She is MVP by surviving all those ARM rolls from Fiday.
On my second turn I dont have much to do. I’m in LoL, all my orders are Irregular. In Impetous and his Irr Morlock engages Fiday and battles at 2 dice vs 1. And loses and falls unconscious. My Moira is still in big trouble. So next thing to do? I change Irregular Order into Regular and take my Baggage Drone to engage the Fiday. She somehow survives. Then I spend Moiras order to fight Fiday at 2 dice vs 1 and with that Order I kill him with her Shock CCW. A bit more relocations of my troopers on the battlefield preparing for 2nd round.
Again HB. Mutts move closer. One Isolates my Zero KHD and then move up to him. Zero successfully engages him and Mutt is in trouble. Then Farzan on my left flank moves around to take out another Morlock and seeing no way to finish him off moves back to his position.
Having few orders left I decide to drop down my Hellcat. Right In the middle near opponent’s DZ. He lands so that nobody can see him (whole enemy board edge of DZ was covered by Fireteam). In one order takes out Farzan in the back. In the next attacks 2 enemies from Fireteam. Kills BS Govad, HMG survives. Next Order Hellcat goes greedy and move out a bit more engaging both HMG and ML. Takes out HMG and dies to ML.
I relocate the Moira further from Mutts and my Baggage Drone (she was in sight of enemy ML).
Next Mutts try to fight Zero and Isolate Moira. Zero dies, Moira gets away without scratch. The rest of enemy DZ goes into Total Cover knowing they are too far for me to threaten them.
All I have to do was tie on Panoplies (one of the Mutts took ADHL) and try making one of the Classifieds. My Zero FO goes through whole table to reach enemy HVT, does one of the Classifieds and Secures HVT (my HVT was safe since the only threat was dead Farzan).
Overall I once again lose the game, but I had a swing when Hellcat dropped. He exploited enemy weaknesses, but I got too greedy. Had I been more patient and took both HMG and ML 1 on 1 with 4 dice vs 2 on better cover and range bands I would probably save myself 28 points more, kill that ML and maybe even threaten the Doctor on the same roof. But that is a case of splitting your weapons burst, not really using your AD troops. Or is it? I could have just overextended my Hellcat play once I smelled some blood with it. I think timing was perfect, position was perfect. The only thing I was lacking was HD+ support with it’s Controlled Jump, but at least dice were lucky enough.
As always
Best Regards from Poland,
Piotr