Mission 012 Update: Ain’t Nobody Got Points for That!
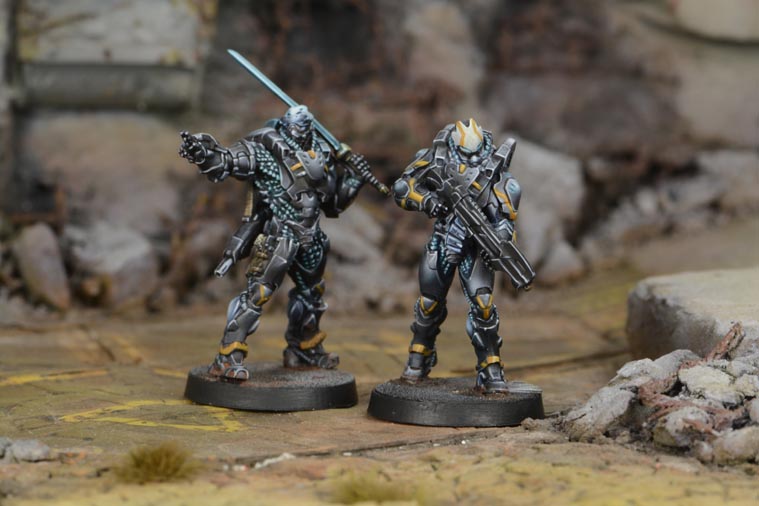
We’ve got a guest article from Isaac (xammy), PanO Muckity-Muck! He’s very fond of his TO camo troops out of NCA (I am not fond of them at all), and kindly agreed to write this for me, making time in his busy schedule and family time. Thanks, Isaac!
–WiseKensai
TO camo is costly and potent. The marker state alone affords mobility protection when you don’t have a safe route to your objective. How can you protect this asset from being eliminated before you get your points worth out of them?
You’ll need to protect that asset until you are ready to bring it to bear. You need to bide your time. You will need to master Hidden Deployment.
Hidden Deployment (HD)
I’m not going to spend a lot of time describing what hidden deployment is, so if you are unfamiliar with the core mechanics of Hidden Deployment please read the wiki: http://infinitythewiki.com/en/Hidden_Deployment
I’m going to talk about three aspects of Hidden Deployment that you need to consider when utilizing TO troops: Placement, Timing, and Tactics.
Finding The Perfect Hiding Place
When considering where to deploy your HD troop I have to consider the purpose and planned use for that trooper. Is this an attack piece, a specialist for objectives, or a roadblock for your opponent? Does it need orders to fuel its role? Let’s work through some of these considerations.
Active turn attackers
They don’t care about objectives, unless the objective is to kill. These are troops like the Hac Tao HMG, Swiss Guard HMG, Hexa Spitfire, Noctifer Spitfire, or more powerful unit’s like the Anathematics, Cutter or Sphinx. They need orders to be effective and often struggle to make an impact if they have to share those orders with specialists or other attack pieces.
Hidden Deploy strategies
- Reserve – The TO camo active turn attackers are going to need a target and if you only have one it probably should be your reserve model. That way you will know what the opponent is fielding.
- Approach Vector – Once you know what you want to gun for it’s best to find the most advantageous approach vector. What you are looking for are tight grouping of buildings or cover so you can strategically move without having to reveal yourself until you are ready. You should also consider what your first order on the HD troop will be. They will likely need to move, but if you go second, then you probably don’t want to start out of cover in case your target has come to you. The last thing you want to do is waste orders getting into position if you don’t have to.
- Selecting the Target – The most important thing to do is to choose the right target for your TO attacker. If the mission requires specialists, then prioritize those. If your opponent has a very strong defense or attacker, then taking their powerful unit out early can help you control the game tempo. If you can’t punch through a stronger unit like a TAG, then maybe removing the easier to kill orders is the best option. In any case, plan your Hidden Deployment in a spot that can get to that target in as few orders as possible while maintaining safe cover.
Specialists
TO specialists are typically hackers or forward observers, which come with their own set of useful tools outside of pushing buttons, but I’m going to consider that you will try to utilize all those fancy tools once the troop has completed its main objective. So let’s talk about specialists, their buttons, and the other objectives that may come into play.
Hidden Deploy Strategies
- The Objective – You have to know your mission and what limitations may be in play. Exclusion zones are going to prevent infiltrators from gaining order efficiency. Not having a specific type of specialists that could get a bonus may mean you are going to spend more time and orders pushing buttons. Some objectives score at the end of the game, so planning when you want to reveil is going to be important. We’ll talk more about that later. The key is to plan how you want to approach the objective(s).
- HD Counters – You can stay safe while you are in HD, however, you aren’t completing mission objectives if you aren’t on the table. One of the counters to completing your objective is a strong defense. This could be a network of repeaters, mines, or units set to overwatch in ARO. You’ll have to try and avoid letting your opponent set up a strong defensive strategy around the objectives that could prevent you from utilizing TO. The other counter is sensor. This can pull you out of HD and reveal you. This is a strong enough counter to HD to warrant its own section.
- Plan to Fail – Often you are going to run into the real possibility that you won’t make your WIP rolls. Be sure you have budgeted enough orders to try multiple attempts in case your dice aren’t working with you. Even if you are able to touch an objective in one order.
Roadblocks
Sometimes you just want to slow down your opponent so they can’t do what they want to do. And sometimes you don’t want them to know that is your plan. What makes a roadblock unit different than an attack piece, is that a roadblock unit can do its job with little to no orders. This means placement is going to be key to their effectiveness.
Hidden Deploy Strategies
- ARO – TO camo units whose job is to ARO will need to find a place that will cover the main approach vector of the opponent, the opponent’s link team, or overwatching the main objective. Look for opportunities to shoot in open fire lanes that go from side to side instead of deployment zone to deployment zone. You want a spot that’s defensible, but also open enough to cover any potential movement. These troops could be infiltrating MULTI snipers or deployment zone missile launchers. They are looking to cause as much damage as possible in one ARO.
- Minelayer – Infiltrating minelayers are experts at covering objectives as well as playing mind games with an unwitting opponent. Mines are a great tool for zone control. If the opponent also has TO infiltrators, then they now have to clear out the mine or risk being hit if they do anything. Your goal is to hidden deploy in a spot that’s going to be safe once you reveal. Consider being deploying prone on a rooftop with a mine covering an objective or fire lane. Deploying prone is a great way to add some extra defense once you reveal.
Skirmishers
Skirmishers deserve their own category. The infiltration skill allows them to deploy all the way up to the 24 inch line (unless there is an exclusion zone). This is a great way to save orders on movement and bring tools to the midfield. Skirmishers can also fill any of the previous role without needing as many orders to get to where they want to, like: squishy targets, objectives or key enemy troopers.
Hidden Deploy Strategies
- The Safe Bet – Deploying on a rooftop or in cover close to an objective are the obvious choice, your job is to not make it too obvious. Be sure to consider what you are trying to accomplish, so you don’t deploy too far from your goal, even if it’s the safest option.
- No Guts No Glory – If you have backup options in your list, it might be worth attempting to deploy past the 24 inch line. This is only advisable to do if you have Superior Infiltration like oniwaban or if you have redundancy in your TO infiltrators. Don’t forget that you have to show that you were successful in infiltrating past the halfway line, so your opponent will know that you have something waiting for them.
- Bully – No matter what role the skirmisher fills, they all can be effective bully troops. They aren’t easy to dislodge and almost all of them come with mines. When deploying consider how and where you can best be a nuisance, so your opponent has to waste orders trying to dislodge your midfield control.
Agh! Sensor!
The only real counter to Hidden Deployment is sensor. If successful, it won’t just bring you to the table, but it will reveal you as well. Take note of what troops have sensor in your opponent’s army, and how quickly they can get into a zone that will allow them to pull it off.
A side note to this are sniffers. This piece of equipment prevents you from recamoing if you are in it’s ZoC. So if your plan is to recamo you’ll have to plan on moving out of that zone or removing the sniffer. Both of those options will probably require more orders than you want to spend.
TO camo is an amazing tool that will provide safety for mobility, but also in deployment. Plan your orders before you even see the table. Make a strategy for how you will use those orders once you see the table. Lastly know why you put that TO camo unit in your list and make sure it does the work it was designed for.
And now you know.
–WiseKensai