Mission 010: On Death Ground
With the recent release of Dazers and the approach of the comparatively terrain-heavy Rose City Raid 2019, it seemed appropriate to dedicate a Bromad Academy mission to terrain rules.
The Mission
Play with at least one impactful terrain element on your table. That doesn’t mean you need to turn the whole table into a saturation or low-vis zone, or make the whole table a dangerous terrain area, but it does mean put something of reasonable size in the middle of the table where you’re likely to have to interact with it. Here’s some snazzy infographics illustrating different special terrain densities and examples, thanks to Adam over at TheDiceAbide:
Don’t forget you can make an area difficult or very difficult terrain to limit movement. A pile of boxes or other scatter can easily be turned into difficult terrain. We’re really just looking to add some additional dimensions to the table. Think about what fits into the narrative of your table.
Don’t over complicate either, it can be as simple as putting a burning vehicle in the center of your city table, and calling its footprint a “smoke” template. PanO players, this is your chance to get free smoke! A woods template in the middle of your remote research base is fun too, and can lead to some interesting exchanges of fire in a saturation/low-vis zone. Some “smoke” made of cotton and black paint makes for some easy zero vis zones, as below:
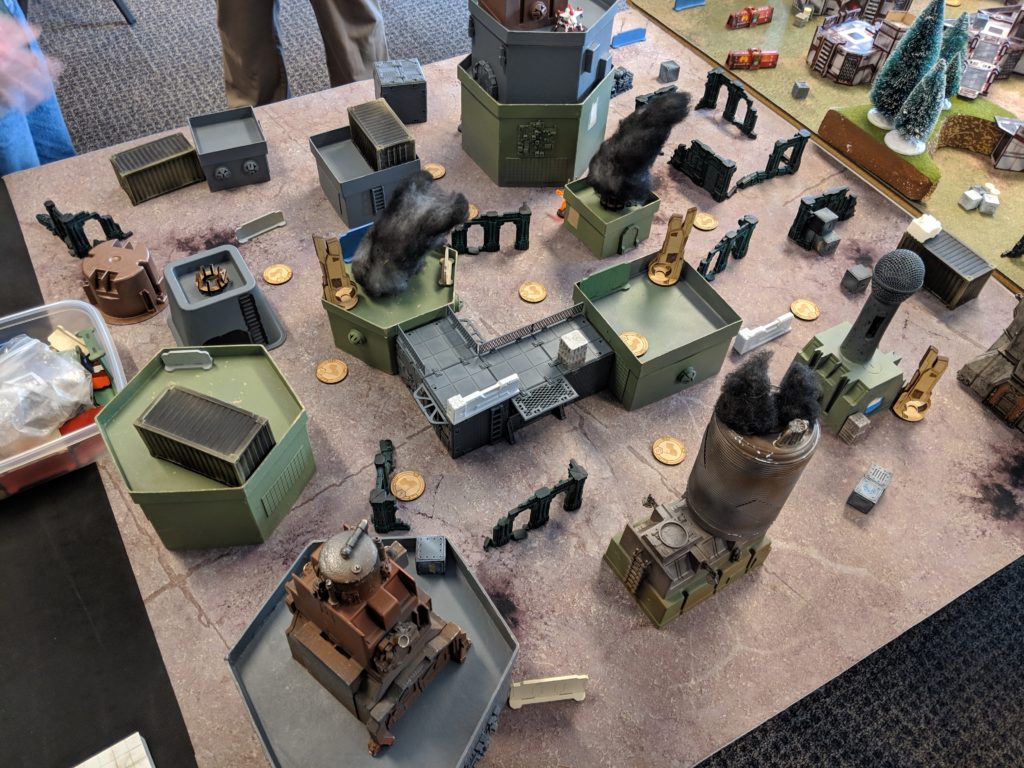
Once you’ve tried the terrain out, let us know how it went! You don’t have to write a battle report, but at least give us enough information about the game to understand the impact of the terrain on your planning and execution. That’s the key question we’re trying to get you to answer this time around: what effects did adding terrain have on a) your game and b) your evaluation of unit profiles?
Pictures are optional, but they look great on the internets! If you’d like to write a battle report, here is the handy-dandy Bromad Academy Battle Report Template! Please share your Google doc with [email protected] if you do.
Whether you write a battle report or not, please drop us a note at [email protected], and you’ll be entered to win a blister of your choice! We’re in the USA but we ship internationally! Don’t forget, all factions are eligible to win with equal chances. We’ll just give you some good natured sass about not playing the best faction: Nomads. ForCo and StarCo count as Nomads for brownie points.
Terrain Rules
No sense in re-inventing the wheel. Adam Bienvenu over at his site TheDiceAbide and at our site InfinityThePDX has written up some great articles on terrain (it’s sorta his thing), so I’m just going to direct you at them for this month’s background reading:
- Infinity 101: Special Terrain
- Rose City Raid Terrain Rules
- Special Terrain on Urban Tables
- Tables of the Rose City Raid
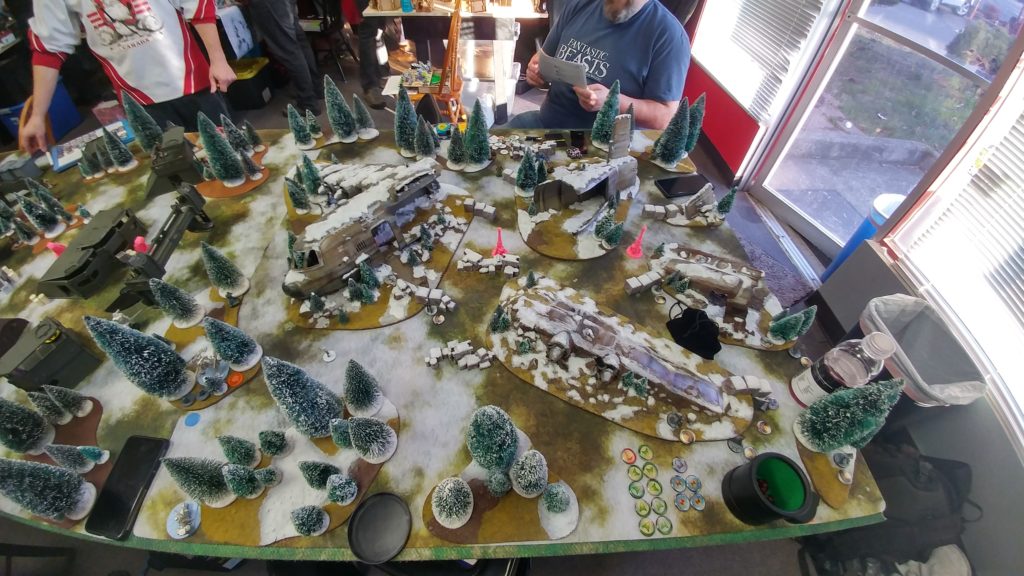
Read everything? Good. As a recap of the articles, we can break terrain down into four basic categories:
- Affects Movement – Difficult and very difficult terrain fall into this category. You have to stop when you touch it, and you don’t move as effectively through it.
- Affects Visibility – Low-visibility, zero-visibility, and all variants thereof. This used to be the only type of terrain you could create with smoke and Nimbus grenades, but now with the advent of Dazers you can create movement-affecting terrain as well.
- Saturation – You lose a burst in shooting. You can split burst still, as burst mods are calculated after you declare where you’re allocating burst.
- Dangerous – The rarest type of all! Basically if you roll a die in a zone as part of a short skill or ARO, and you roll high, something bad might happen to you. Like getting blown up in a minefield.
I’d like to add one more consideration to the list. Adam touches upon it, but I want to be a little more pedantic. In conversations with my Infinity brain trust about terrain, the idea of how to handle scenery interactions like doors and destructible terrain came up in the context of buildings.
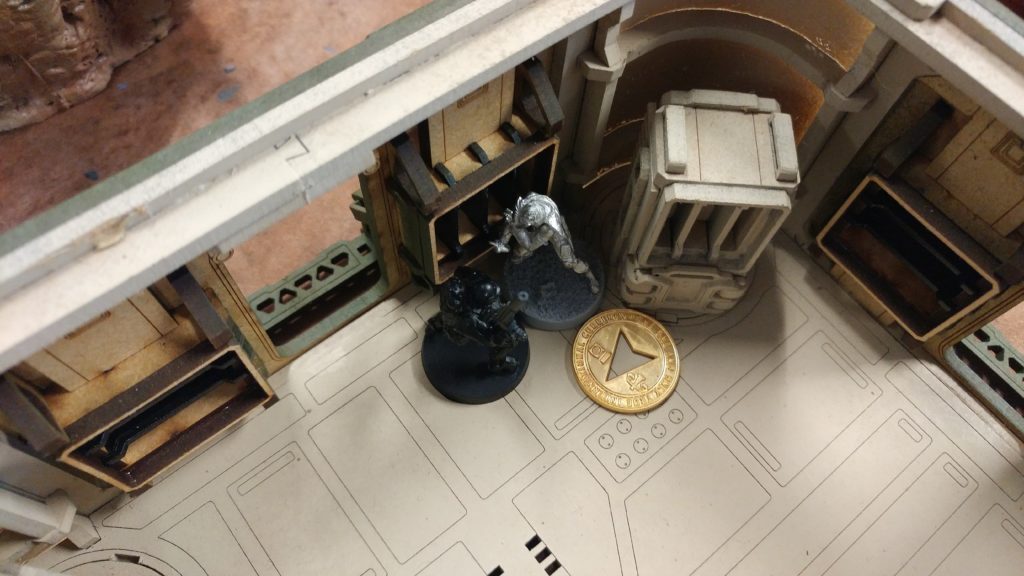
There are rules for this already in objective room missions. As a review, objective rooms have locked doors that you must somehow unlock. You can either a) send a specialist in for a WIP roll, which opens all the doors, b) use the Lockpicker program to open a door, or c) break a door down with a missile launcher or other anti-material weapon.
On some tables, it would be useful to restrict deployment access or just access in general to certain building interiors for either narrative flavor or game balance. To address this particular issue, I propose the following house rule:
High Security Building: A High Security Building has a playable interior, closed windows, and locked doors. Like objective rooms, all doors will be opened (and stay open) by a successful WIP roll from a specialist. A single door may be opened by the Lockpicker program, or by brute force (anti-material weapon). Doors default to having the same scenery profile (ARM/BTS/STR) as those of Objective Room doors, although players may substitute other profiles by mutual agreement.
Unlike objective rooms, High Security Buildings are whatever height they are, i.e. they’re not infinitely tall. This can help solve problems like the invincible Moran or Mutt in a box, if that’s a problem that needs solving. For me, the real appeal is just the fun of actually using Lockpicker in a game, period. For added fun, putting one of the objectives in a such a building on the centerline could add a new layer of challenge to the scenario.
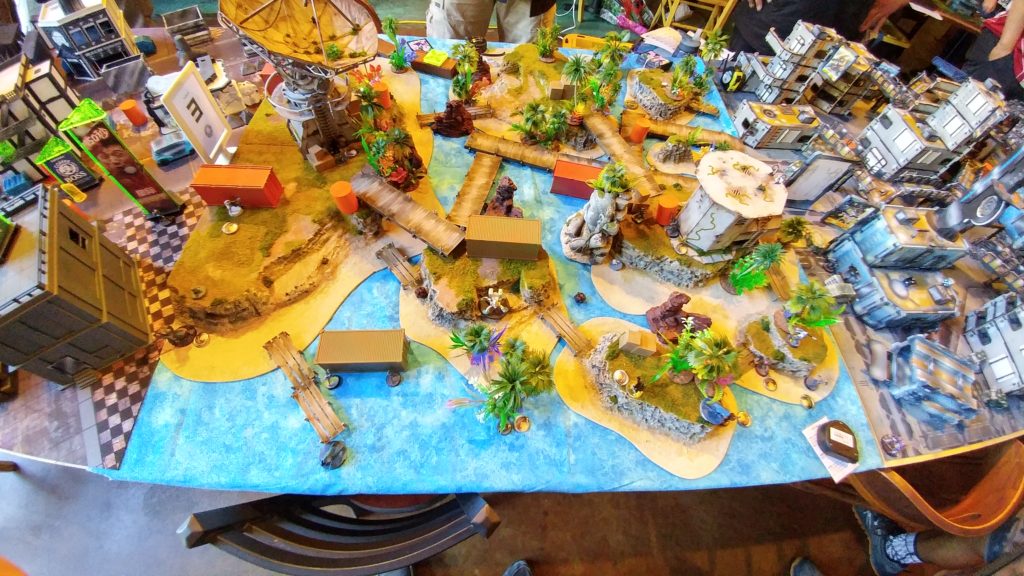
If you’re new to Infinity or new to terrain in general, add in some small things. No need to go overboard. A small smoke or Nimbus zone in the middle of the table or some trees will go a long way.
Mitigating Terrain Effects
Terrain shapes the general flow of the game. Oftentimes it will get in your way, so let’s talk briefly about how to deal with that, breaking it down by type of terrain:
- Affects Movement – Don’t go through it if you don’t have to. Bring units with terrain skills or multiterrain. The latter is way more relevant now thanks to Dazers. Note that in some cases, like water, you can super jump over them.
- Affects Visibility – Take MSV units. Even MSV1 is relevant in a table with a lot of low-visibility zones! In this case, you can think of spending points on MSV1 like spending points on Mimetism. You’re not affected by the low-vis zone, but your opponent is. The math is basically the same. For zero-vis zones, MSV2 is better, but you can still play around them. Nimbus and other reflective visbility zones are harder–be prepared to think carefully about dice odds, and before you go into a game, spend some time with the dice calculator. Maximizing the burst and BS disparity between you and your opponent is the way to go here.

- Saturation – If splitting burst makes sense, do it. Be careful about starting a face to face with multiple units in their good range bands though. Sniper rifles are very powerful if you can get people outside 32″. Multi-wound models also like Saturation Zones, but links hate them.
- Dangerous – Avoid these! If you can cautious move across them to keep out of LoF, so much the better. They’re there to shape your movement and introduce risk to your actions. There’s no trick here, you just need to make the determination for yourself about the risk you’re willing to expose yourself to after thinking about the odds.
Leveraging Terrain Effects
We can also use terrain to our advantage!
- Affects Movement – If you have Dazers, you can hide them in hard-to-get-to places and force your opponent to slog their way through a terrain zone. This is particularly powerful in missions like Supplies or Unmasking, where mid-field mobility is of great importance. Even if you don’t have a Dazer, you can do things like hide your HVT on the other side of a difficult terrain zone, for example. Use the terrain as a deterrent to movement. You can funnel people towards or away from the terrain by setting up AROs or other midfield control pieces like mines. Think of the terrain as a way to increase the positional pressure on your opponent.
- Affects Visibility – Setting up an ARO piece with MSV behind a low-visibility zone is an excellent option, as is putting a mine in a low-visibility zone to put your opponent at a -6 to dodge! Koalas can also benefit from this trick, if your opponent is moving through the zone when the Koala engages. If you’re dealing with a zero-visibility zone and your opponent has MSV2, you can try to bait them to shoot you by moving an active link team member into view. If they shoot, you can shoot back with no penalty thanks to SSL2. This trick will only work once on a savvy opponent, and don’t expose non-link-leaders, they’ll just get shot!
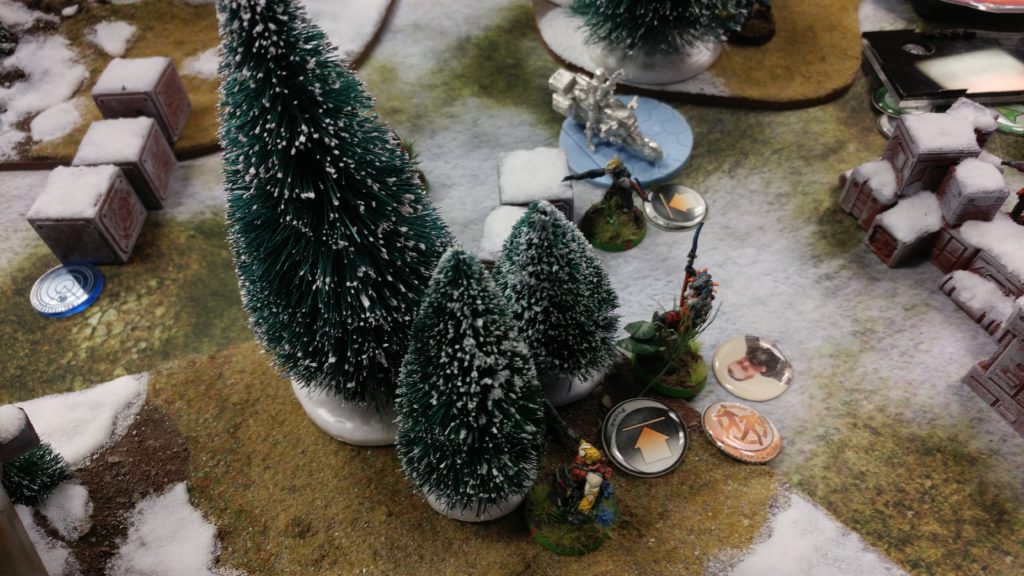
- Saturation – Low-burst Anti-Material weapons fare well in Saturation Zones. You’re really looking to push the delta between the target numbers though–get your opponent into really bad range bands and leverage any additional visual mods you can stack.
- Dangerous – Force your opponent to move through these zones by putting out strong AROs to clear pathways and weaker ones covering the zone. Mines or Koalas nearby can also force a dodge. Maybe you’ll get lucky!
That’s it for now. Go try out some terrain, see how it changes not just your game but also what you prioritize in list building! Those Wildcats might start to look pretty good!
Good hunting, Bromads!


