The b(r)each
By A Tale of Miniatures and Dice
Overview
- Mission: Blockade Runner
- Forces: Shasvastii (Filippo) versus Haqquislam (Francesco) (300)
- Deploy First: Haqquislam
- First Turn: Shasvastii

Deployment
Haqq wins the initiative and opt to deploy second, Shas go first.
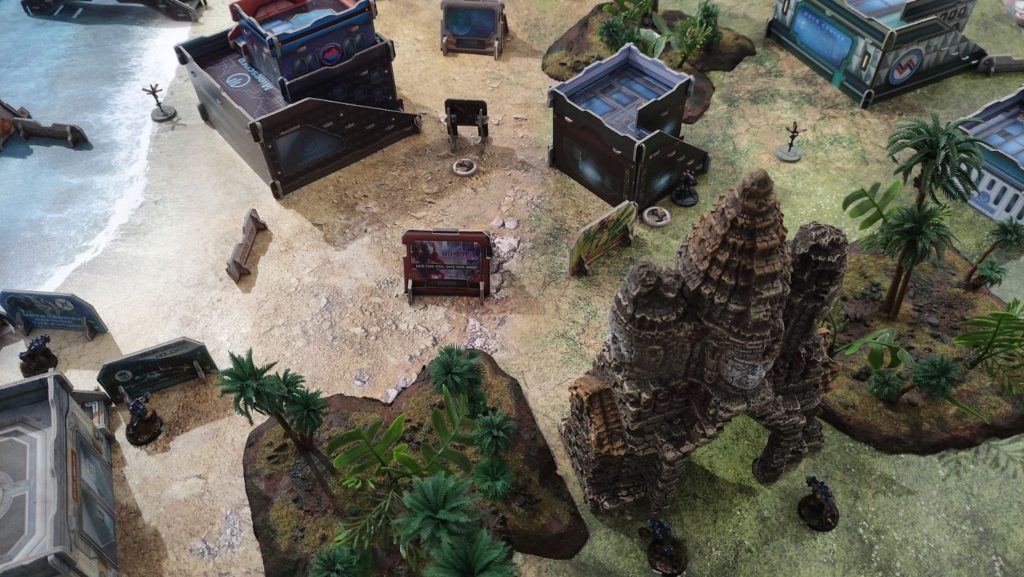
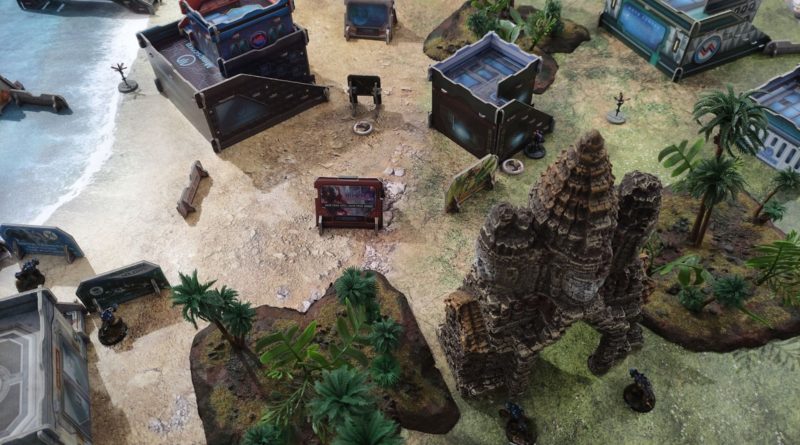
Taighas are deployed in the back, two on each flank. Caliban CoC on the left building, Shrouded FO behind the console, Malignos hacker in hidden deployment on the right building, Caliban engineer close to the HVT on the right and lastly a Shrouded hacker on the right flank. A command token is spent to keep two models in reserve: both Gwailo master breacher and Sphinx go on the left flank. This phase is where I didn’t leverage the pros of my list: fearing templates near my deployment zone I spread out the Taighas, who should have been deployed together to make a pain conga up to midfield. Also, Taigha don’t fear templates: I just misplaced my assets since I didn’t know what to expect.
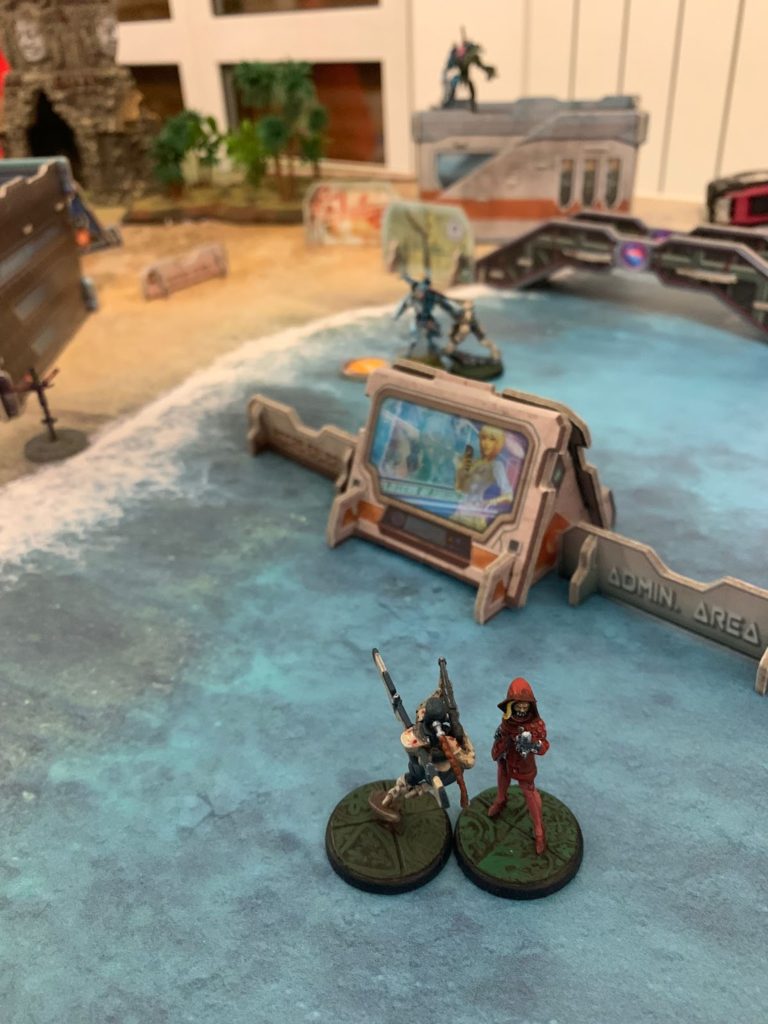
Haqq has Muttawi’ah on the flanks, Azra’il in the middle standing, Ghulam doctor and Barids in the middle, MSV Mukhtar and Asawira doctor on the right. Daylami infiltrate on midfield rooftops left and right while Tuareg minelayer goes in the middle close to the central console.
Finally, the Fiday goes on the right just outside Shas deployment zone, casually talking a swim disguised as snorkeling tourist while keeping an eye on the Gwailo.
Turn 1
Top of 1 – Shasvastii
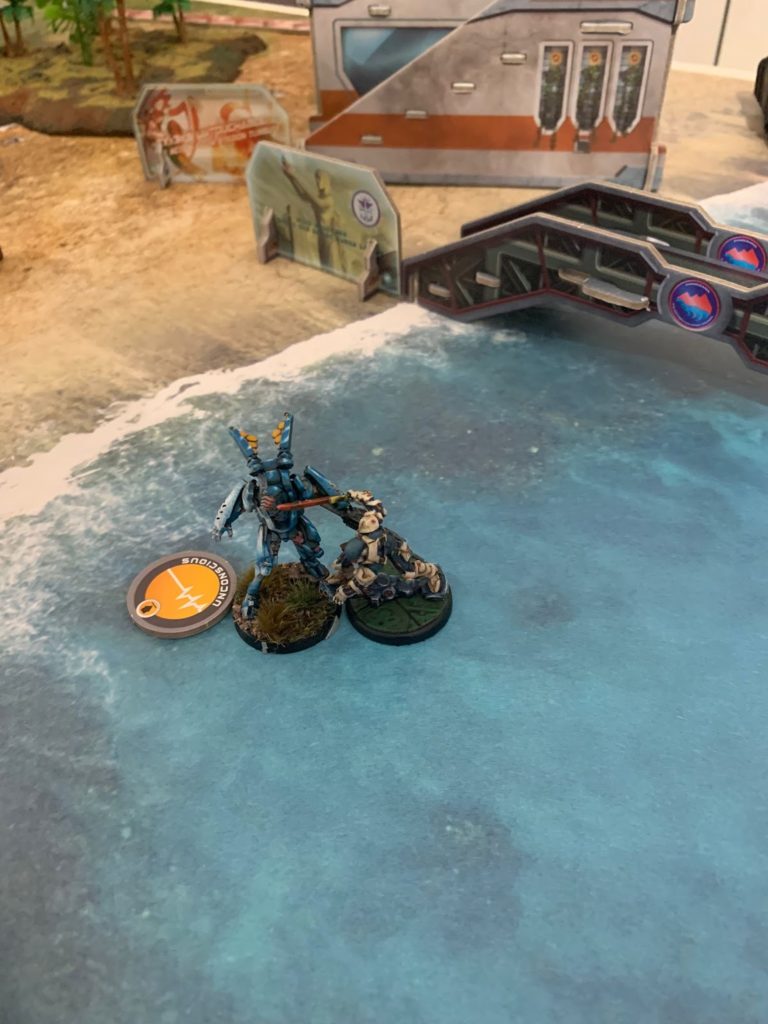
Haqq removes two regular orders from Shas main pool. Impetuous phase and Thaigas advance, a couple are downed by automatic reaction fire. The one on the left flank, close to the Gwailo and the enemy HVT, manages to engage the automatic battery temporarily neutralizing it. Then it’s the Gwailo to advance targeting the mukhtar blinded by the xeno’s albedo. It triggers AROs from both Daylamis Unleashing their panzerfausts. Mukhtar tanks the hit dropping prone in total cover while the Gwailo suffers one wound. The Gwailo here probably should have kept pushing forward and try its luck with the Azra’il, maybe ending the turn in suppressive. In hindsight, it’s easy to see how a badly performing list could have worked better without changing anything but gameplay. Lastly, Shrouded hacker creeps on the rooftop trading with the remaining Daylami but recovering with regen at the end of the turn!
Bottom of 1 – Haqquislam
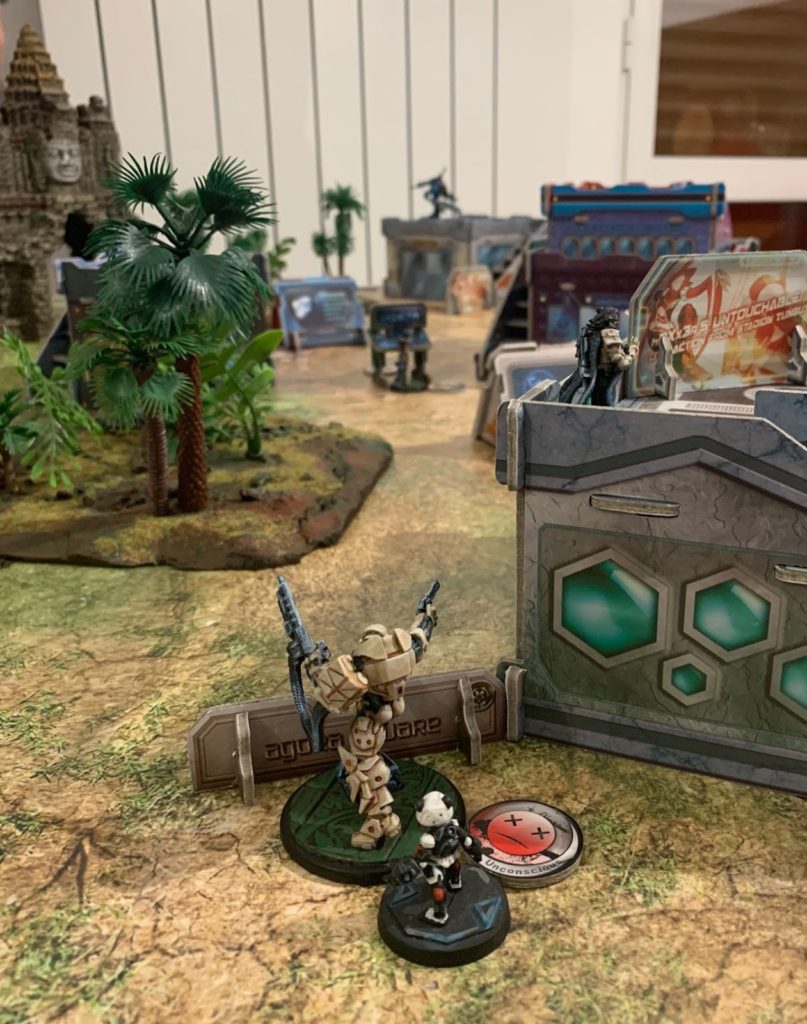
Haqq sends the Fiday to engage the Gwailo. The Taigha dodges disengaging the battery and the Sphinx reveals to get a free shot on the Fiday. The hassassin sends the Gwailo unconscious and tanks the dam 15 spitfire hit!
Now that the TAG is revealed the Azra’il targets it hoping to score some lucky shots on 4s. Dice are rolled and it scores 2 hits, Dam 15 AP+DA continuous damage is scary even for a 3 STR tag in cover but only 2 wounds are not saved!
The Azra’il is then downed by the automatic reaction fire. Should have better used the Muttawi’ah impetuous smoke grenades!
Doctor Ghulam brings back the Azra’il also accomplishing a classified objective.
The Muttawi’ah on the right throws a smoke to cover the parachutist deployment of the Bokhtar in convenient proximity of the HVT without triggering AROs. The freshly arrived HI feels confident to engage both the Sphinx and the automated turret but the odds were actually quite bad and luckily ends up in wasting an order without worse consequences. Last order and the Tuareg reveals to contest the central console. The Malignos reveals himself to pepper the Touareg with its smg but fails and dies to a shock mine detonation. This was totally wrong since the Tuareg wasn’t scoring points at all: I should have held the Malignos back some more.
Turn 2
Top of 2 – Shasvastii
Shas are a little shy on orders and there is much to be done. The resilient Shrouded hacker total controls the turret allowing the Caliban engineer to advance and interact with the HVT. Unfortunately the Mukhtar manages to put it down.
The Shrouded FO leaves the console to try on the same task, but the Mukhtar is ready and things end badly for the Shrouded.
The Sphinx drops down the building to take down the Fiday but has its last wound removed in the process by the turret. Finally, the Caliban CoC moves in a better position to threaten the Bokthar for Haqq’s last turn without triggering the turret’s ARO.
Bottom of 2 – Haqquislam
The Bokthar moves ahead shooting both the Caliban and the turret, taking down both with some lucky shots. There are still orders left to bring the HVT to the enemy deployment zone and so the match ends with a Shasvastii retreat before the start of turn 3.
Haqquislam WINS! 5-0
Post Game Analysis
Haqquislam: I brought a decent list for the mission and I had a plan that sort of worked out. I was quite lucky in tanking the HRL with the Mukhtar, the spitfire with the Fiday and dealing 2 AP + DA Dam 15 continuous damage on the Sphinx hitting on 4s. As usual the game could have been very different if the dice had rolled differently. Only my second game with Haqq and still learning, I tried a few new units and profile and slowly getting a grasp of the army. The mission is cool but tough to take all you need: strong hacking net (best way to deal with those pesky mk12 turrets is to total control them), resilient fighters to control the center and mobile troopers to carry the HVT in scoring zone. Hard to squeeze it all in 300 points!
Shasvastii: this defeat is the sum of a number of errors on many different layers. I was eager to deploy all of my freshly painted Taighas but I ran low on orders pretty quickly. Shasvastii has a lot of fun gimmicks and tricks as an army but I just brought a few, also misplacing them: the only MSV was equipped to my Lt and the only mim-6 trooper was also a hacker, which is something I usually avoid but this time I was apparently prone to try new stuff. Another big thing I got wrong is not enforcing any field control, not exploiting the possibility to infiltrate my 3 (!) infiltrators, who could have helped me a lot with hacking and cheerleader killing. To make things worse, I also had the Mapping classified so this is really a big mistake from my side. Next, I didn’t read the map properly and deployed relying too much on the cover offered by Jungle Terrain (difficult terrain, saturation, low vis). I tried to pinpoint gameplay errors in the report itself so no need to waste more salty tears on that: I’ll play better next time! The mission is very fun indeed! I recommend players not to underestimate the Mk12 turrets: it’s very easy to take a wound when you have to split your burst against both enemies and turrets in good range.
Pingback: Mission 051 Report: Blockade Runner – Bromad Academy