Paegis – Mission 031
By Paegis
Overview
- Mission: Acquisition
- Forces: Invincible Army versus Ramah Task Force (300)
- Deploy First: RTF
- First Turn: RTF

I love the Zhencha but haven’t been using them as much as I want to. I wanted to focus the list on them and really see what they were capable of. I’ve got two hackers to pull off Guided Missile shenanigans/slow down enemy HI/TAGs. The EVO hacker is there to buff the Lu Duan and potentially Fairy Dust the Zhencha if I needed to get into a hacking fight. The Shang Ji is in a haris with a paramedic buddy and the Son-Bae. I went with the Shang Ji HMG LT because he seemed pretty tough and I didn’t have any other good long-range guns in the list.
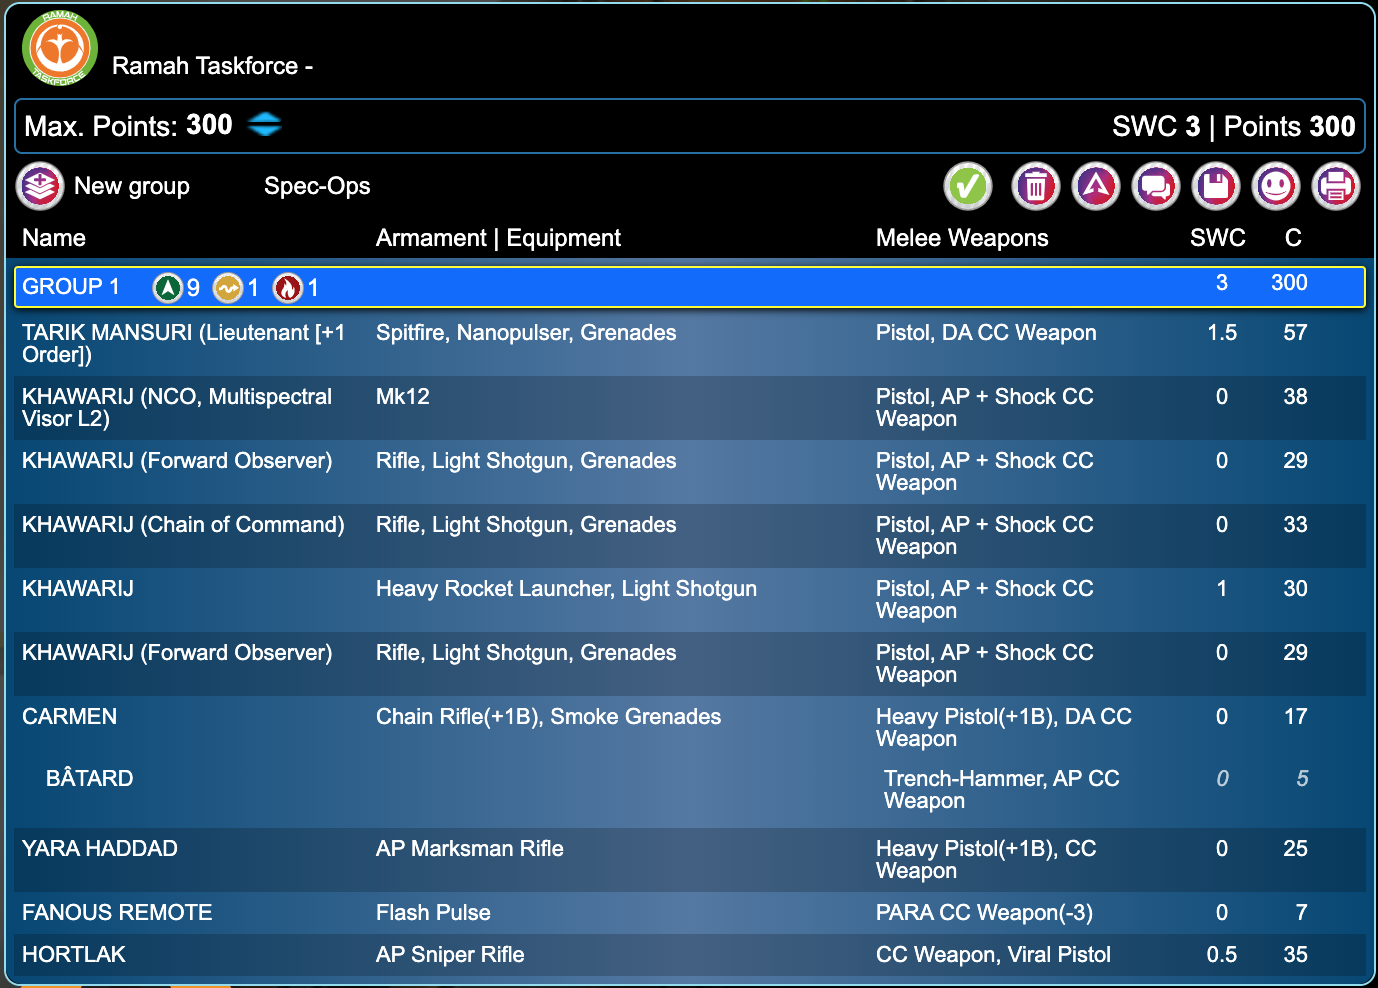
My opponent also did the mission and brought max AVA Khawarij with a single haris. The combination of tons of MSV, sensor and jumping troops had me really worried, since I was counting on being able to keep my Zhencha safe through marker state and by keeping them on rooftops.
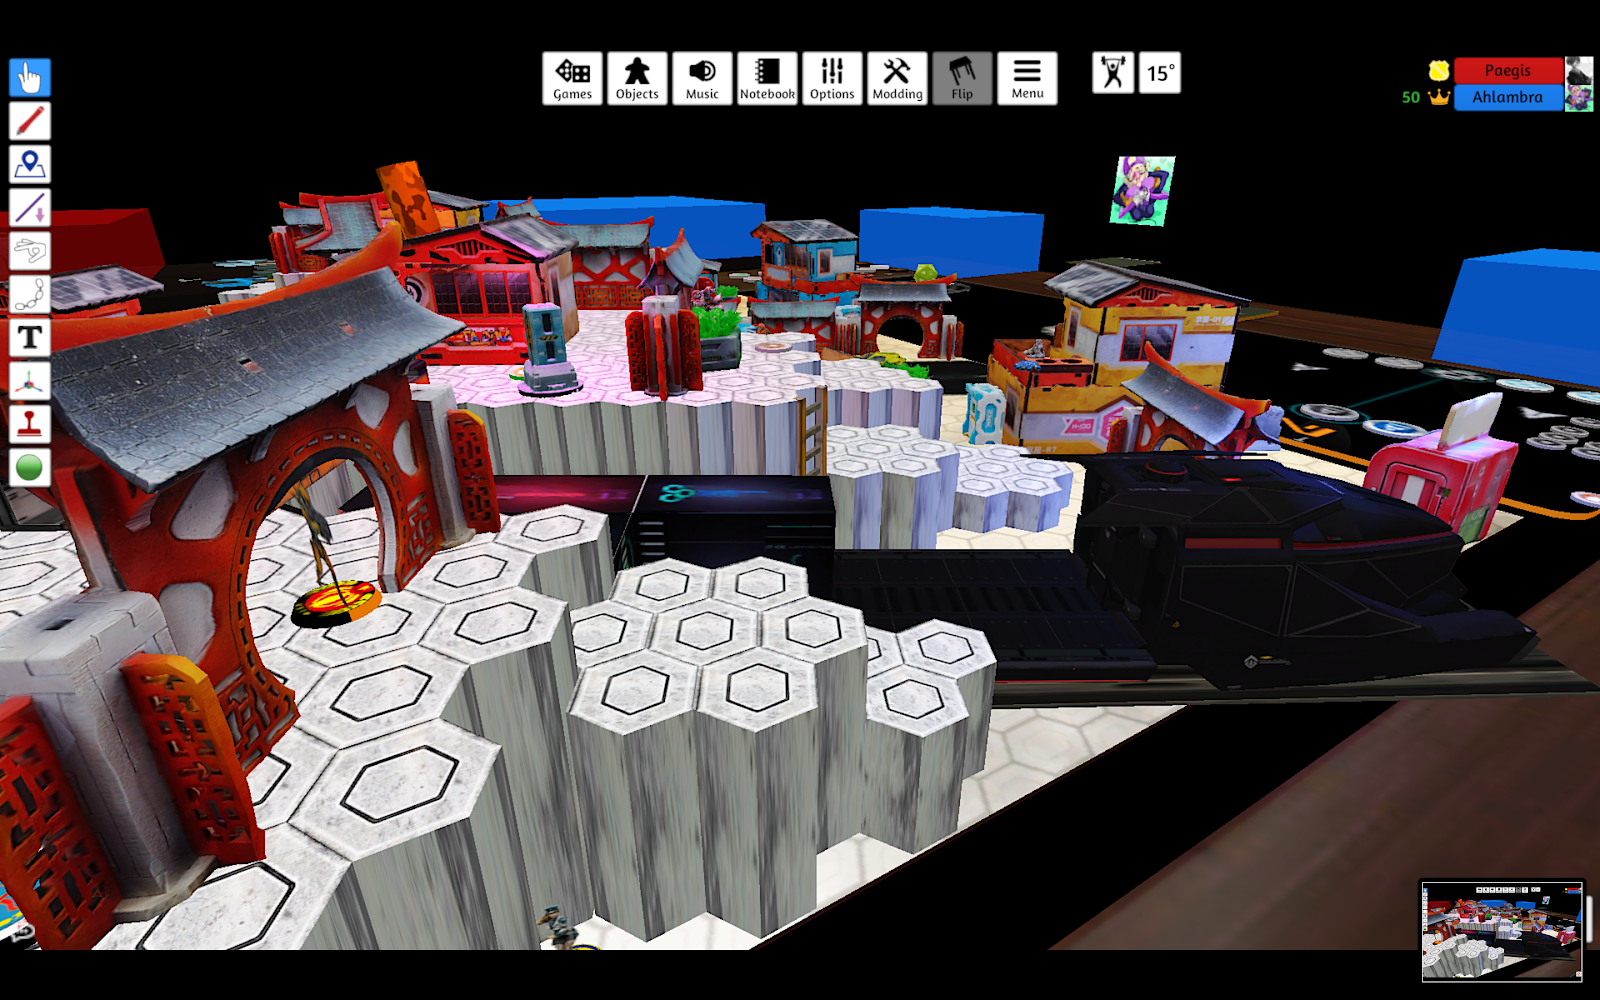
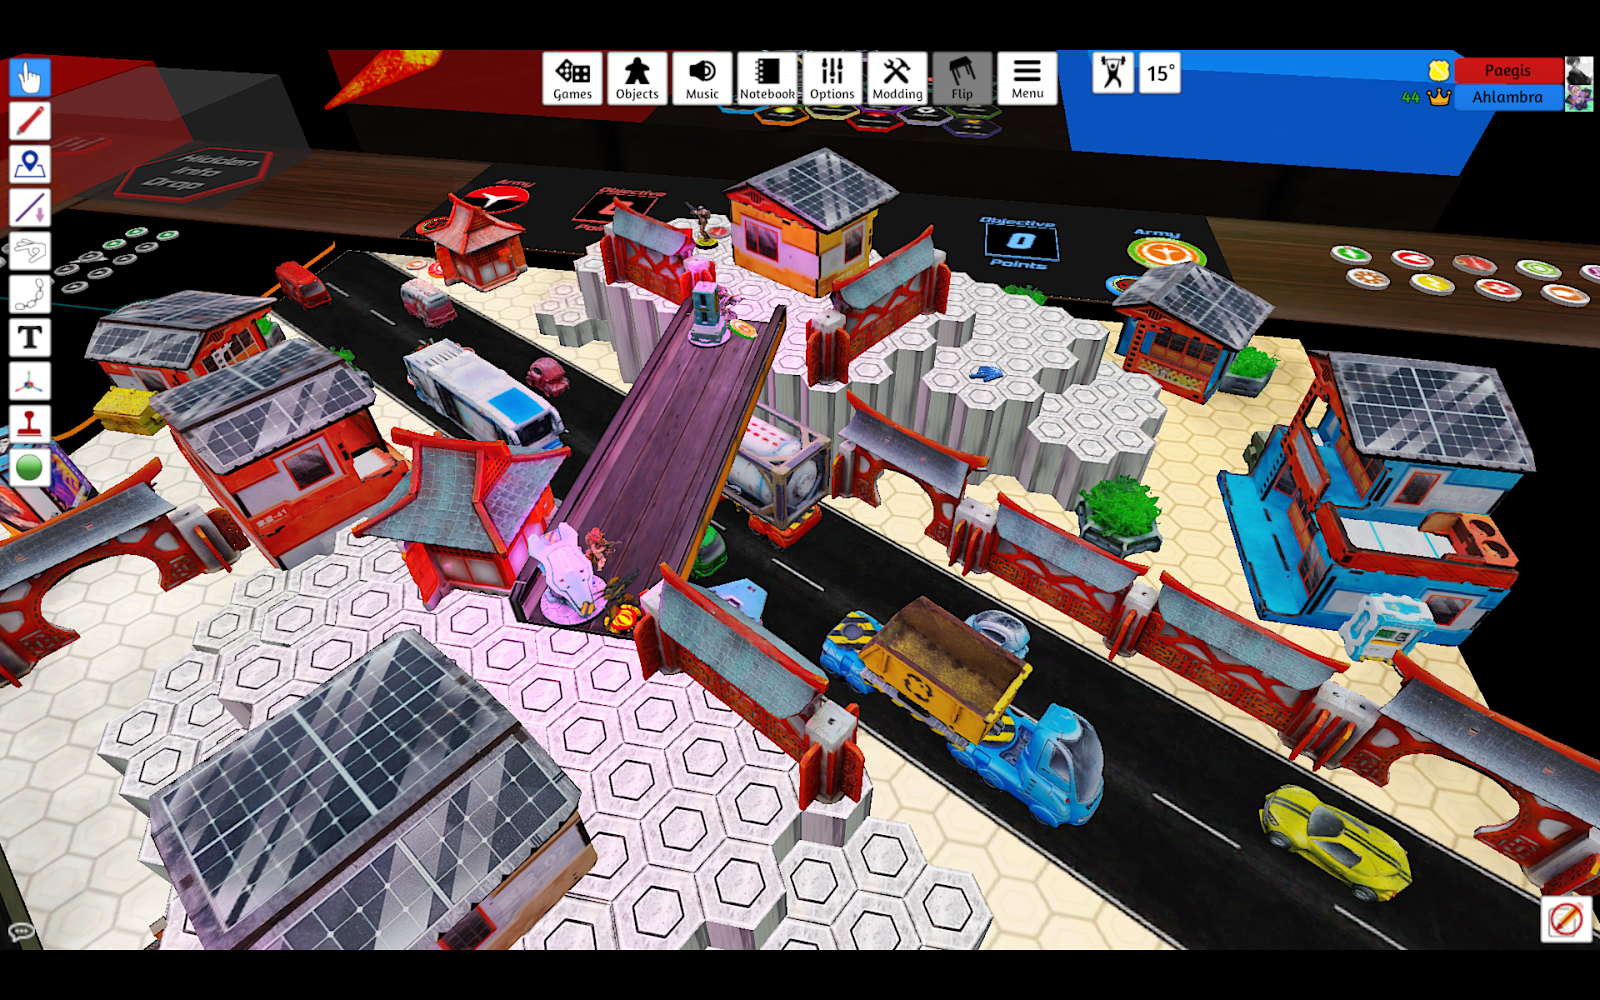
Deployment
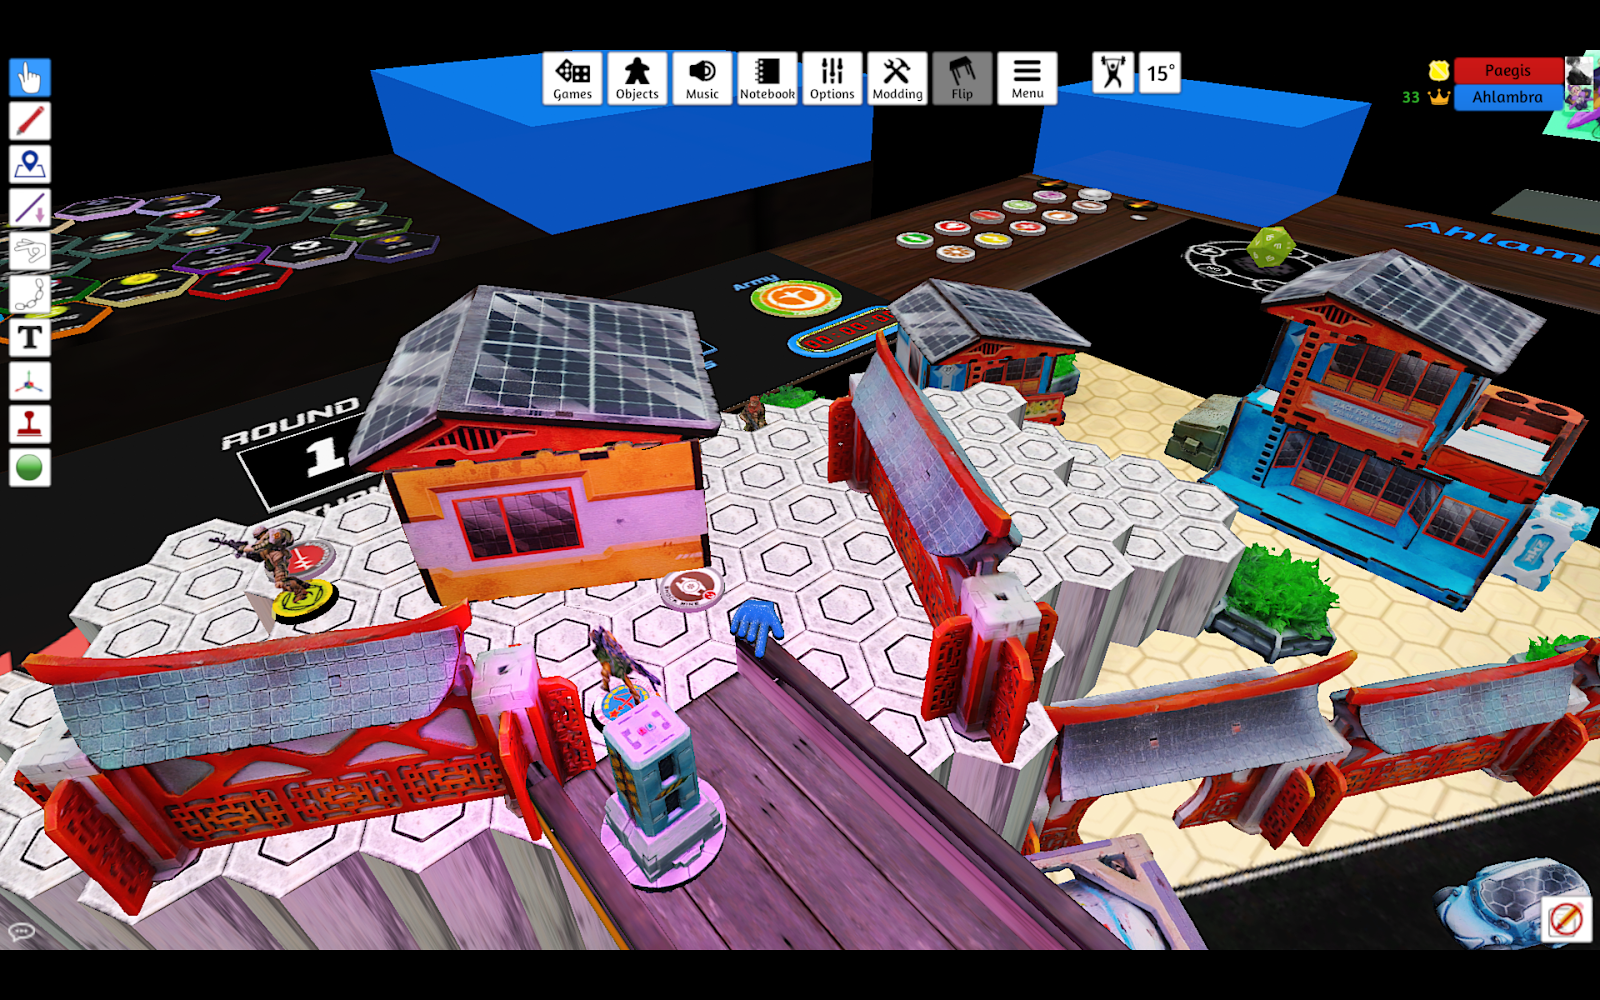
I lost the LT roll and my opponent picked first turn so I took the side that seemed to have a bit more cover and was hopefully less accessible to super-jumpers. I drew Telemetry and Follow-Up and went with Telemetry since I had 4 infiltrators that could accomplish that classified. I figured I could grab it off a body at some point. My opponent ended up with Rescue.
My opponent split his Khawarij in groups of three across both sides of the map, each ready to go for an antenna. Yara went to the side, while Carmen and Batard started in full cover, ready to zip down the street. A Fanous was tucked away for cheerleading duty.
My opponent’s reserve was the Hortlak sniper, which went prone on a balcony.
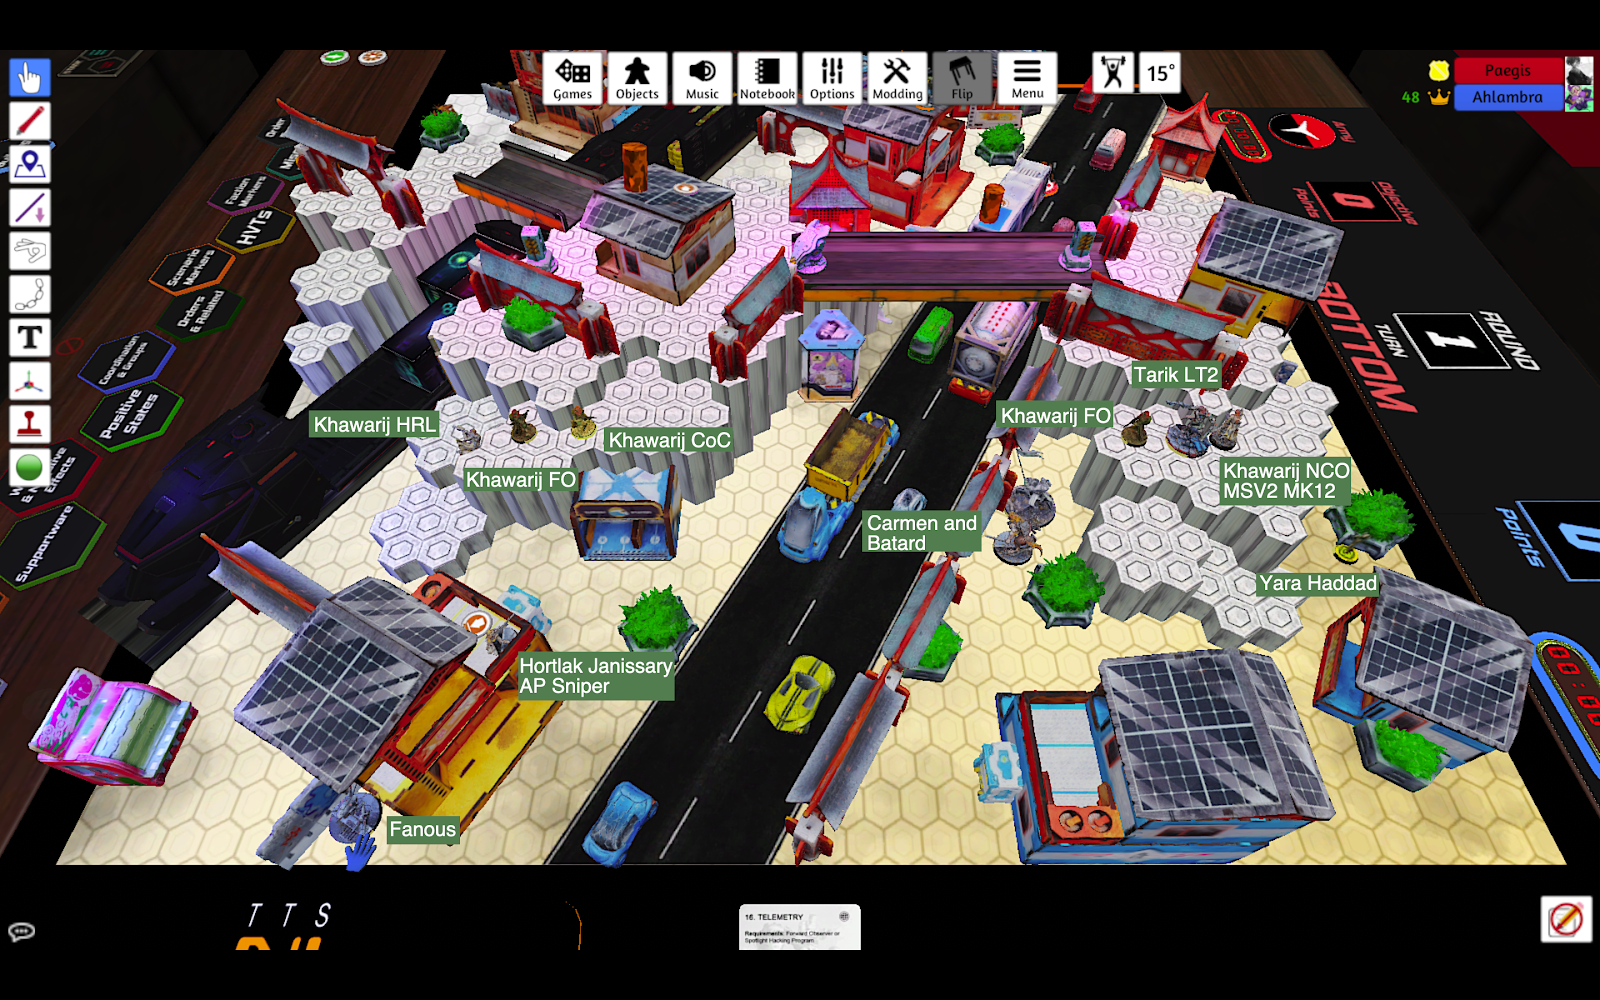
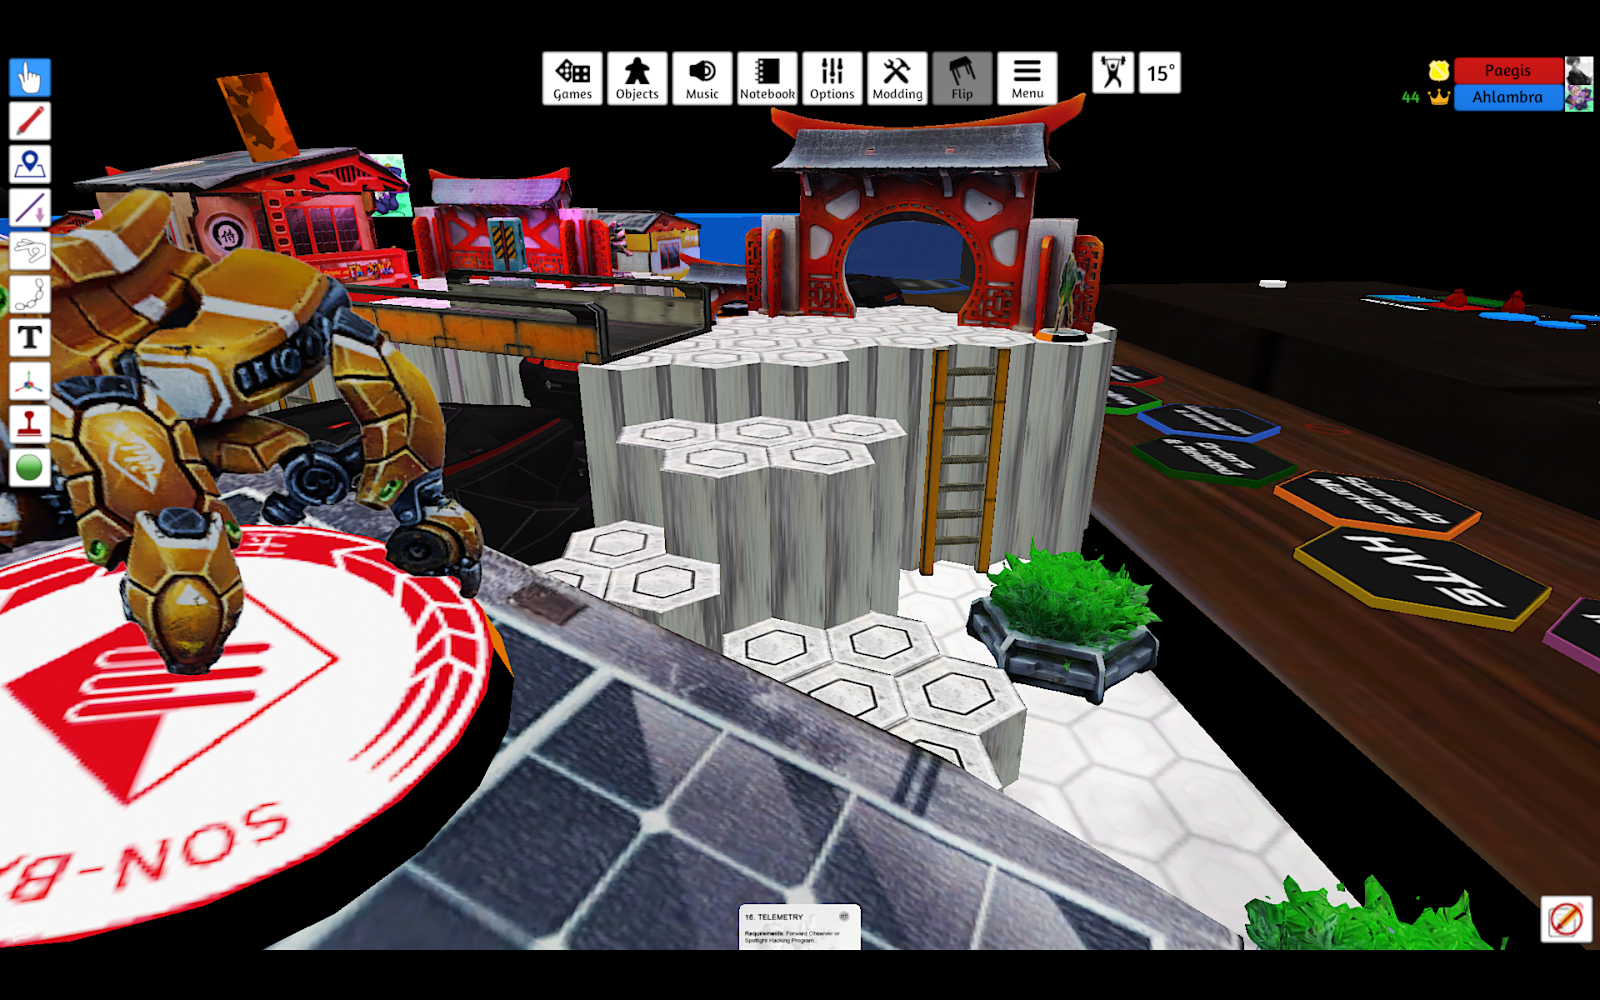
I deployed each of my Zhencha hackers close to an antenna. The Zhencha FO went into cover on the right edge of the map in what was hopefully an annoying overwatch position looking over the hackers.
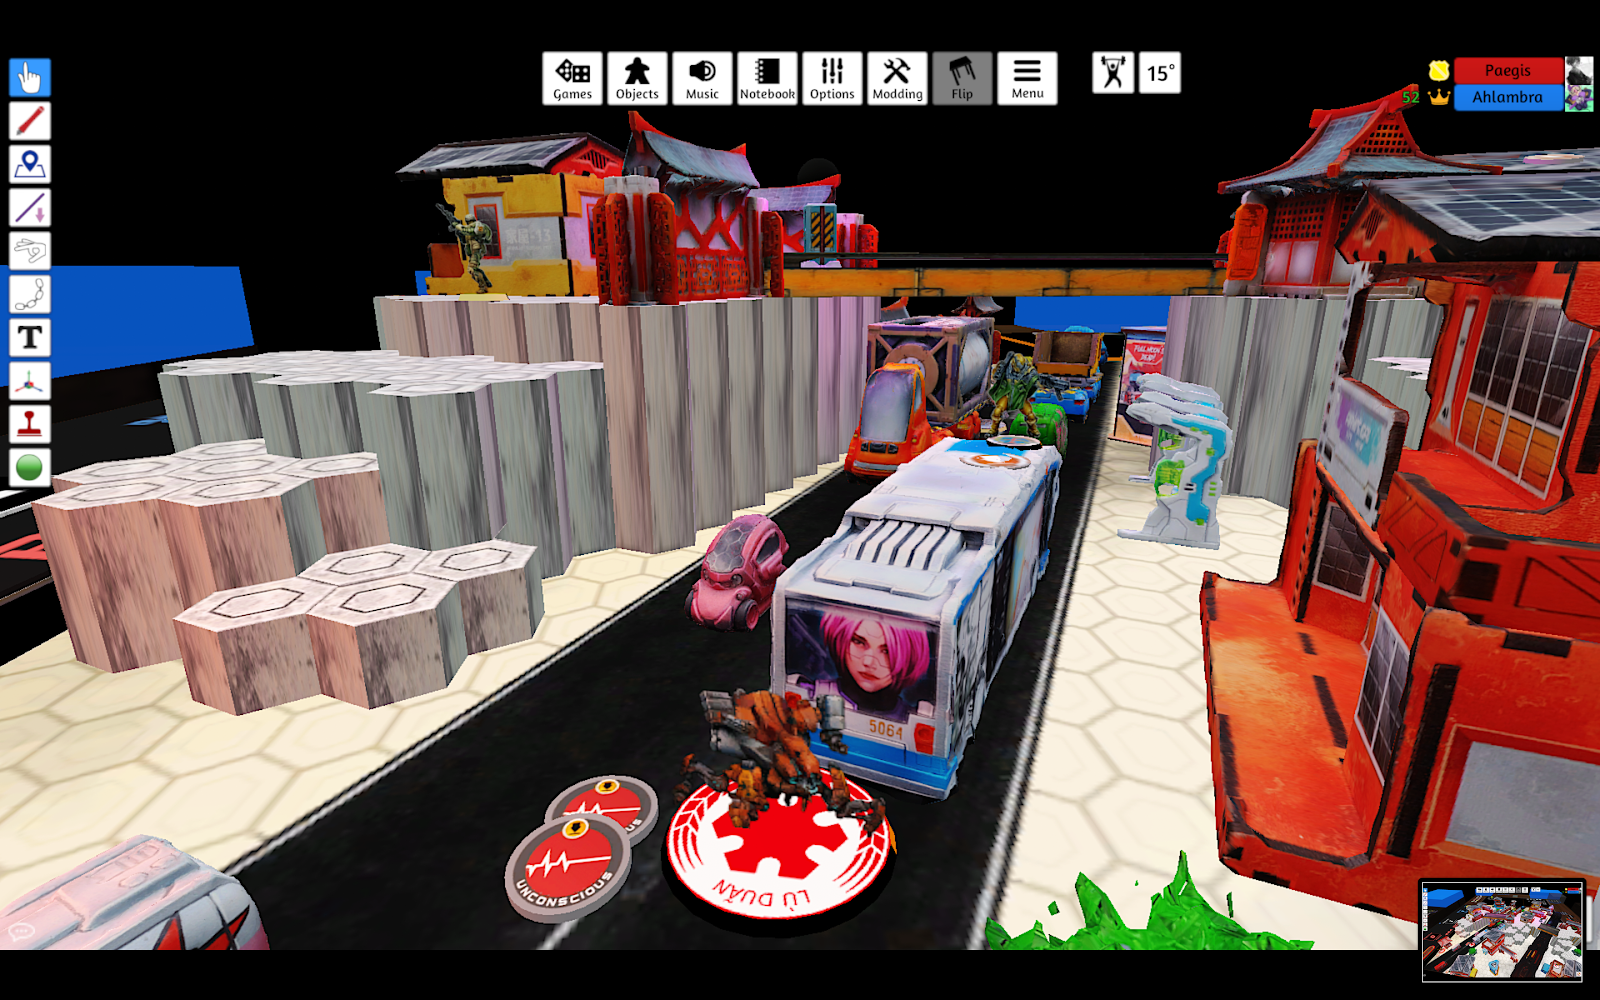
I was worried about Carmen and Batard coming down and sensoring all my skirmishers, so the Lu Duan went behind the bus looking down the street.
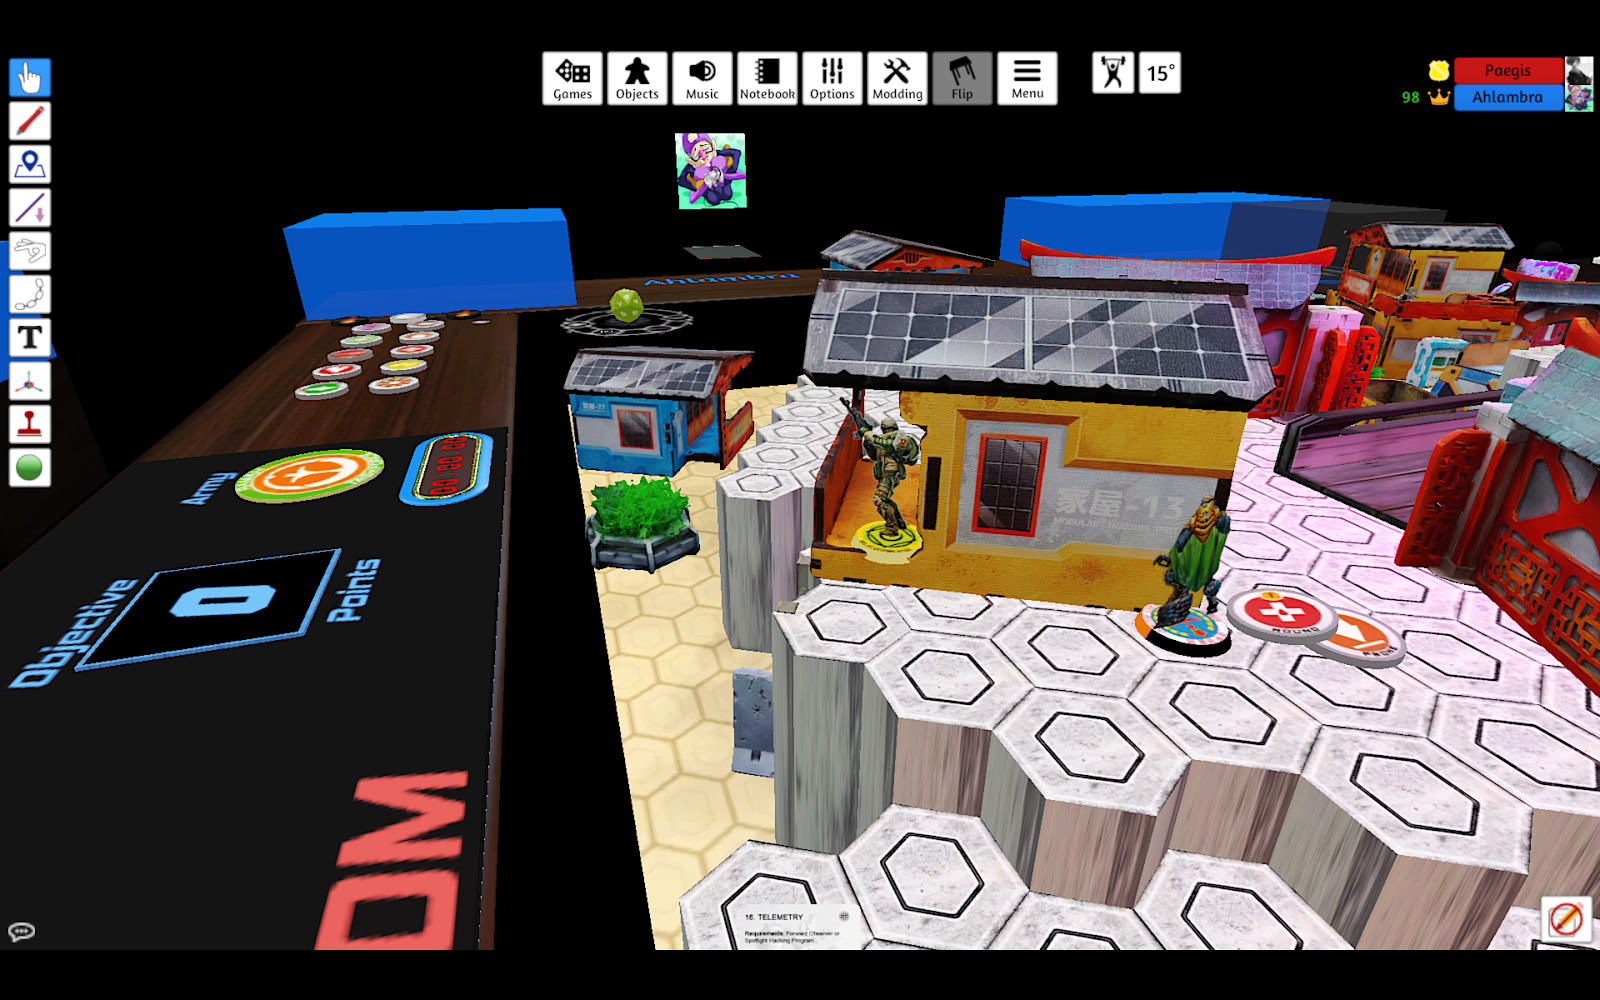
I tucked my linkteam into the safest spot I could find – there’s a little wall extending around that building in the bottom right and my Shang Ji and Zhanshi went there. Concerned about an alpha strike on my obvious LT, I put both Chaiyi there as well.
Seeing that my opponent didn’t have many long-range weapons, I left the Son-Bae standing on the roof and put the Yaozao prone behind it, hopefully out of template range. The Warcor went on another roof as an ARO. I tucked the EVO hacker and engineer in the safest remaining spots I could find.
My reserve was my last Zhencha FO. Still worried about Carmen, I put it prone on the edge of the truck overlooking the street.

Turn 1
Top of 1 – RTF
I start off by spending a CT and docking two orders from RTF
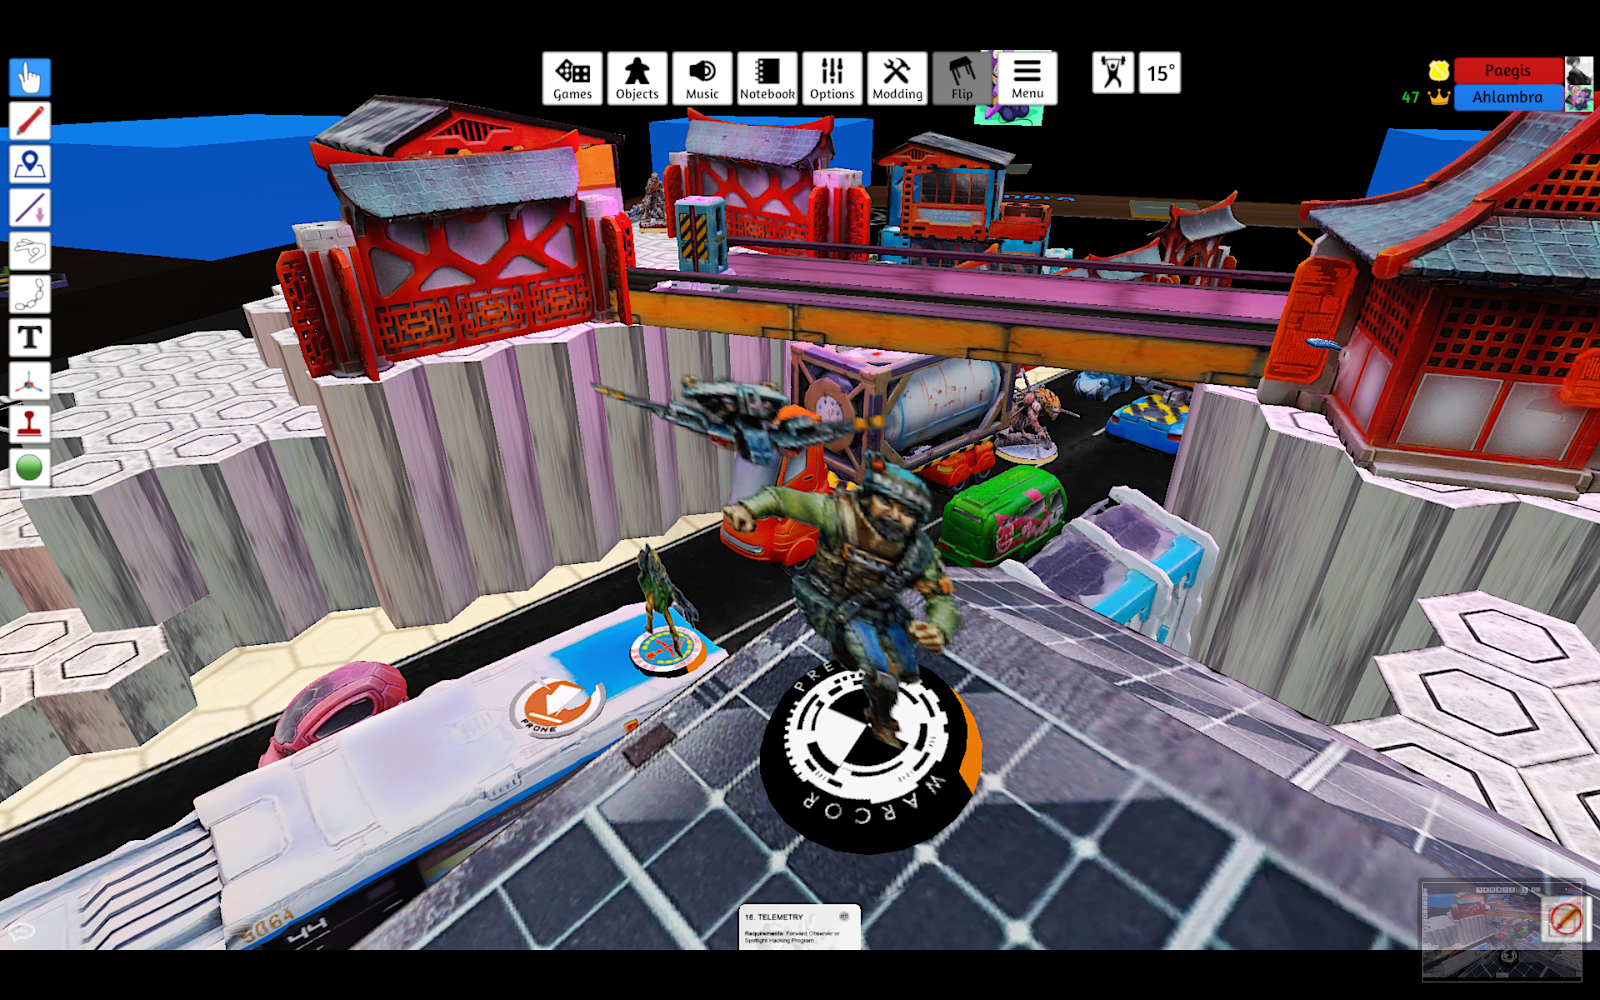
My opponent lets Carmen and Batard go on their impetuous order. The Lu Duan, Warcor and FO Zhencha see her. Carmen drops a smoke grenade, the Zhencha reveals and everyone shoots. An SMG round sneaks through and shocks Carmen straight to dead. Both my opponent and I forget that the Lu Duan would have taken a normal roll against a smoke dodge.

The MSV2 MK12 Khawarij pokes up next and takes a shot at the Warcor. The Warcor does what Warcors do and successfully stuns the Khawarij on his first order.
The linked HRL Khawarij pokes out and trades shots with the linked Son-Bae and FO Zhencha. The Son-Bae tanks an HRL hit while the Khawarij and the Zhencha whiff against each other.
Yara moves out next and I reveal the hacker Zhencha to shotgun her. I choose hit mode, hoping to beat out her heavy pistol but a shot goes through and he fails the armor save. At this point I realize I should have deployed my Zhencha on the rooftop right beside it to keep it safer and provide cover if nothing else.
Yara shoots again and this time I go with template mode, hoping to make it a mutual kill, but she kills him and tanks the armor save. The Zhencha down, she moves up and trades fire with the Lu Duan. She wins the fight but doesn’t manage to remove it completely, leaving it at Unconscious L2.
At this point Tarik uses his LT order to move up and trade some long-range fire with the Warcor and the Son-Bae. He puts one shot into the Warcor and the rest into the ML bot. The Warcor dies but Tarik eats both missiles and gets removed completely.

The Khawarij HRL once again engages the Son-Bae and Zhencha. This time the Son-Bae burns right off the table but the Zhencha FOs the HRL, netting me Telemetry. I think I probably should have attempted a shot with the SMG or panzerfaust instead – I still had both FOs and a hacker to attempt Telemetry later. I believe the Khawarij haris also starts moving.
On the last order the Khawarij haris repositions in total cover. I reveal the Zhencha hacker on the roof in an attempt to get a free spotlight but I’m an inch out.
Bottom of 1 – IA
I spend a couple of CT to move the Mech-Engineer and Pangguling to group one to bring it to 9 orders. Yara’s looking over my engineer’s path to the Lu Duan and could easily clear my left flank so I feel the need to get rid of her. The Zhencha FO is the one for the job and I spend an order and my last CT recamoing all my Zhencha (I was recamoing it anyways and I figured I might as well protect my other Zhencha at the same time). I then spend a few more orders moving the FO Zhencha off the bus and up the cliff to engage Yara, who goes unconscious after a couple of rounds of shooting.

I continue spending orders on the Zhencha, dropping a mine and then attempting to push the button. I spend 4 orders unsuccessfully trying to activate the antenna and run out, leaving the Zhencha relatively exposed.
Turn 2
Top of 2 – RTF
Tarik is down, but RTF isn’t in loss of lieutenant because of CoC.
The FO Khawarij spends a few orders circling around the building to avoid the mine and fires at the Zhencha, but he tanks the light shotgun hit and guts into total cover past the mine.

Across the map, the Khawarij Haris repositions. The Khawarij FO trades fire with the Zhencha FO on that side (who misses with his last panzerfaust round), and then once out of sight, flips the antenna.
On the last order, the Hortlak Sniper stands up.
Bottom of 2 – IA
That sniper is pinning down my Zhencha, but I also need to get rid of the Khawarij near my Zhencha on the left and flip that antenna. I spend a couple of orders on that Zhencha, walking around the corner and taking out the FO Khawarij.
That threat dealt with, I redirect my attention to the other side and get the Shang Ji HMG moving, Zhanshi paramedic trailing behind. I elect to gamble a bit by dodging as my second skill. He succeeds twice in a row and zips up to the edge of the ladder 10 inches at a time while the Zhanshi fails and remains behind. I spend the Shang Ji’s LT order and dice off against the Hortlak. I get lucky and shoot him off the table in one order.
The FO Zhencha on the other side spends another couple of orders hitting the button and finally activates it. On the way out I drop another mine and then move him into the middle of the bridge. I spend my last order putting that Zhencha in suppressive fire, trying to cover both flanks at once and burn my opponent’s orders.
Turn 3
Top of 3 – RTF
The MK12 MSV2 Khawarij maneuvers out and fights the suppressing Zhencha. Three or so rounds of shooting later the Khawarij emerges victorious.

The Khawarij haris on the other side comes around some terrain. The HRL eats a free ARO from the Shang Ji as they move-move and dies. In retrospect I possibly should have taken the shot at one of the specialist Khawarij instead, but that might not have mattered since there were still two specialists left.
The FO makes a mad dash across the bridge, tanking the mine in the process, and flips the antenna while the last Khawarij sticks himself to the tech-coffin. At some point the Mk12 moved into contact with the antenna as well.
It’s a pretty solid position – both antennas are flipped and an antenna and tech-coffin are controlled.
Bottom of 3 – IA
I finally bring the hacker Zhencha off the roof and go for the antenna. Unfortunately I roll a 17 and 18 after needing 16s and it still takes two orders to activate despite the hacker bonus.
At this point I feel like there’s very little chance I can get a specialist all the way to the other side of the map across the bridge to flip the antenna back (especially considering my two closest specialists, the Zhencha, were very far away and out of long-range weapons), so instead my Shang Ji HMG moves up, intending to shoot the Khawarij off the tech-coffin.
The Khawarij survives the first round of shooting, and I start moving the Shang Ji into cover close to the objective, planning to spend a few orders having a shootout with the Khawarij with the pistol or chain-colt. But when my opponent declares template mode, I see an opportunity and declare dodge instead, counting on the Shang Ji’s 4” dodge to get me into contact with the tech-coffin – the prospect of taking on a shotgun-wielding model with only a pistol or chain-colt didn’t seem like great odds. The Khawarij across the bridge also sees and takes a long-range ARO with the rifle, but my dodge roll wins out and I push my Shang Ji into contact with the tech-coffin.
There should be another Khawarij on the bridge touching the far antenna but it kept falling through the bridge.
At this point I have a few more orders to spend, but we both have an antenna activated and controlled, neither of us control the tech-coffin, and I have my classified, so we end the game there, resulting in a 4-3 victory for IA.
Post Game Analysis
Now the trickiest part, analyzing the game! I feel like I did a decent job of deploying my Zhencha (other than not putting the left hacker on the rooftop). In retrospect at least one of the Chaiyi could have gone to support the left side since I already had a Zhencha, Son-Bae and the other Chaiyi protecting my LT.
I made a mistake on turn 1 when Yara was approaching my hacker Zhencha. I revealed to shotgun her but definitely should have waited for her to attempt a discover to force my opponent to use at least one more order.
I also think I may have developed a bit of tunnel vision in regards to Yara. While she was threatening a few of my models, if she wanted to hunt down my units on that side it would have taken her most of a turn since they were all hunkered down in full cover. She’s also not a specialist so she couldn’t flip the switch herself. With nearly a full order pool, instead of fighting Yara, I think I could have had the Zhencha hacker come off the roof, flip the antenna and then clear out the Khawarij haris on that side with its BSG, especially since the Hortlak was still prone at that point.
I also feel like I got hung up on flipping the antenna on my first turn. After the first two failed rolls I probably should have spent the next few orders mining that position up and putting my Zhencha in suppressive or recamoing it and putting it in cover. I got lucky when the Khawarij failed to kill it on the next turn.
I think I also made a mistake moving the FO Zhencha into the middle of the bridge and going into suppressive at the end of turn 2. It might have been better to drop another mine, recamo nearby, and force my opponent to dig him out instead. This would have given me a better opportunity to contest that antenna at the end of the game as I had nobody else nearby.
My opponent standing the Hortlak up was a great move that was very annoying for my short-range skirmishers. It took at least 3 orders to move up a big gun and dislodge it, and that was with a lucky set of rolls.
I do think my opponent being very aggressive in some places – using Carmen’s impetuous order and having her dice off against three AROs, or taking on the Son-Bae with Tarik at long range (and splitting one burst into the Warcor) – was a factor in the game’s result.
In retrospect, a less risky way of winning the game would have been to leave my Shang Ji in contact with my antenna, recamo my Zhencha and then just move-move into the tech-coffin and reveal. I had the orders to do it, the end result would have been the same and no dice would have been involved. Alternatively, the Zhencha hacker had a BSG and would have been a much better candidate to remove the Khawarij from the tech-coffin in a shootout.
As it was, I feel like the game was pretty close. Zhencha are fantastic (if a bit pricy) and they’re great for objectives. The second wound feels fantastic on a skirmisher since it means I don’t fear templates as much as most other skirmishers. I think I need to figure out ways to keep them safer when it’s not my turn – particularly leaving them in cover, where ARM6 and a second wound will make them very hard to remove, or putting them back in camo state. I’m still trying to figure out when it’s appropriate to leave them out to ARO vs keeping them safe for my next turn.
I also forgot how good a fast-moving BS13 HMG is on its own. IA is my main sectorial so I tend to run my HI linked, but I’ll need to put more time into running solo HI in the future. The N4 Shang Ji really impressed me in particular – getting pseudo-6-4 movement felt great and it always feels good to have a direct template as an option.