From the Mind of a Master: Weapon Swaps
Obi’s back with more words of wisdom, helpful to all Infinity players out there that want to make profiles which don’t have minis. Swapping weapons is one of the fundamentals of converting miniatures, so lets see how a master does it.
As some of you may know I am a bit of a madman when it comes to converting and sculpting minis, but I have been trying create some fundamental tutorials that are approachable to those who are just starting out, and awhile back someone suggested it could be useful for me to create a tutorial on how to I do a weapon swap. With the release of Tanguska and only one Grenzer model to accommodate a number of profiles, I decided this would be the perfect opportunity to show a way to swap a rifle or shotgun held in two hands with minimal green stuff work.
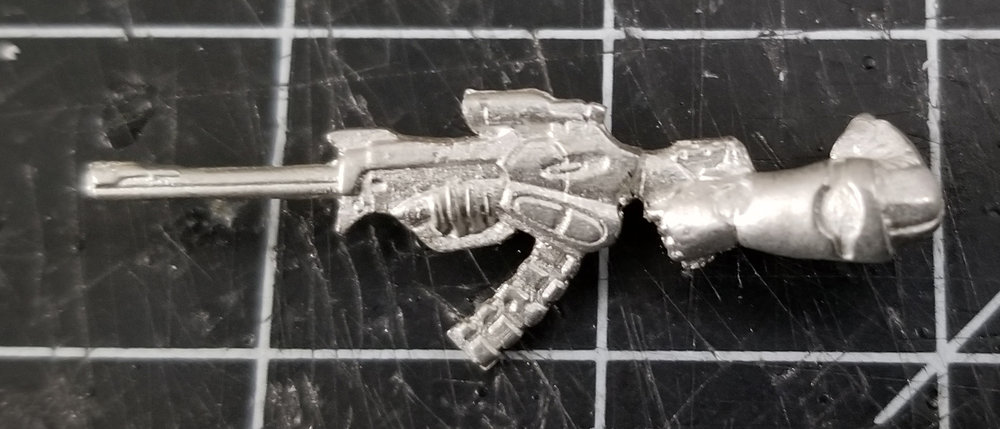
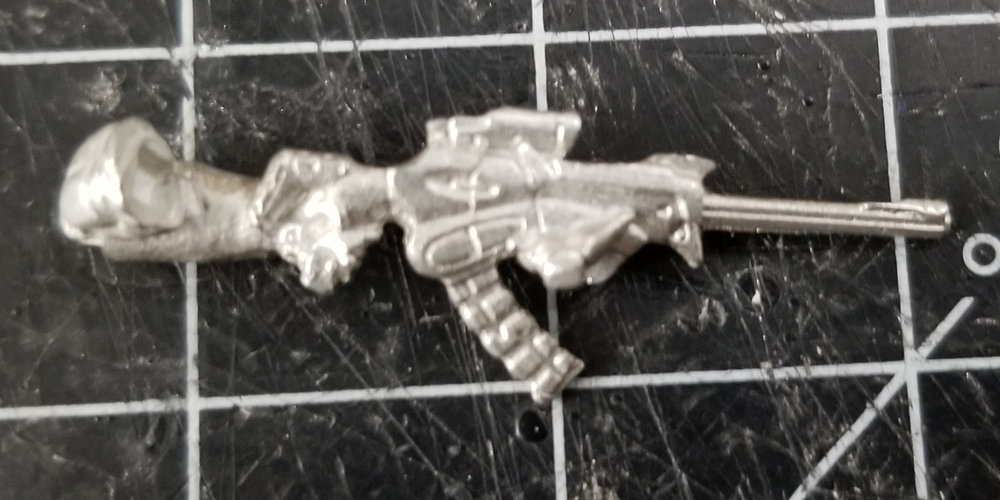
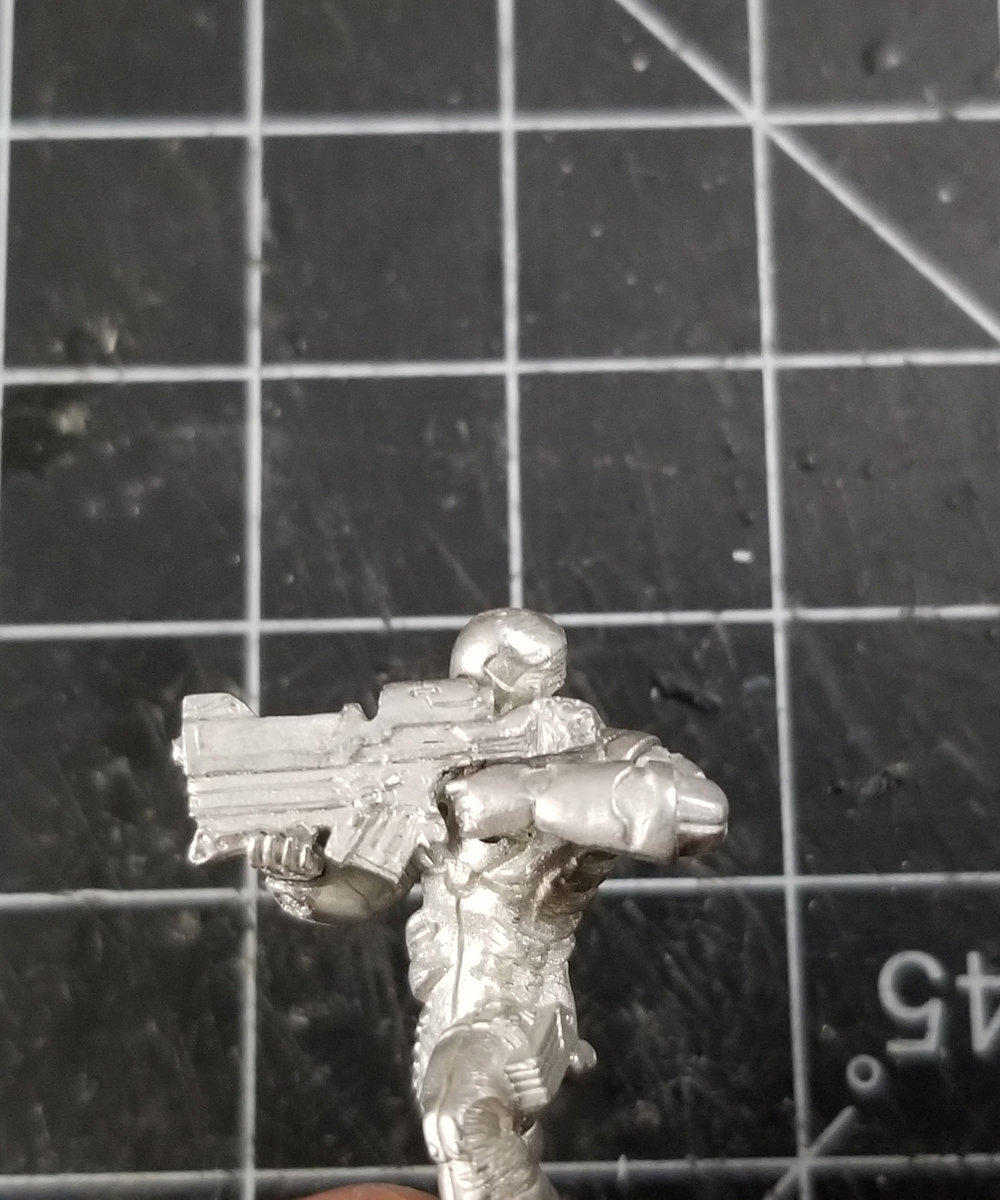
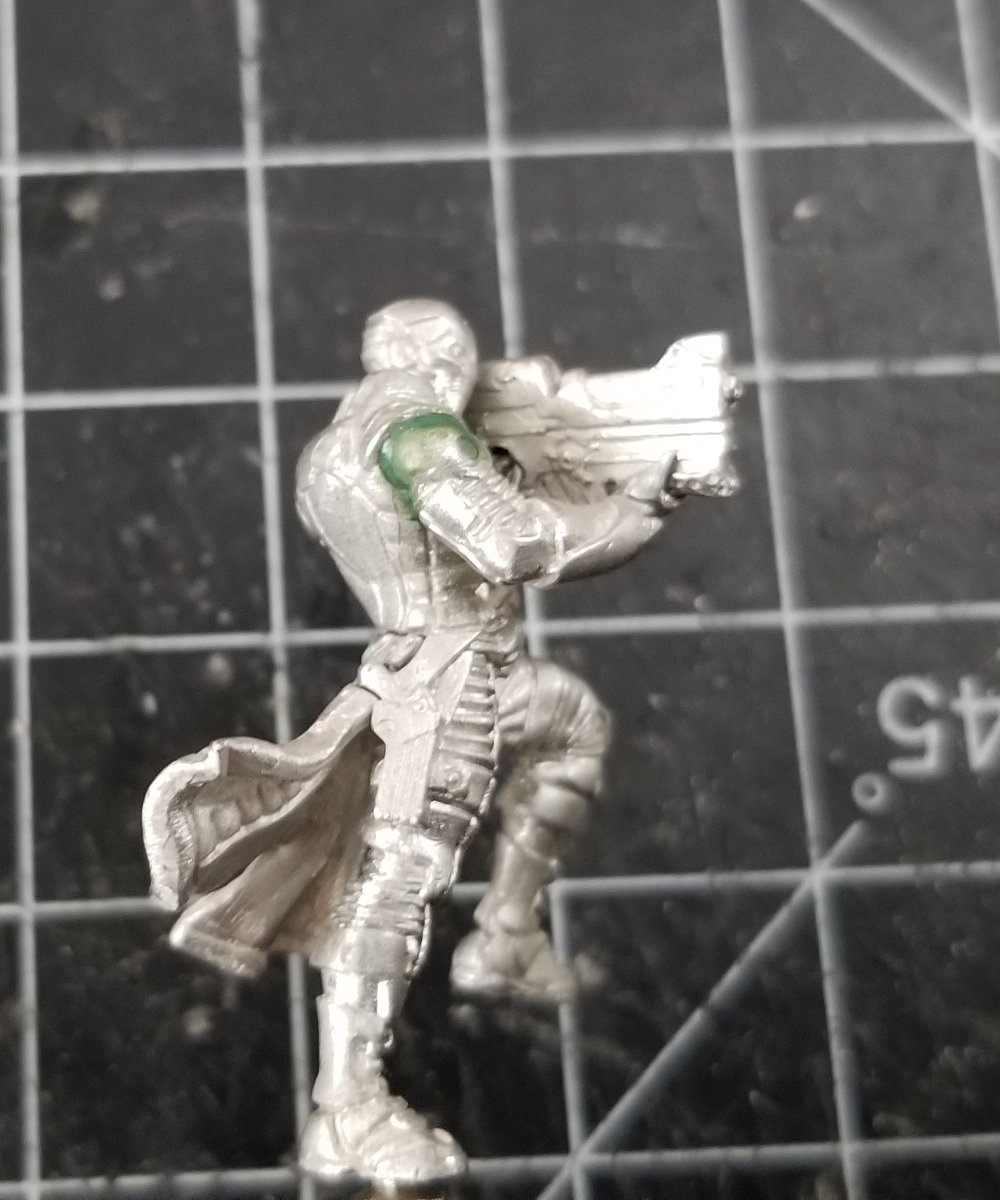
I have found it useful to begin by looking at the weapon I am trying to swap out, (in this case it is the Nomad multi sniper), in order to get an idea of what I am going to need to do to get the desired result.
Both hands are modeled on to this bit so the right hand would need to be resculpted if I were to just cut the rifle off and toss it. I also look for points were I could cut the rifle so a similarly designed gun could be swapped in.
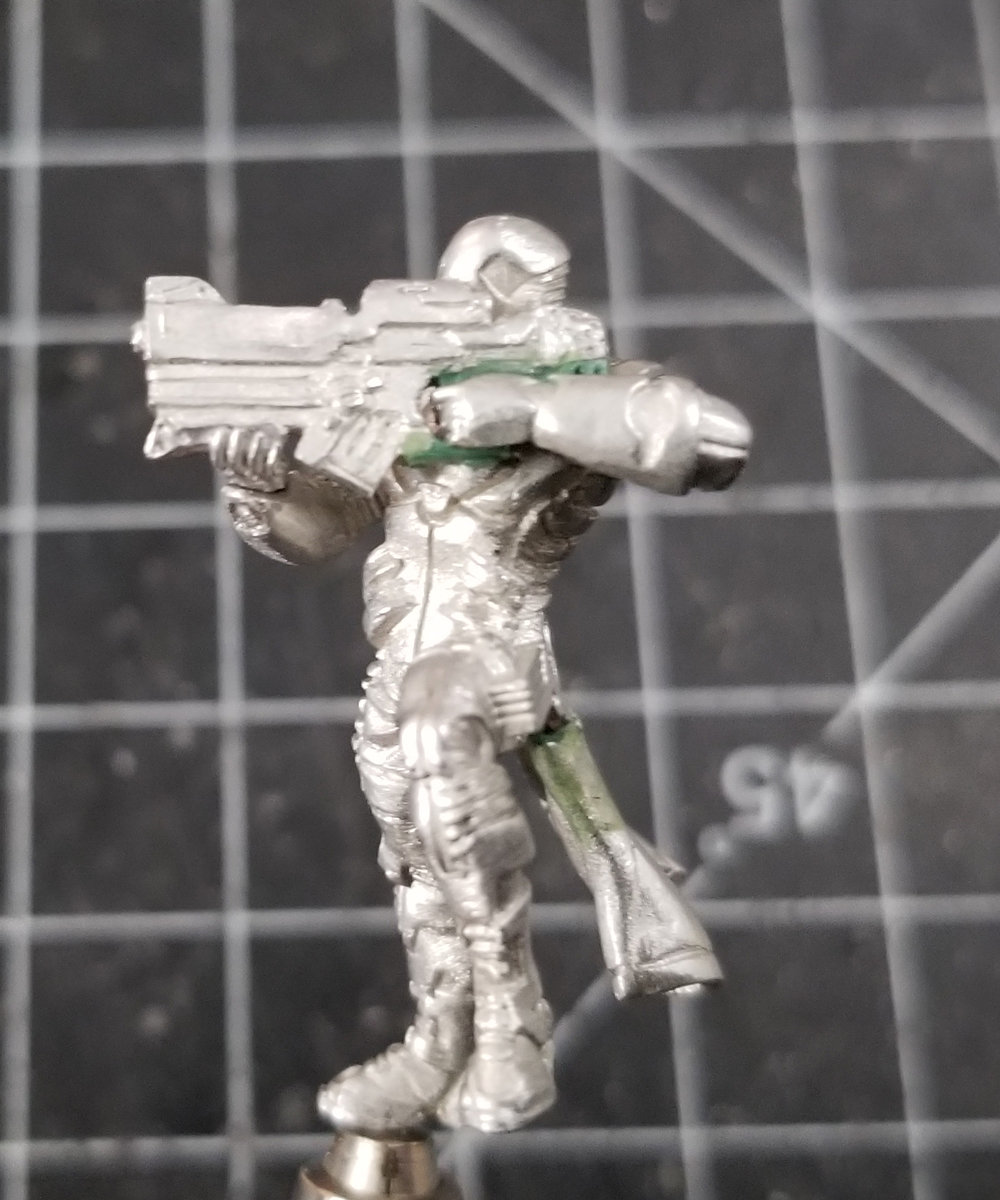
This Nomad boarding shotgun is an example of how cutting in the right place would provide a clean contact point for an easy swap. Most of the weapons in infinity, (especially with the newer designs), have a base design specific to each faction, so I like to take note of this when I am deciding on a weapon swap. However, although a boarding shotgun could be fun, I would like to go with the Nomad spitfire because it is probably more useful, but even more so because it is my favorite gun design in Infinity.
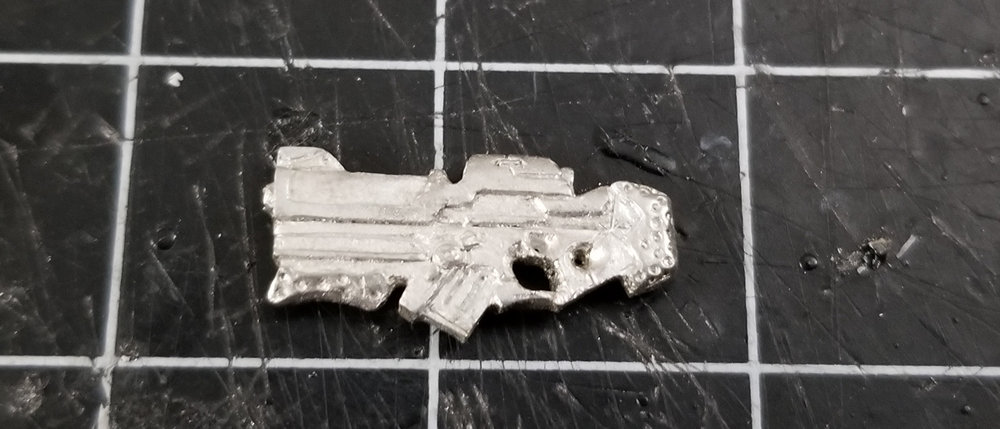
Looking at this, there are few shared elements, so I will need to cut out the handle to make it fit, but before I get into that I will be removing the Right hand from the sniper rifle.
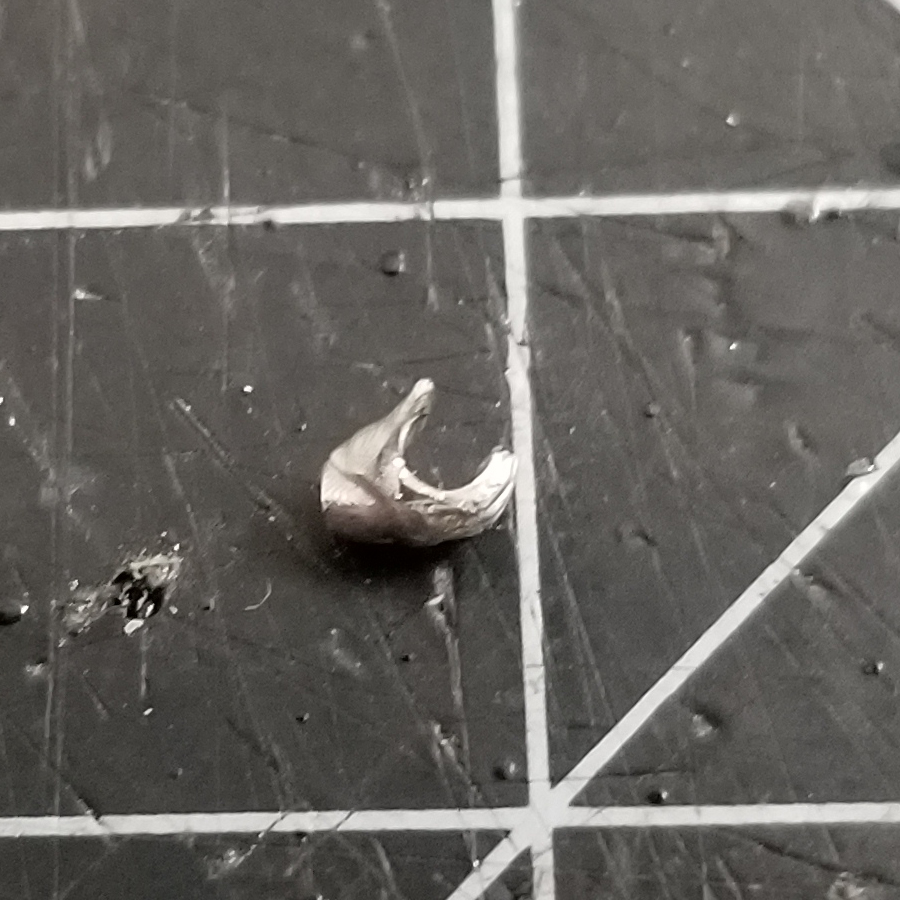
I started off by cutting the rifle off from the left arm, and then also used a hobby knife to remove the hand guard from the right hand, and cleaned it up with a little filling.
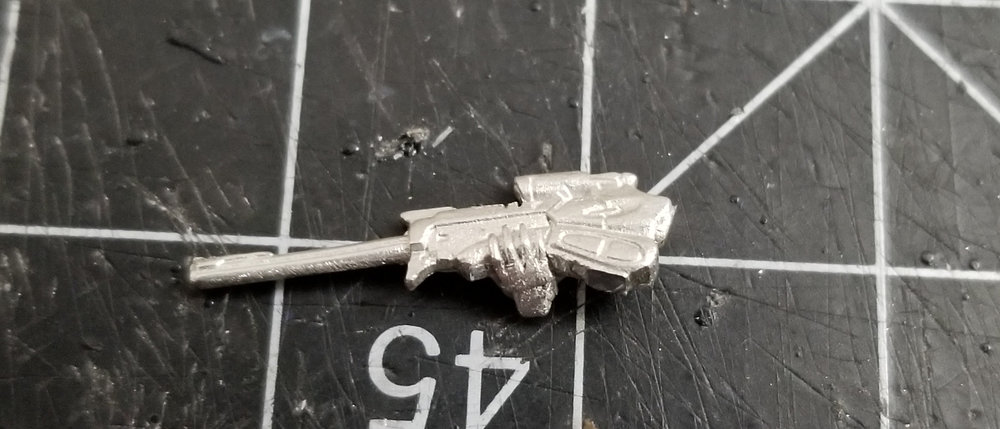
I then used my hobby knife to cut away large chunks of the rifle. Cutting as close to the fingers as I could without cutting them.
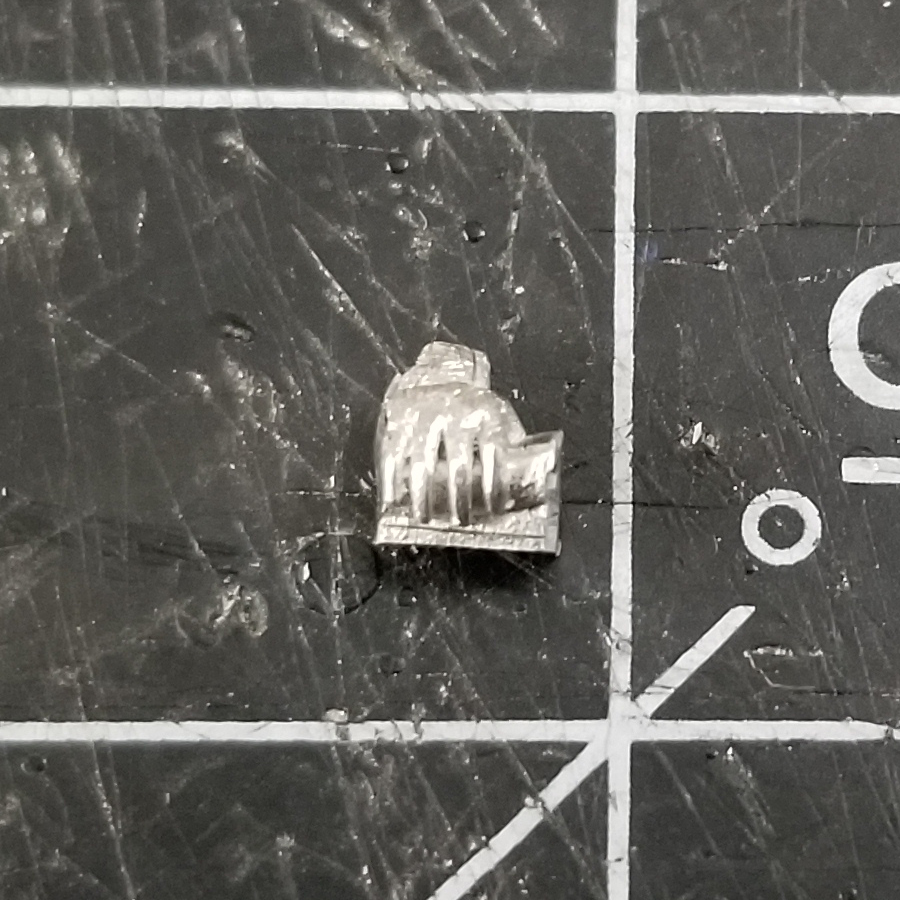
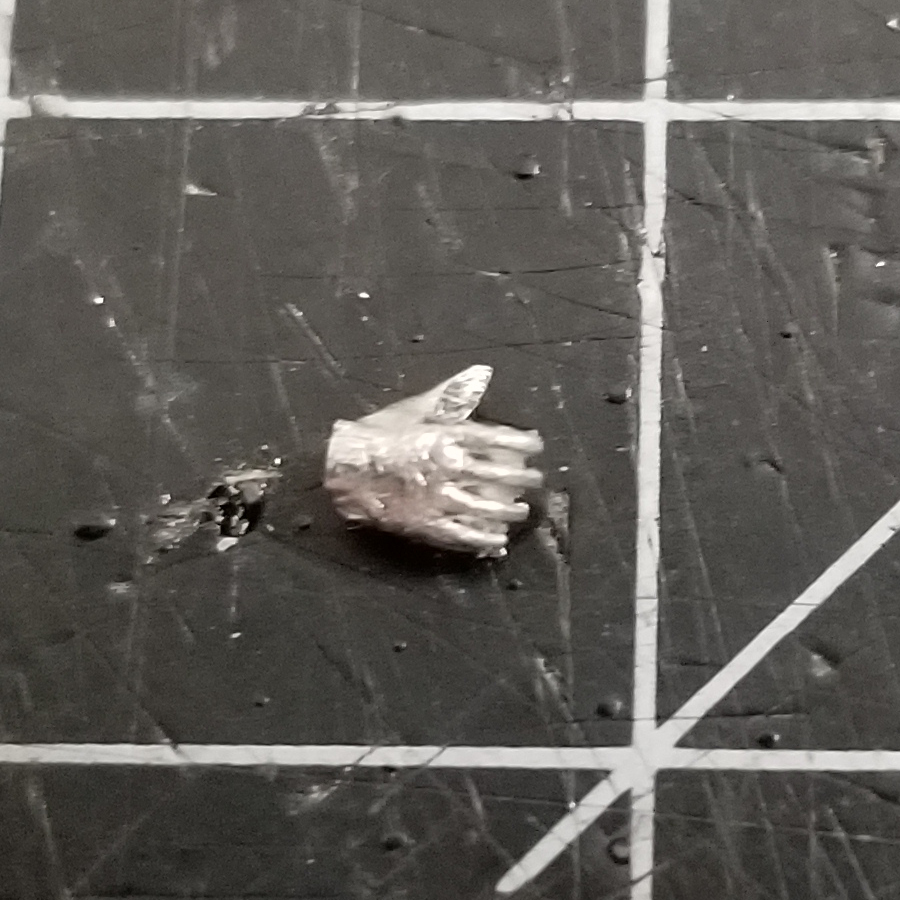
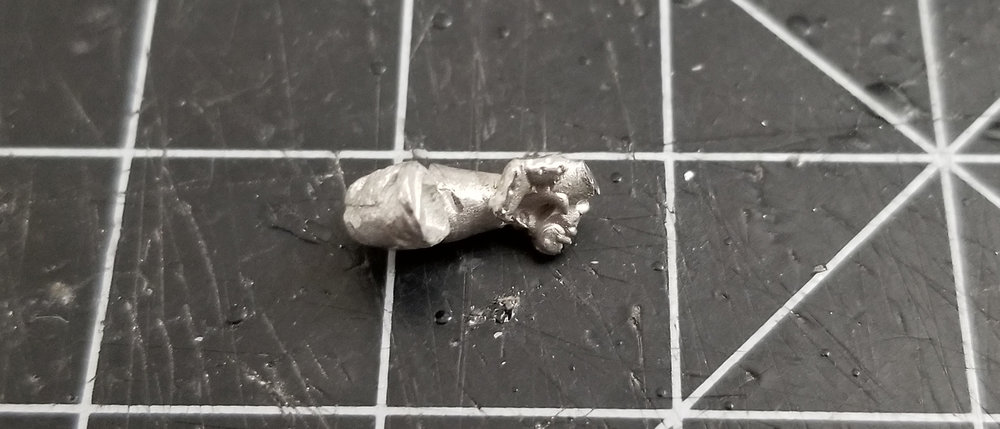
To remove the final bit from the hand, I made pilot divots with my hobby knife on both ends of the remaining bit of rifle, and then used a hand drill with a small bit to drill through it, alternating between sides to keep the drilled path straight.
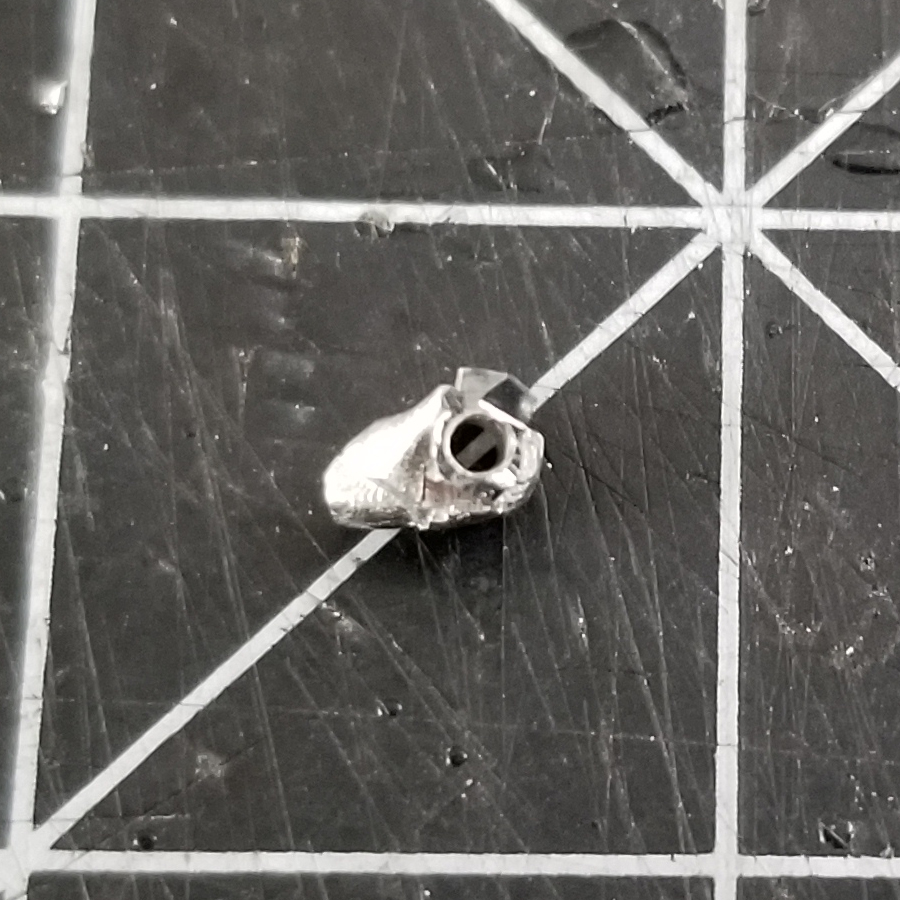
I then used a bit roughly the diameter of the gun’s width and drilled through again. In this instance the bit was so close in size that only required a little clean up with a hobby knife, and some filing to leave me with just the hand.
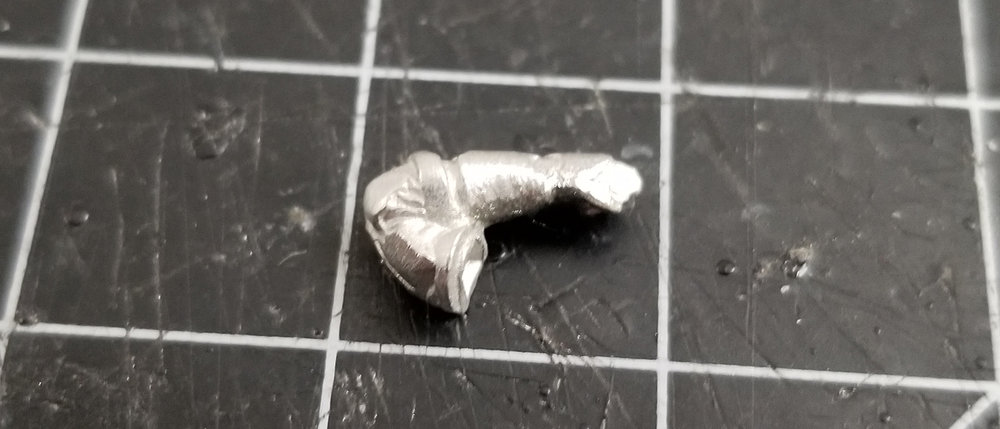
Going back to the Left arm I will have to remove the rest of the rifle above the thumb of the hand, and the stock. I did this with a hobby knife and then cleaned it up with a bit of filing.
I removed the handle of the spitfire and began test fitting.
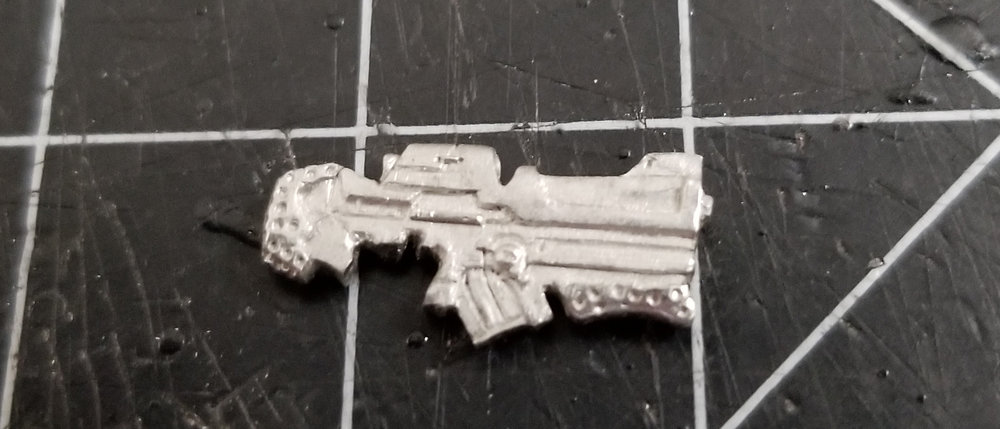
After some test fitting I could see where I needed to remove more of the handle area, and the stock needed to be filed down so it would rest easily between the mini’s chest and arm.
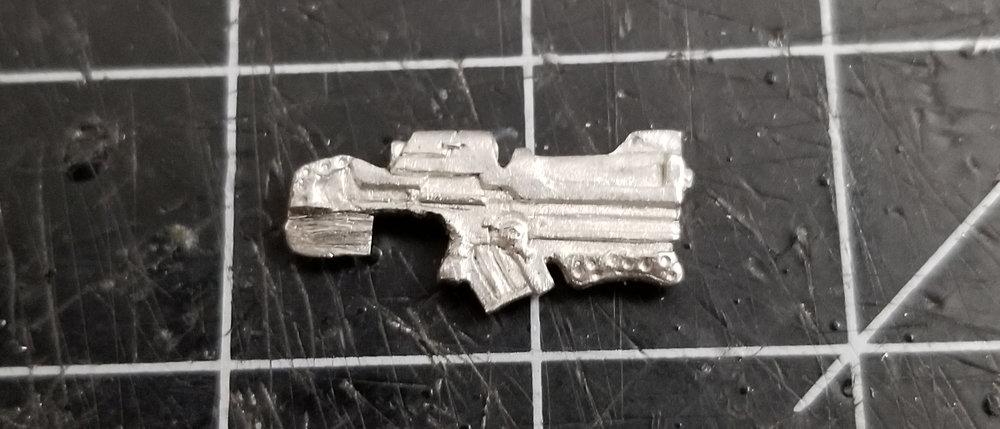
I used some brass rod so I could begin pinning and do more test fitting.
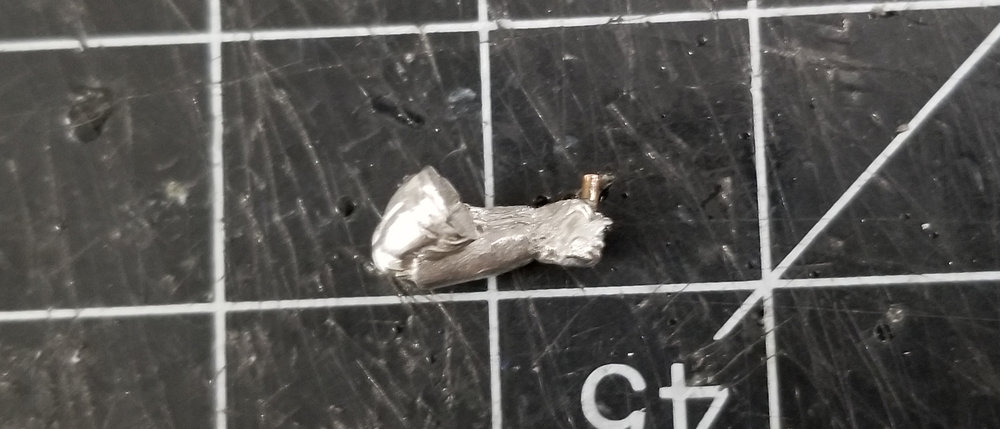
I removed a little more from the stock to make the gun rest in place a little easier.
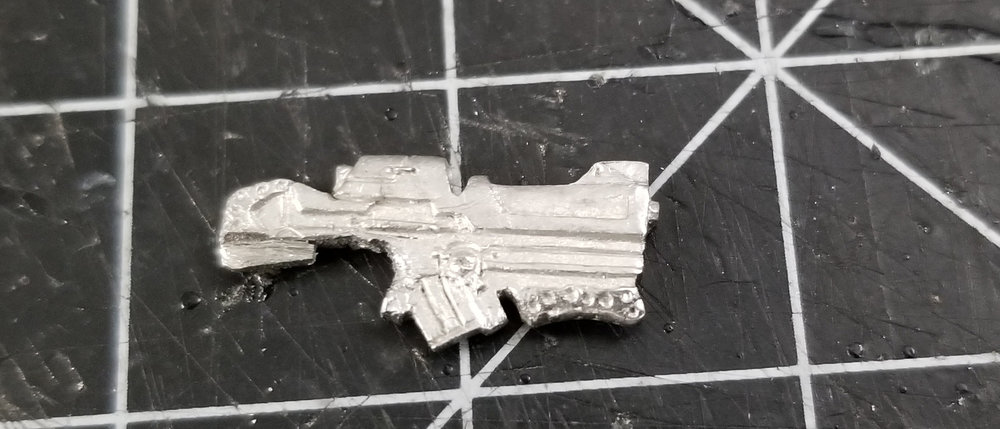
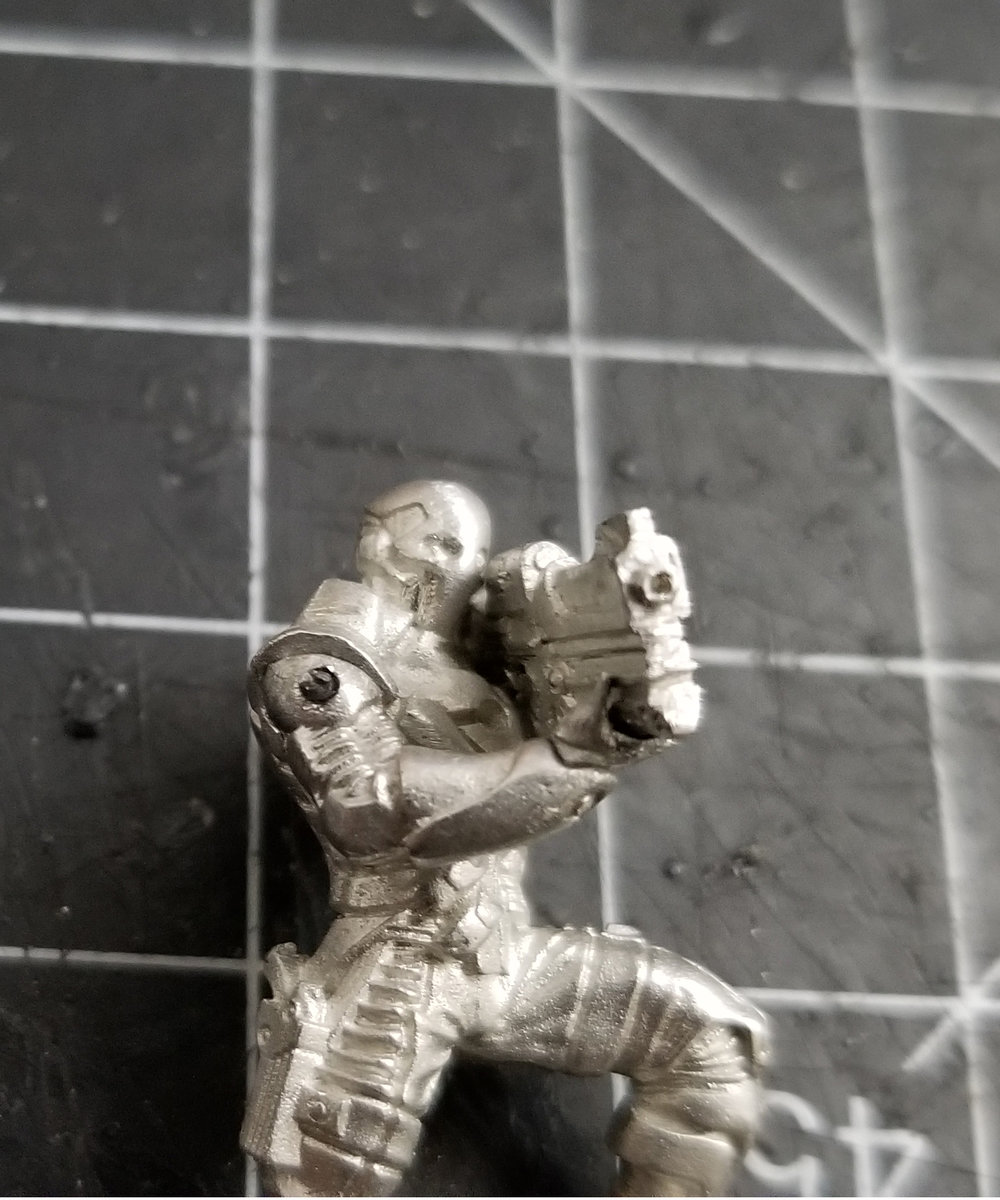
Once I glued the gun in place I could see the small gap I would need to repair, and I will need to recreate the bridge that connects the handle to the ammo clip.
I assembled the arms in order to get an idea of what other areas may need some gap filling.
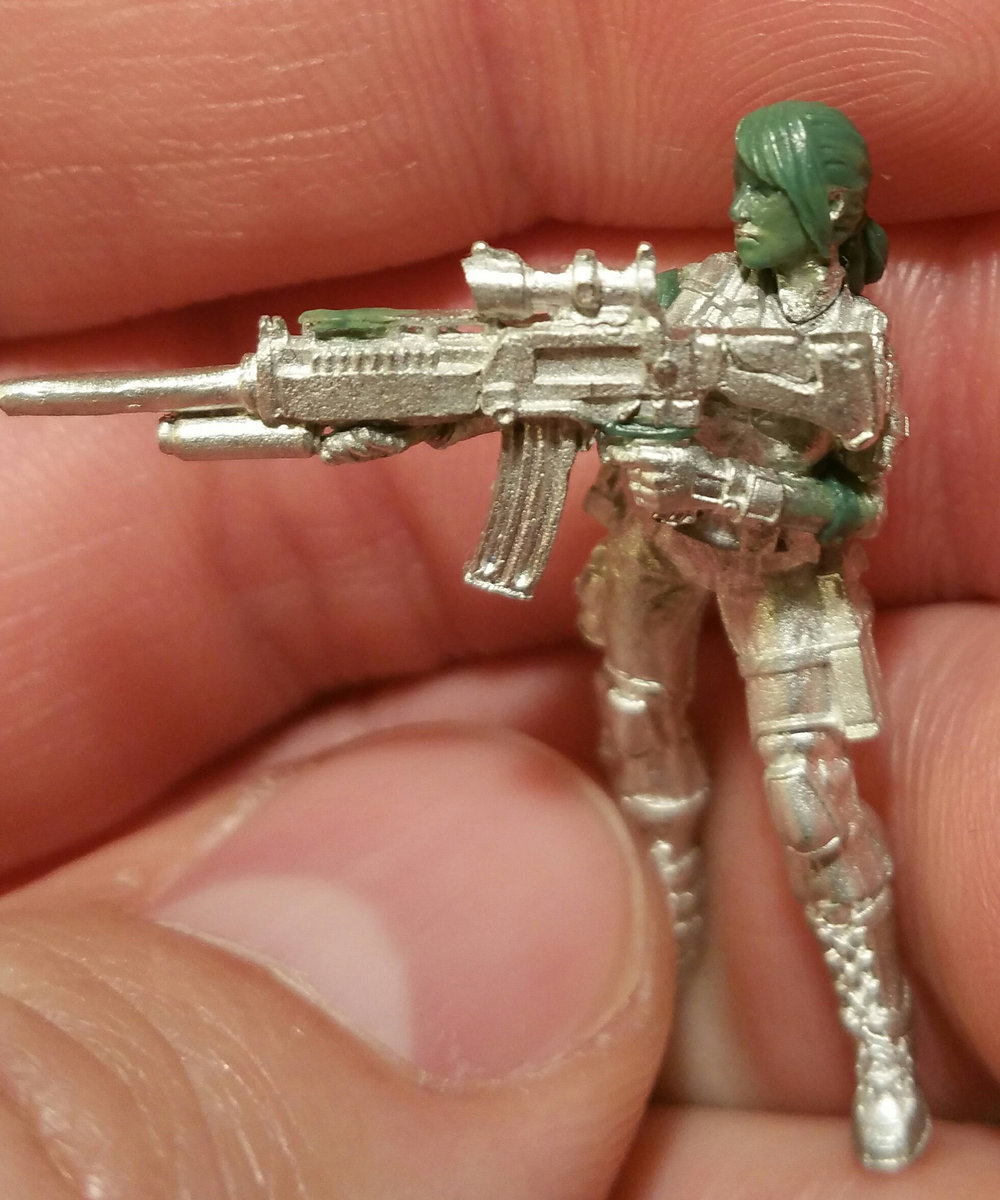
I then fixed up the problem areas with a bit of green stuff and was able to avoid sculpting a new right hand.
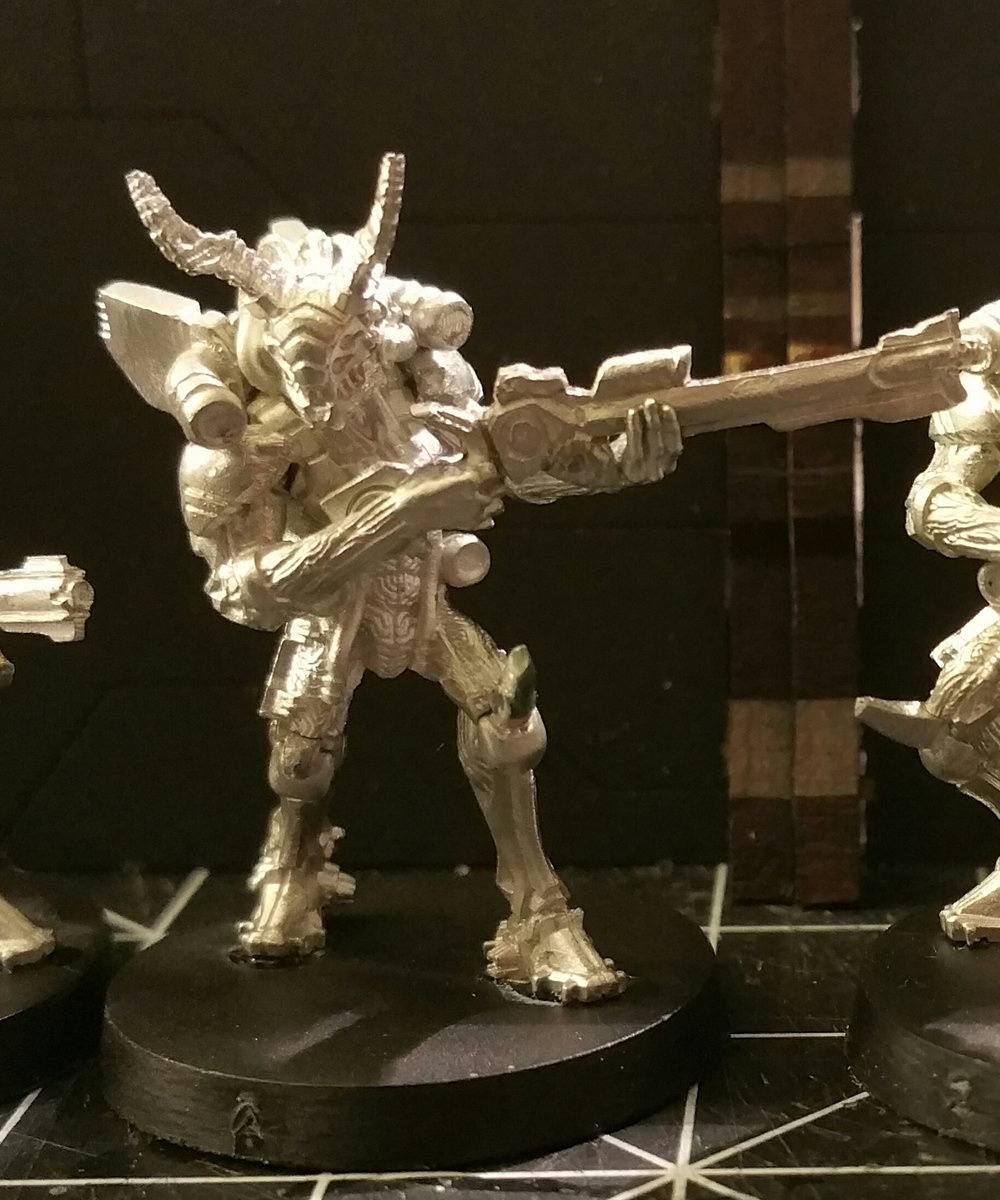
I used the same technique to swap out the weapon of this Kauuri, and this Foxtrot.


