New Monke Who Dis?
by Borisgreymenance
- Tunguska vs. Morat Aggression Force
- Resilience Operations
- Lt roll: Tunguska
- First turn: Tunguska
Background
It’s my first game of dadfinity. A couple months ago my wife gave birth to our twins and as one might expect that’s really displaced a lot of time and headspace previously reserved for Infinity. But a stressful convergence of all day work meetings and construction at the house meant that the kids would be staying with my in-laws, allowing me to catch a couple of free nights for me time. The reasonable thing to do would have been to get some consistent, long stretches of sleep to get back to baseline functionality. Instead of that, however, I started making plans to get out for a bit. Frank in The Dice Abide Live server shared the concept of 報復性熬夜 (bàofù xìng áoyè or revenge bedtime procrastination), which describes the phenomenon of trading much needed rest for leisure. This is definitely not not that. So, we’re off to the FLGS with a table, army, and all the collateral for a resilience ops game.
As the swan song of the Bromad Academy mission series, I wanted to try a couple new things. Firstly, I’ve never resilience ops’d before. I like the idea of a random asymmetric mission pack, and always liked classified objectives for that reason. It was on my punch list for the last prenatal Infinity game against my regular opponent Jon, but the kids moved their schedule up on me. I would have tried out the BAMS balance patch, because whoa is there too much gear to bring to the table, but as a new thing I wanted to know what the vanilla experience is first. Kinda like any meal, first bite is without the sauce to know if the underlying food is good. I also don’t really have the mental bandwidth to follow BAMS development right now. But I look forward to seeing how the sauce modifies the cuisine.
My opponent is Steve, a local who’s just getting into Infinity (this will be his second game ever, first game at 300pts). He’s fielding his Morats, who last debuted in a learn to play day and are sporting a nice color gradient from the airbrush, with the Suryat and Vanguard painted to a really high standard. Even though he’s new to infinity, he’s not to wargaming (so another kind of first, but not mine), but decided to run his list by me ahead of time. I sent across a few suggestions that would allow him to leverage his model collection in a bit of a more coherent list–two harises powering a Bultrak with respectable midfield field presence. There were a couple options to see if he could slot in the Zerat KHD over the minelayer, but he opted for the minelayer instead. With a single combat group of heavy hitters, this should be fairly capable in terms of delivering power with some order efficiency but not completely overwhelming him with order distribution between groups.
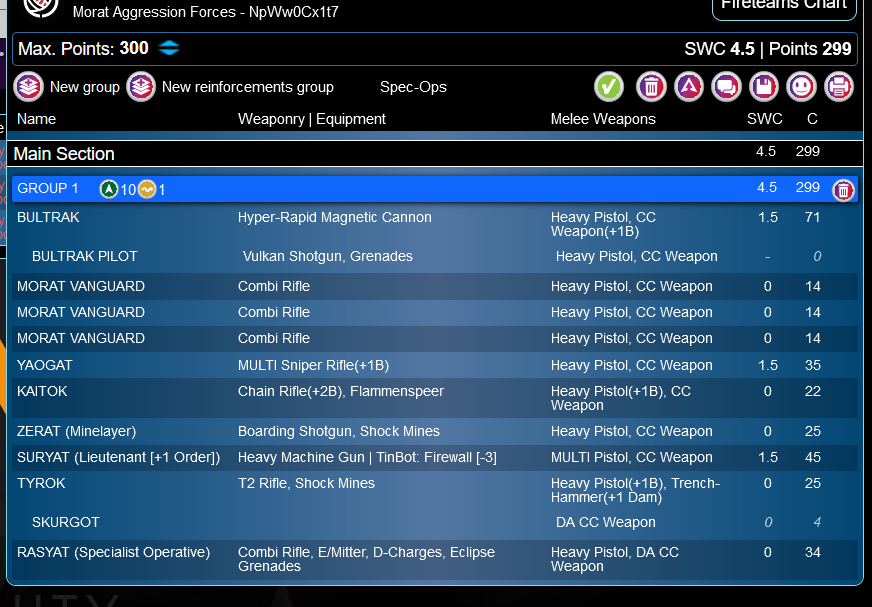
I’m leaning into the new Kulak profiles to power a Kriza Lt., ditching the bread and butter of previous lists, namely Szally and a GML package. Kriza Lt in a haris isn’t new for me, but I swear to God I’m going to make this work someday and that would be another first.

There are some standard tools here–a defensive “Securitate” core (thank you paramedic for being the glue in our relationship) with a Rounder hacker with Trinity and Interventor KHD for… extra beepers without that Zerat KHD, I guess, but also a threat to take over that Bultrak if it gets too close, and two Kulaks–the CoC security blanket to back up the Kriza as he runs into a Yaogat MSR and Bultrak HRMC, and the HRL to be a budget Grenzer, and not as oppressive a roadblock while presenting at least some threat in ARO to the Bultrak. The Kriza is working with Jelena breaker combi and a Stempler, one for tacaware, the other for cheap filler, but both packing triangulated fire to deal with any bad mod stacking (like a Zerat) as a pocket tool. Some more regular pieces fill out the list–Puppetactica and Zellenkrieger and some Transductors for repeater coverage and a lucky flash pulse and a Zondnautica spitfire for speed killing.
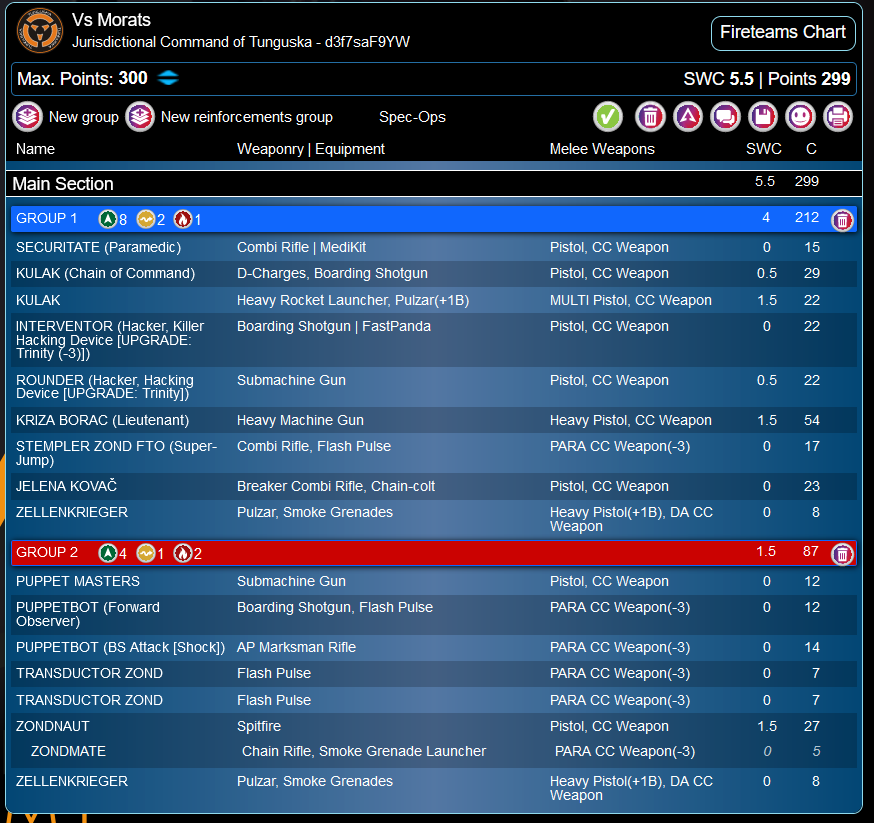
Since I can’t exactly plan around the card drop (other than bring two decks), my “strategy” here is basically kill with Kriza, kill with Puppets, and use Zellenkriegers to create havoc. I made my list up before I saw Steve’s, and both the TAG and the Yaogat are big problems. B6 is a helluva drug with burst advantage, but it’s dicey. I pray to the dice gods and make it plan A to remove the Yaogat. For the Bultrak, the Puppet AP MMR and Kulak HRL can be potent tools, but I find they are more effective deterrents than something I want to lean on dice wise, especially in the reactive turn. So my real plan is to go first, apply Zellenkrieger, and hope for the best.
Steve’s plan, which we plot together, is apply Bultrak, menace with Rasyat, and then use the Suryat haris as the backup piece. It’s a punch in the face list that I will struggle against, since my only big gun has no AP. When it comes to objectives, we’ll have to work through what can and can’t be done. Given that I am pretty rusty and Steve is relatively new to the game and running his first full 300 list, I set expectations at the start. A successful night for us is getting through one round of play and learning mechanics. We’ll score at the end based on points, but this is not meant to be sweaty competitive. There’s too much information asymmetry between us and I don’t feel practiced enough, especially in this mission set, to pretend to be an expert. So we’re here to learn, have fun, and catch up for the first time since March.
Deployment
We roll off and I succeed better looking for 13s on the Kriza, meaning my plan is an absolute success so far. Steve holds deployment and keeps the table side he’s on and makes me deploy first. We go through our card draw and I end up pulling Cyberseige, Interrupt the Signal, and Z domination. As proof that we are playing two decks, Steve gets two of the same–Interrupt and Z domination, along with King of the Hill. On the battlefield conditions, I get exactly what I need with Close Quarters, capping shooting attacks at 32″, which means I will only face the Yaogat in the Kriza’s good range. Steve gets Jungle Combat and keeps it because it feels fluffy with the Morats and decides to put two zones in the midfield. Then it’s beacons, consoles, and a grip of HVTs to fill out the board space and provide all the range markers we can use to estimate where we are in the midfield.
I pay the command token tax for two reserves–the Puppets and the Zondnaut. I don’t know where they need to go until Steve deploys. My left flank is covered by the Kulak Securitate team with the HRL standing and the paramedic a little too close for comfort. However, since I have first turn I can shift her out with the NCO order on the Rounder to avoid any flammenspeers that might ruin my day and push up a little out of my DZ without risking the team. This feels basically free and low risk, though having to move a defensive fireteam on T1 doesn’t feel like “good deployment.” Next is the Kriza and team crouching on the right flank, looking to push up on the Yaogat. With the Kriza, I want to make sure I’m not offering other team members up as juicy targets. Then it’s the Zellenkriger in full cover to run up on folks after MSV2 is removed and the Transductors to put out a hacking bubble and offer some speed bumps. After Steve deploys, the Zondnaut goes in the middle in full cover while the Puppets go on the left to shore up the big team and the Puppetmaster ducks close to a Transductor, watching its back up the stairs. Group 1 Zellen gets Regeneration while Group 2 pulls C+ and I reroll for 8-4 and C+, just a straight upgrade. Booty is good but I feel like Metachem is just better. Both have helped me out more than any strategy. Roll good is king.
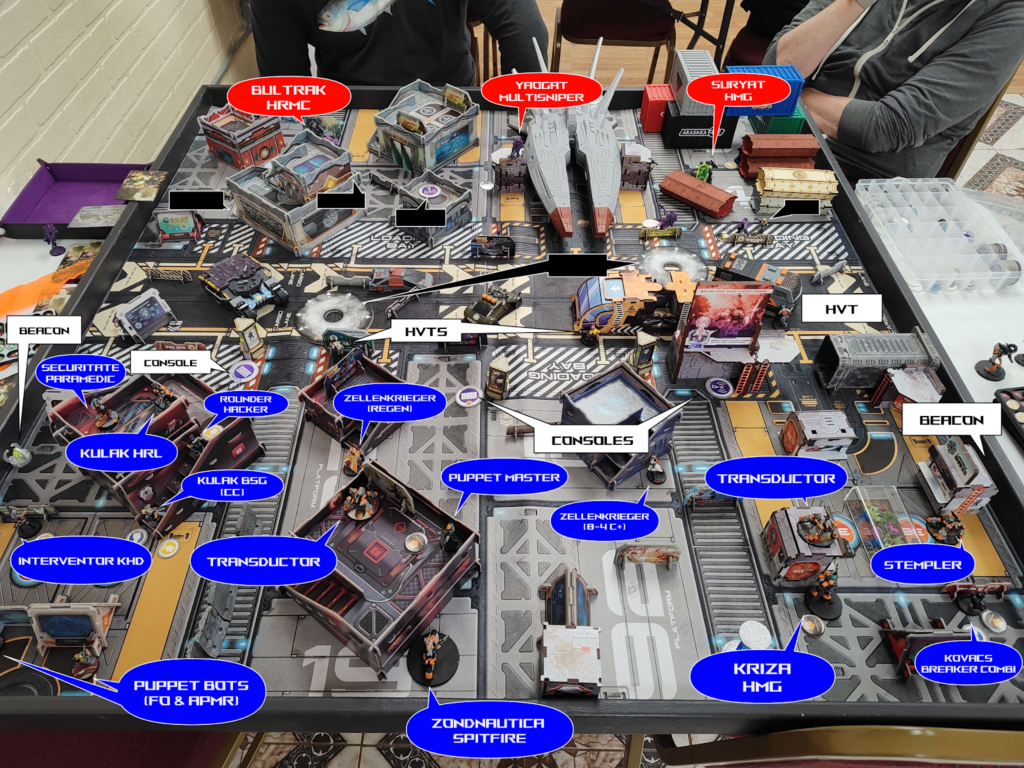
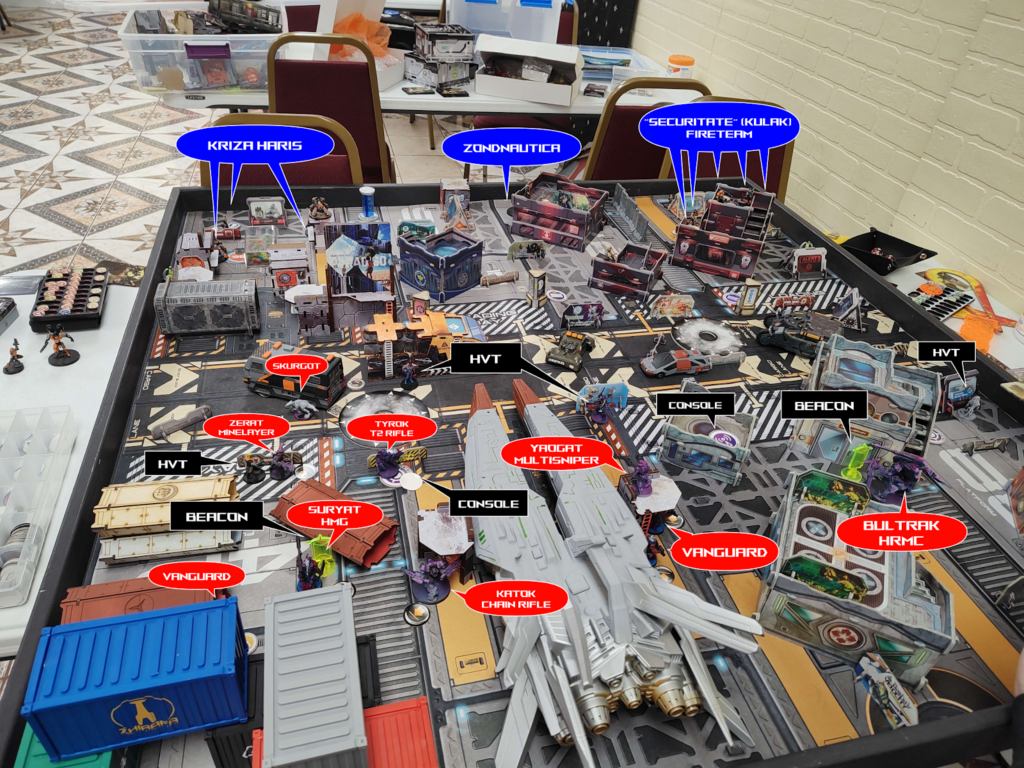
Steve puts the Yaogat right on a roof in the middle of the table, daring me with the AROs. This kinda fits my plan and offers me the choice of Kriza or Kulak. I fancy both but the Kriza feels stronger on weight of dice, especially since the Yaogat won’t get the burst bonus in reactive. The Bultrak (his reserve) counters my link in full cover on Steve’s right while the Suryat team and infiltrating Tyrok and Zerat counter my haris, with a midfield mine for extra measure. After that we shake hands and start play.
Turn 1
Top of Turn 1 – Tunguska
The first puzzle to unpick is really straight forward. That Yaogat has to die. First order in G1 is getting the Kriza up to get a bead on it. The first shot from cover fails–we’re both out of 32. So I decide to press my luck and shoot from out of cover. This time, the Kriza lands two shots and one of them gets through to put the Yaogat down.
I can now use that NCO order as planned to shift the team and decide to plonk all of the group two orders into the speedy Zellenkrieger to run up and lock down the Bultrak. Heavy pistols will not kill the beast, but CC23 will keep it from shooting. I have to take the slow route of crouching and smoke tosses, but without a direct template weapon I just walk into base to base shooting more dice in CC than the Bultrak can contend with. I deal no wounds but now I am the tarpit. The rest of group one is spent on moving the puppets up so they can join in the Bultrak TAG party, like Lilliputians snaring a big old monke Gulliver.
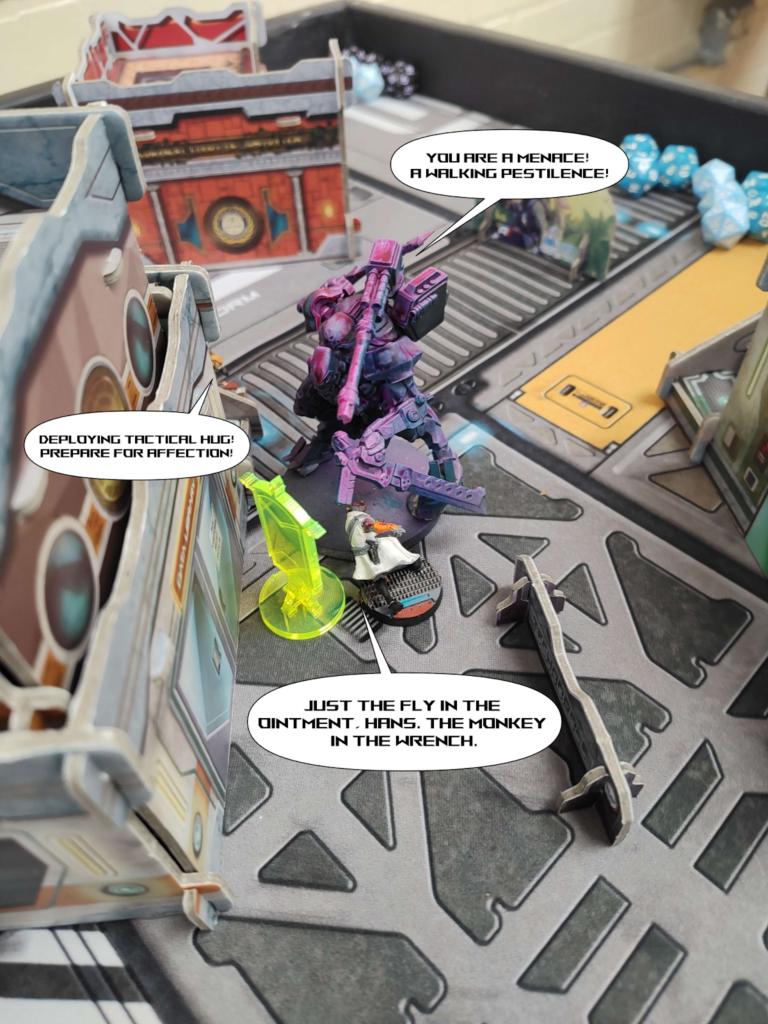
It’s about then that I realize the beacon I need to smack is right next to Bultrak. Would’ve been smart to drop smoke and Hulk smash it. Since this is effectively turn 3, I just gotta deal with the fact that the decision to forgo points to deny a big gun is a strategic decision and it might not pay off in the end.
Bottom of Turn 1 – Morats
It’s here where I wonder aloud, an I good teacher? A good friend, even? My buddy brought his sweet sweet TAG and I have it pinned with two gadflies. Steve tries the tacaware and one Lt order to shake me loose and while he tanks his armor saves his best, biggest gun is stuck
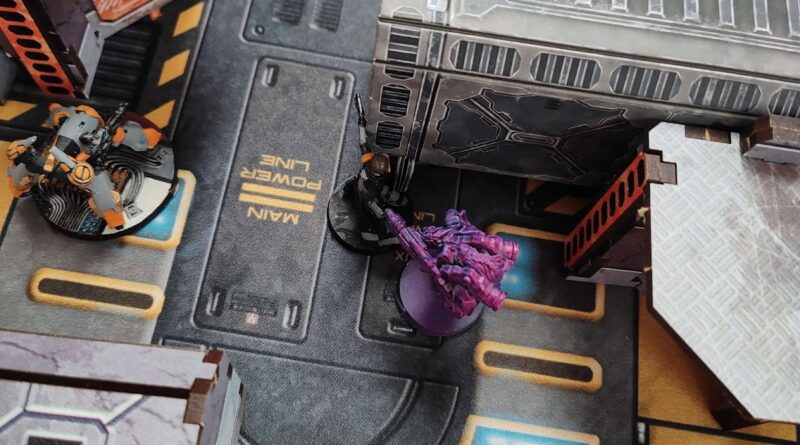
So its Rasyat time. We work out a placement together where it can drop without being shot. And end up next to one of my beacons behind a Micro Arts Studio kiosk. My Kriza gets a ZoC dodge and turns to cover either side. The Rasyat then drops eclipse and walks into combat with Jelena, eating a chain colt and killing her to dead.
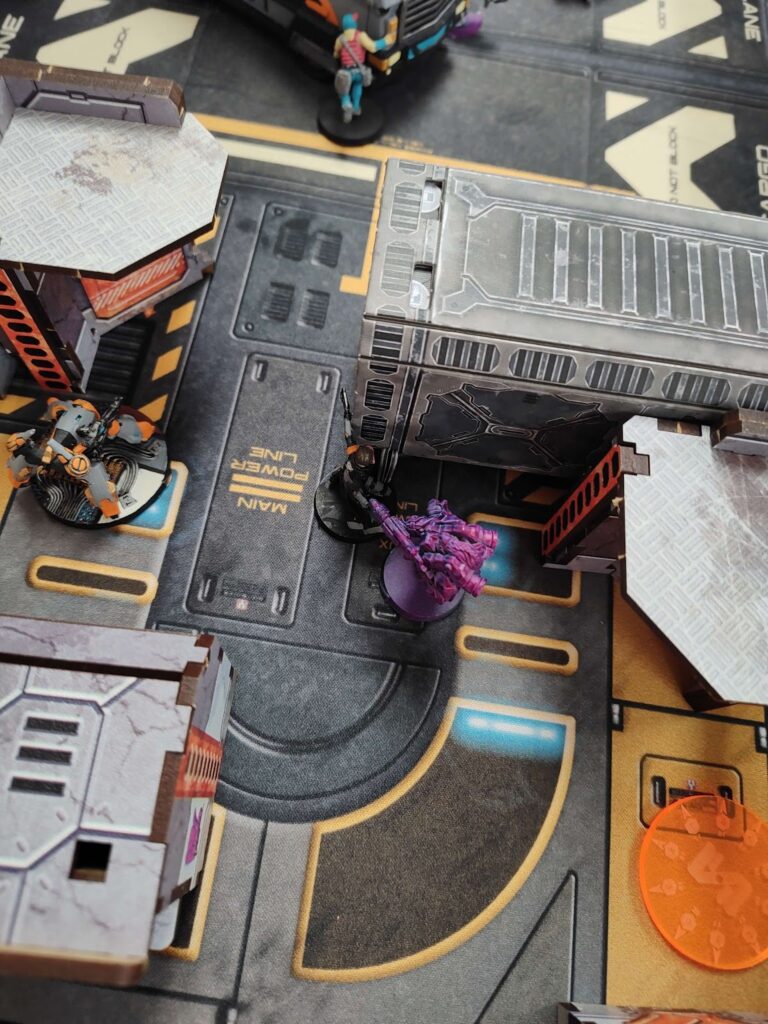
With Jelena down, the Tyrok and Skurgot move up with an eye on my Kriza, but have to get past a plucky Stempler first. Steve decides to apply the Zerat and mim-6 against it’s paltry BS 11. We walk through the implications of dropping a mine to fork ARO vs. just a YOLO approach, but since he’s taken a limited insertion list he doesn’t really have a lot of spare orders. So he decides to face tank a shot from the stempler, banking on mim-6 and boarding shotgun templates. Of course, the Stempler makes two saves and drops the Zerat.
This leaves the Tyrok to brute force it. She comes around the corner, Skurgot in tow, which is not much bait for my Stempler who lands a shot on her against 3 T2 shots and puts her dogged. Surely, this humble combat REM is the MVP of the match. Steve pushes up again this time getting the Skurgot and Tyrok into base to base to dismantling the Stempler. Considering how many wounds it put out and orders it ate, I can’t complain.
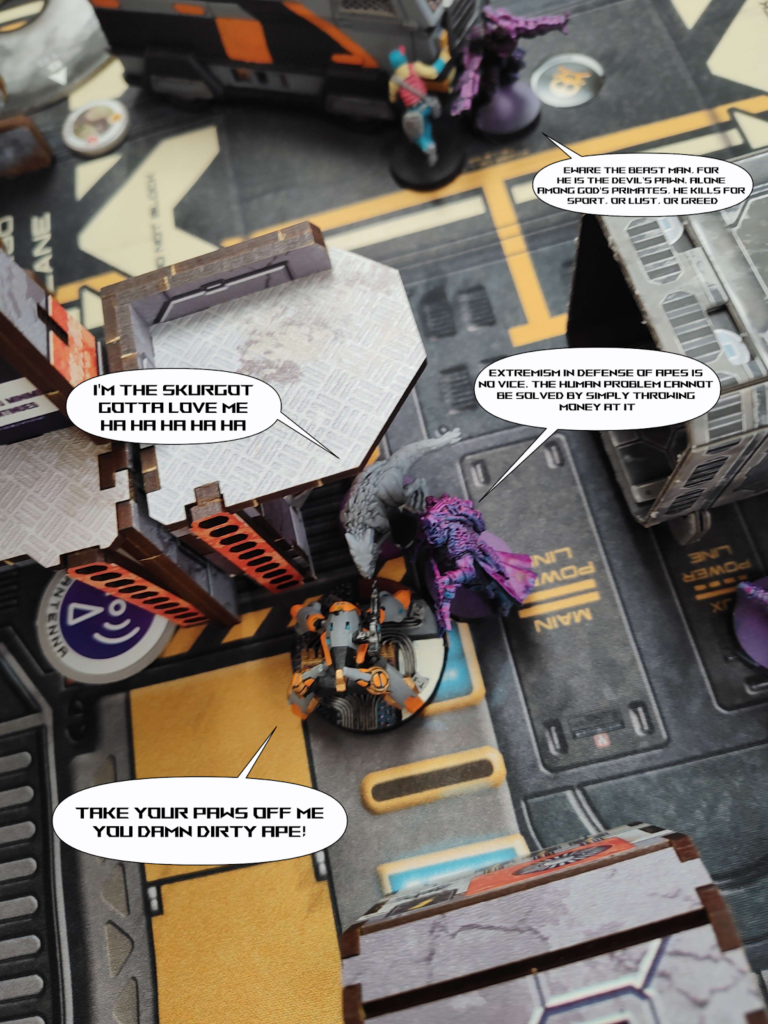
Steve then moves the Tyrok to get a line on my Kriza and the dice finally go his way, putting my Lt to dead. With the aggro haris demolished, I pause the game to ask an important question. What can he do to actually score prints. We work out that King of the Hill is still in play and that the Suryat link has a chance to make the push. He will be facing down the Kulak HRL in the process, but no guts, no glory.
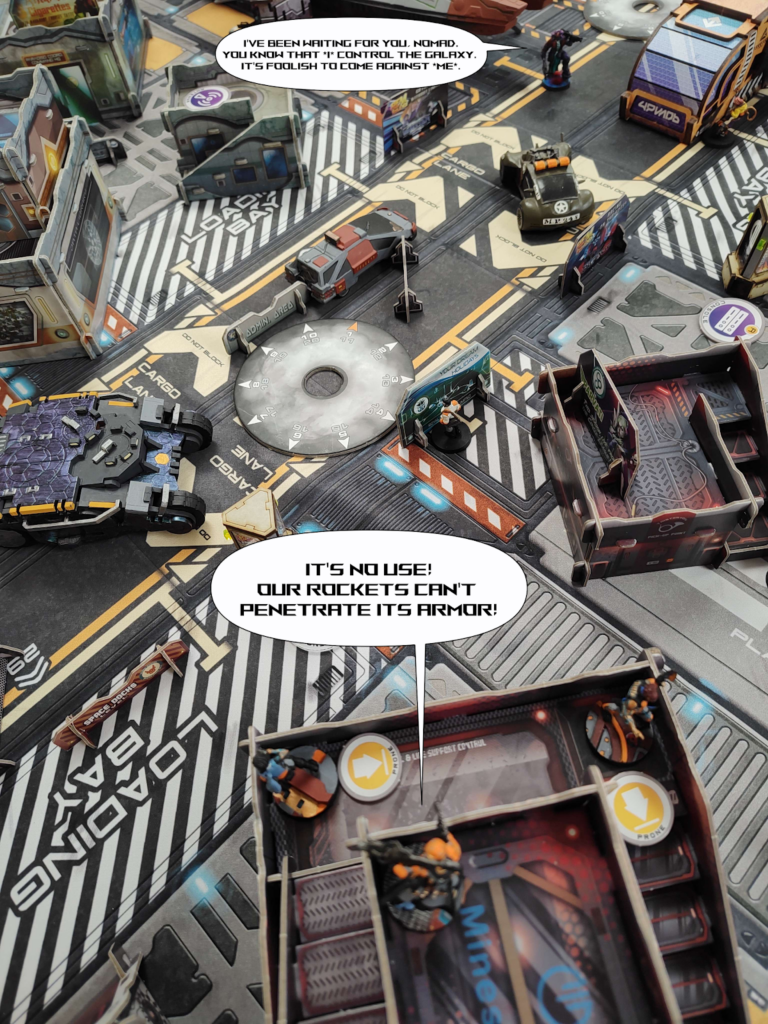
The first move takes the Kaitok to peak out and try to use it’s flammenspeer at a range we know is on the cusp of 32. I ARO back with the HRL and at measurement we both fail our shots. That means the Suryat must move move to get in range, giving me a free shot. With the last Lt order Steve makes the gamble like he’s storming Helm’s Deep and I land a shot with the HRL on the Suryat in the open… Only for it to pass the save. Thus Steve scores two points at the end of turn. We measure out Z dominating and my Puppet MMR has claimed the far zone unopposed, making it a 2-2 tie!
Post Game Analysis
Sleep would have been good but pushing minis around the table and rolling dice was better. Glad I was able to get out of the house and catch a game with Steve, even if it was only one turn each. The result is kinda besides the point.
In the end, I’m all for trying something new but Resilience Ops was maybe not the best way to introduce a 300pt game. I like, on the surface, the idea that all the objectives can be accomplished (more or less) by basically any trooper, so it’s harder to lock yourself out of points at list building or after a bad alpha strike. I also like the varied objectives, meaning that from a mechanical point of view it forces players to interact with more of the game than Annihilation but also doesn’t have as many special rules for each player to internalize throughout the game. The asymmetry also means that it’s harder to lock an opponent out by capturing scoring early. All good marks for Resilience Ops, I think. But there’s a lot of gear that needs to go down, two sets of card decks to draw from, and the secrecy of the objectives makes it hard to have that above table conversation with a new player about what they need to do to win. So, not an ideal introductory mission set, but definitely reasonable for a casual pick up game.
In terms of what I did well, I think spending all my orders to lock down the Bultrak really paid off, even if it was a bit ticky tacky against a new player. I’m still getting the hang of warbands, so it felt good to not lose a Zellenkrieger on a silly berserk or other low upside longshot. That said, this is where I had the advantage of experience. A well placed Hungry or Dat would have easily countered me, and Steve didn’t play a list with a lot of anti-warband counters in mind after the Yaogat. I suspect our next game will see that Zerat’s mine or a disposable Skurgot babysitting the Morat Battle-Peloton.
For what it’s worth, deployment was ok, though Steve might not yet have the sense of how to exploit my gaps. The Kriza team was not well supported, I think I would have better used my Zondnautica as a back up gun and template to watch their back. But the Kriza did a job brute forcing the Yaogat down and had I pulled back a little bit or pushed forward a lot might have done even better. The big link was fine, though in one turn there wasn’t enough time for them to have much of an impact. That Kulak HRL is an interesting tool, and probably my “friendly” choice over the linked grenzer marksmanship. And the CoC option let’s me plug away at using the Kriza instead of Szally with a little bit better security blanket.
That said, I biffed on playing the mission. Capturing the far Z zone was a happy accident. I probably should have tried to put wounds on the beacon too. With a second turn I could have covered these mistakes but there was no such margin this time out. I need to give more thought to what makes sense for teaching. I kinda shoved Steve into the deep end without much consideration of what he’d have to parse to stay in the game.
We did get a little chance to debrief after the game about what worked and what didn’t. For Steve, dice were a real problem. An unlinked Stempler should not be so invincible. Beyond that, putting the Yaogat up to fight the world at the center of the table made it an easy kill for me. Given that I had drawn CQB, I had kinda neutered it as a threat at range (which is really rough game design), but there were positions on either flank that would have been better supported. There is also a case for the Bultrak to be further back in the DZ in full cover, as opposed to being so far up. I think if I had really walked Steve through what a Zellenkrieger can do, he would have made that adjustment, so I put that on myself. That said, I remember it taking a long time to figure out the finesse of medium range fire lanes that protect the deployment zone (and I don’t even do it well), so there’s something to consider for next time when committing such an important tool.
Lastly, Steve made the same mistake I did, which was to see red instead of playing the mission. That Rasyat was a D-Charge away from winning the game. But Jelena’s back arc was too tempting. We talked about this too and had the objectives been open info, I would have been able to point that out.
That said, for his second ever game Steve did really well. He collapsed my entire right flank and killed my lieutenant and biggest weapon. While the dice made him pay for every inch in blood, I think in a longer game he could have pressed that Suryat link into my flank and done some real damage. As it was, clawing a tie after lots of bad rolls and lost tools is testament to his ingenuity and resilience. Looking forward to our next game.
I never know how to sign off on these batreps. But I figured I’d give a moment to appreciate the forum and the format of the Bromad Academy mission series. I’ve maybe submitted four reports total but following these batreps helped me learn the game before I had opponents. Even things like the concept of a fishbowl have influenced how I imagine and design tables. I am very excited for Edgelord, but will miss getting this window into everyone else’s meta. So long and thanks for all the fish.

Pingback: Mission 059: Try Something New Report! – Bromad Academy
Great battle report! One of the first things I noticed however is that your Kriza Haris wasn’t legal. You need at least one Hollowman to form a Haris with a Kriza in it.