Bikes! Bikes! Bikes!
By Tcional
Game 1
Overview
- Mission: 20×20 4.1: Access Supplies + Eliminate Enemy Command Structure
- Forces: Tunguska versus PanOceania (300)
- Deploy First: PanOceania
- First Turn: PanOceania
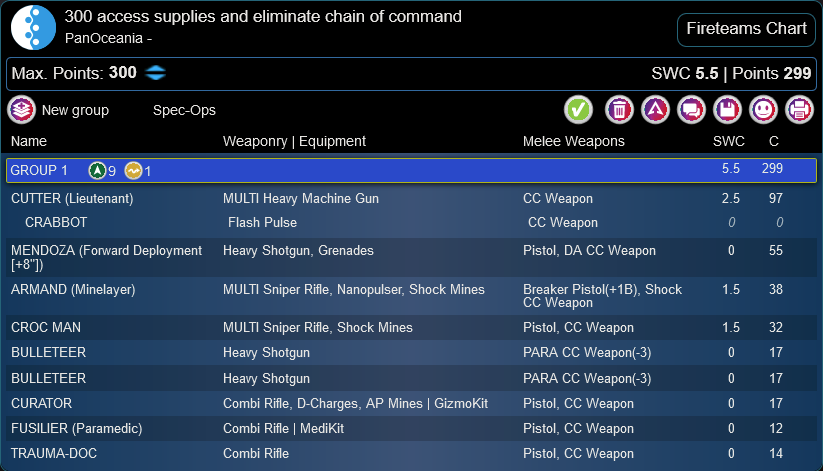
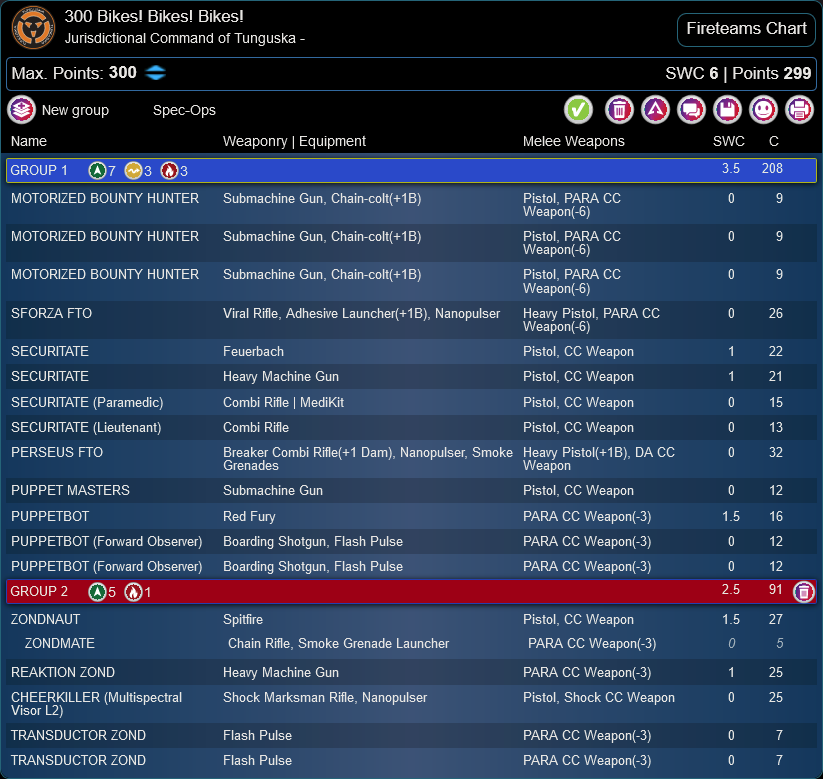
I decided to put together a list with 3 Motorized Bounty Hunters. Having 3 of them and a Sforza lets me roll potentially a weapon to do some damage on my turn and in case I need him to pull a Specialist to the middle of the board. Sadly, as you will see it’s not a really reliable tool. It was a demo/teaching game (third with this player), so I also didn’t want to pull something super OP, maybe super annoying, so I took the Puppetbots.

As for PanO list there’s a clearly common theme there: Mimetism (-6) and a TAG – he previously mentioned that he likes the idea and had tries a few of those in the last game we had.
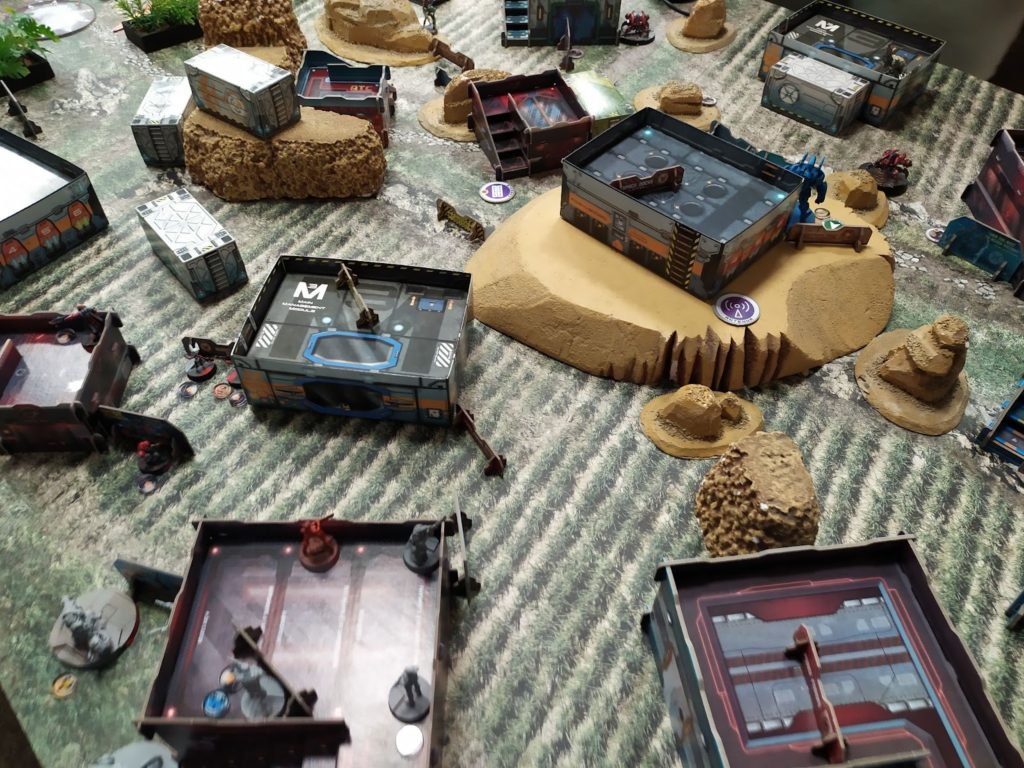
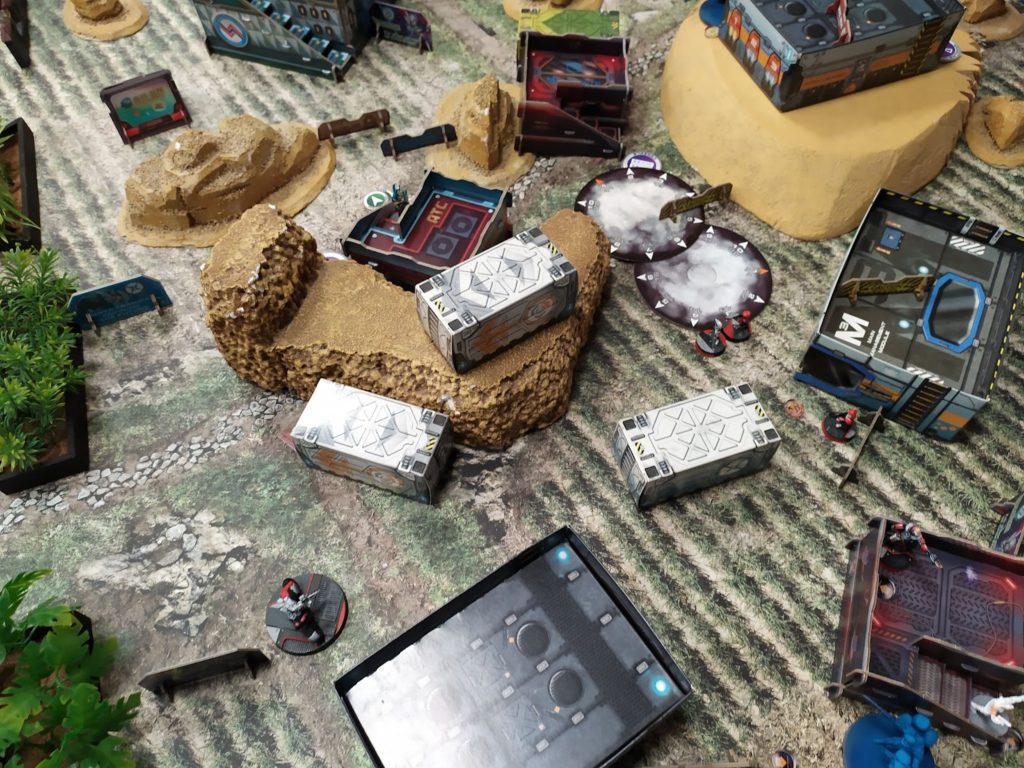
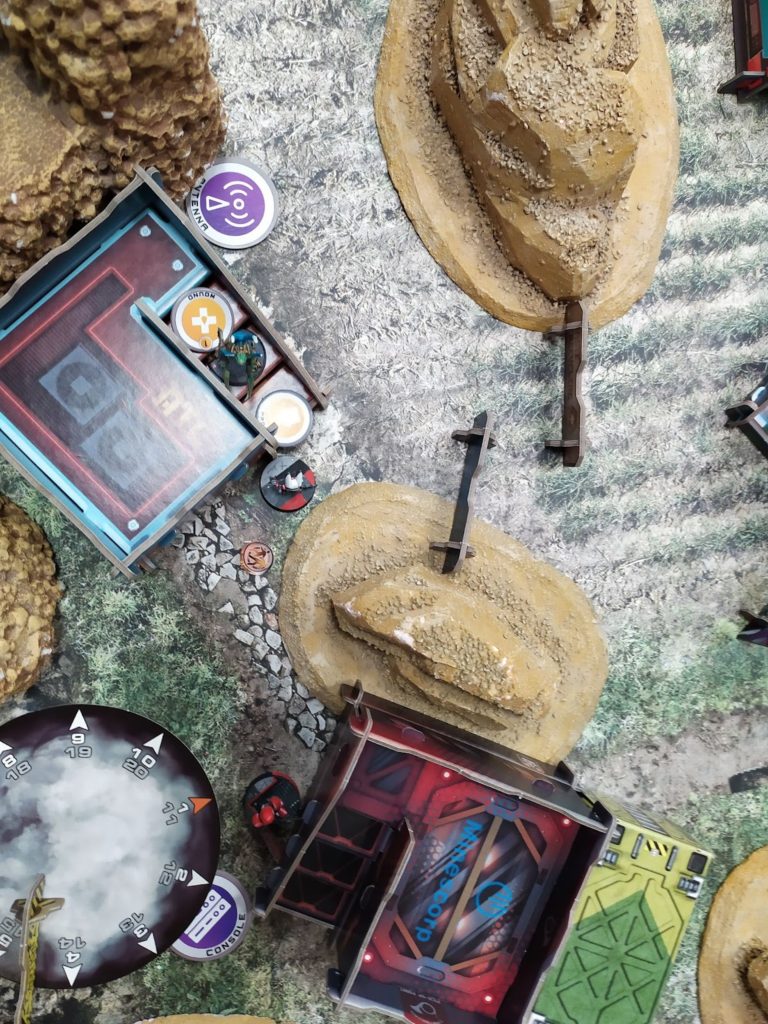
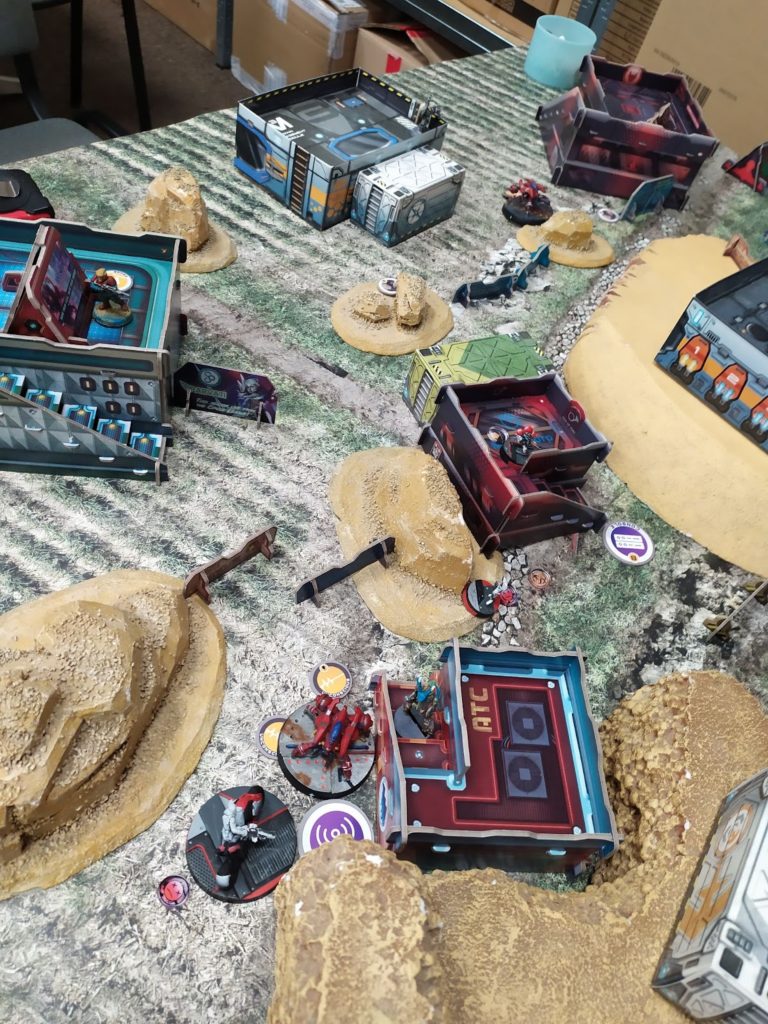
Deployment
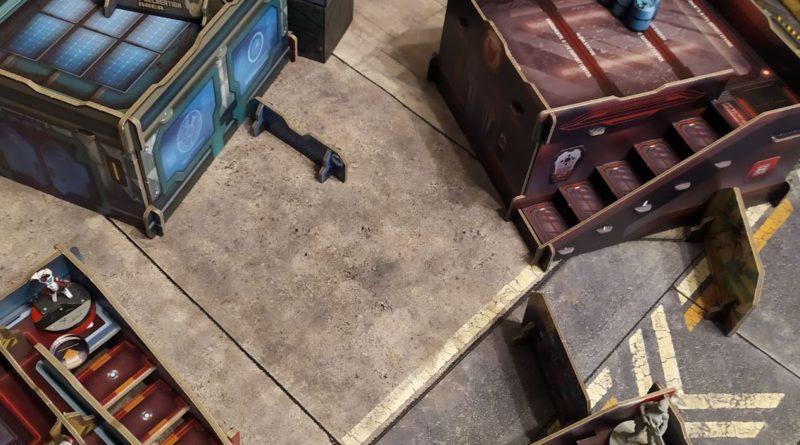
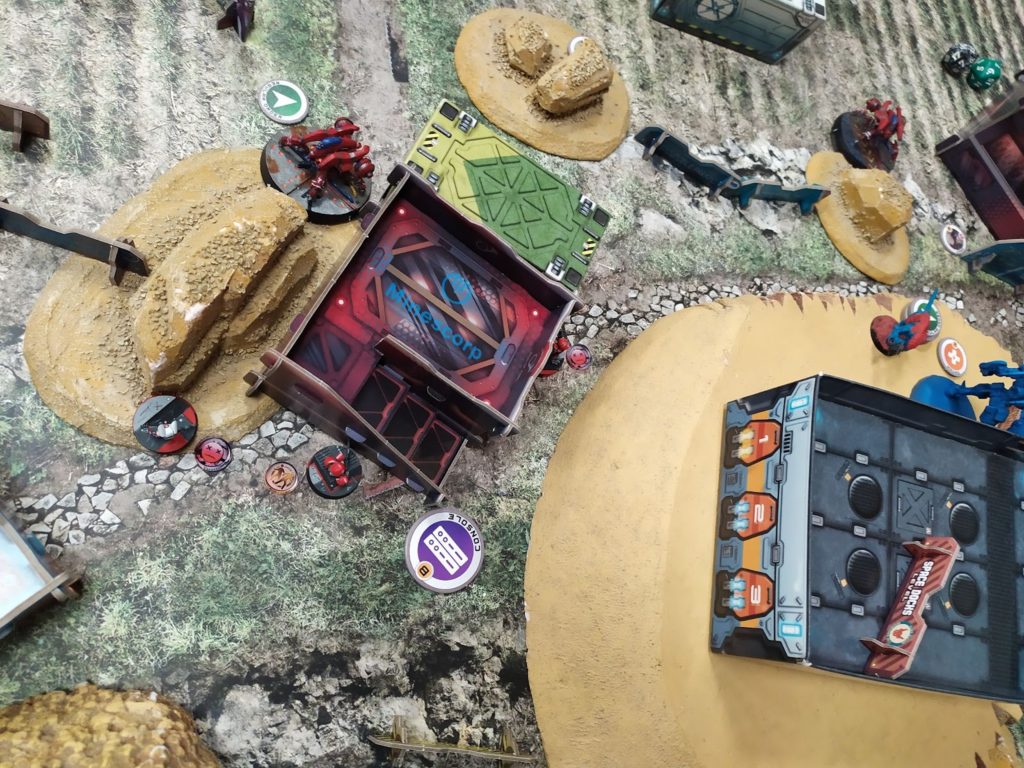
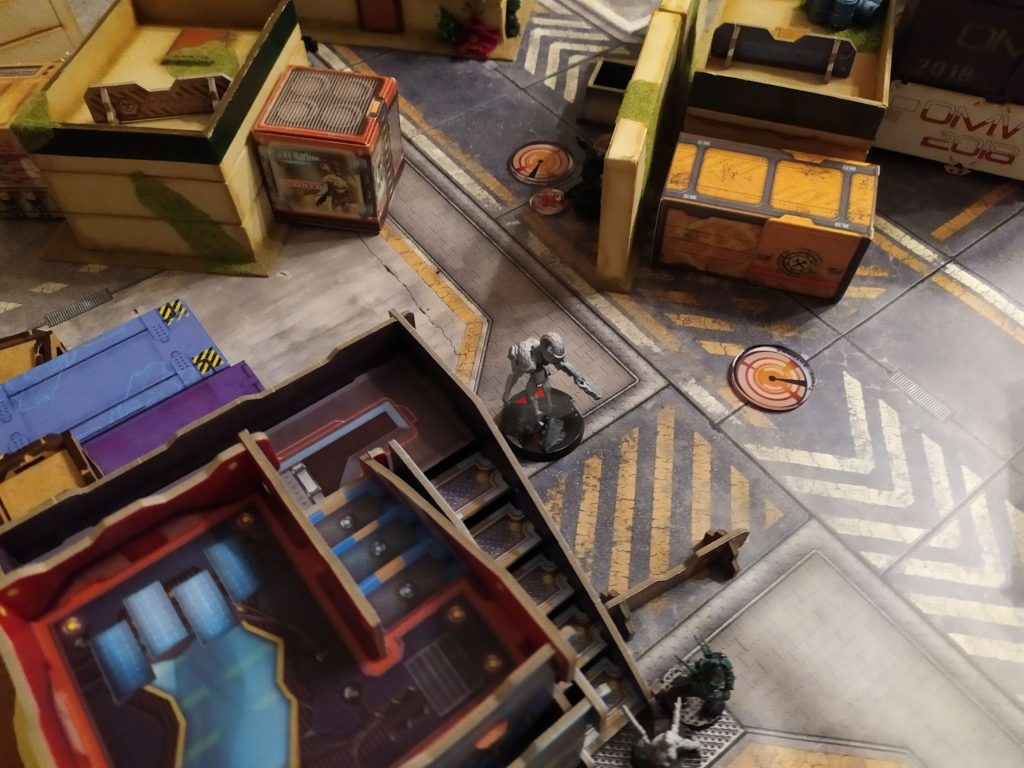
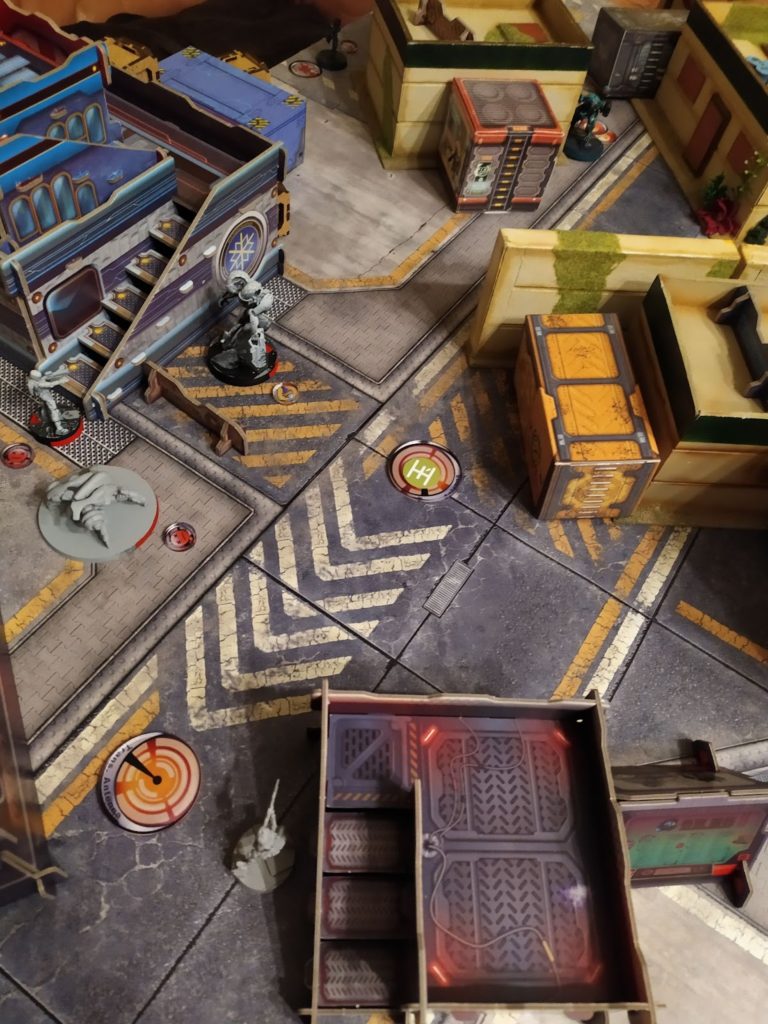
Motorbikes deployed somewhat together with Sforza so I could form a Haris depending on what weapons they get. Zondnautica with a vector on the left, Core to the right with HMG and Feuerbach up for ARO. Puppetbots in the middle so they can attack in all directions if I need them to.
Turn 1
Top of 1 – PanOceania
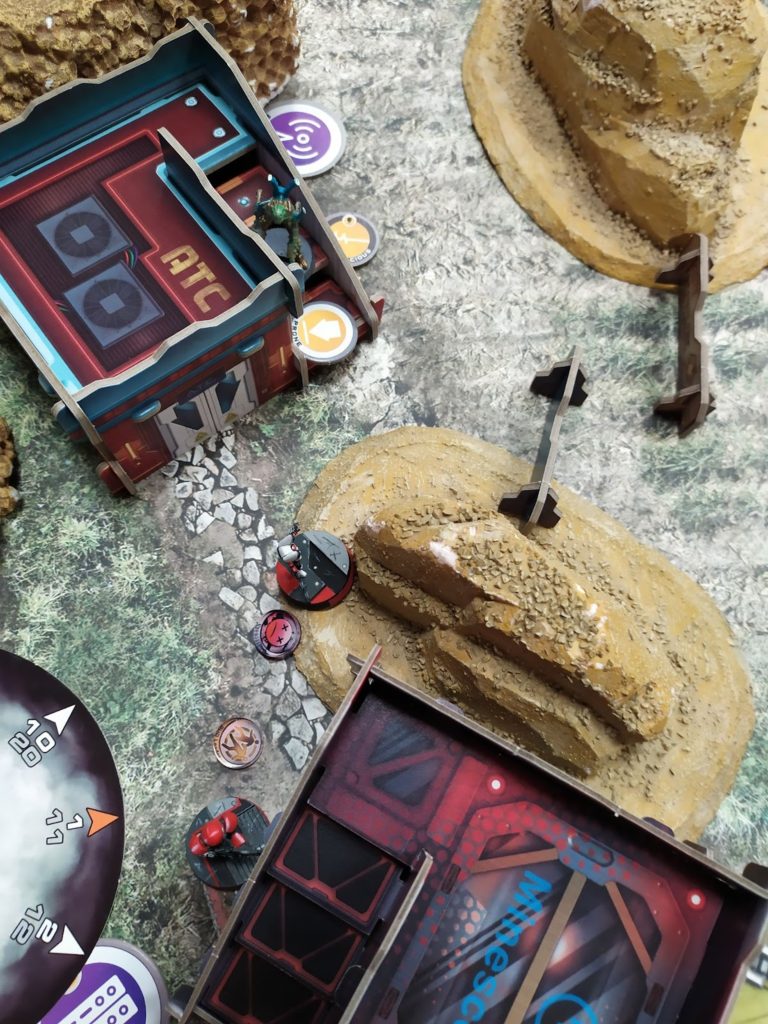
PanO starts strong. S7 camo starts the game on the table and goes to the middle. Got to a vantage point and took out my Securitates, Reaktion and a Transductor Zond only to get into Suppressive Fire and stay there.
The objective was to control the boxes in the middle, so my opponent pulled Mendoza to medical supplies.

And Paramedic (or a TraumaDoc, kinda irrelevant at this point) started reaching ammo box on the other side.
Bottom of 1 – Tunguska
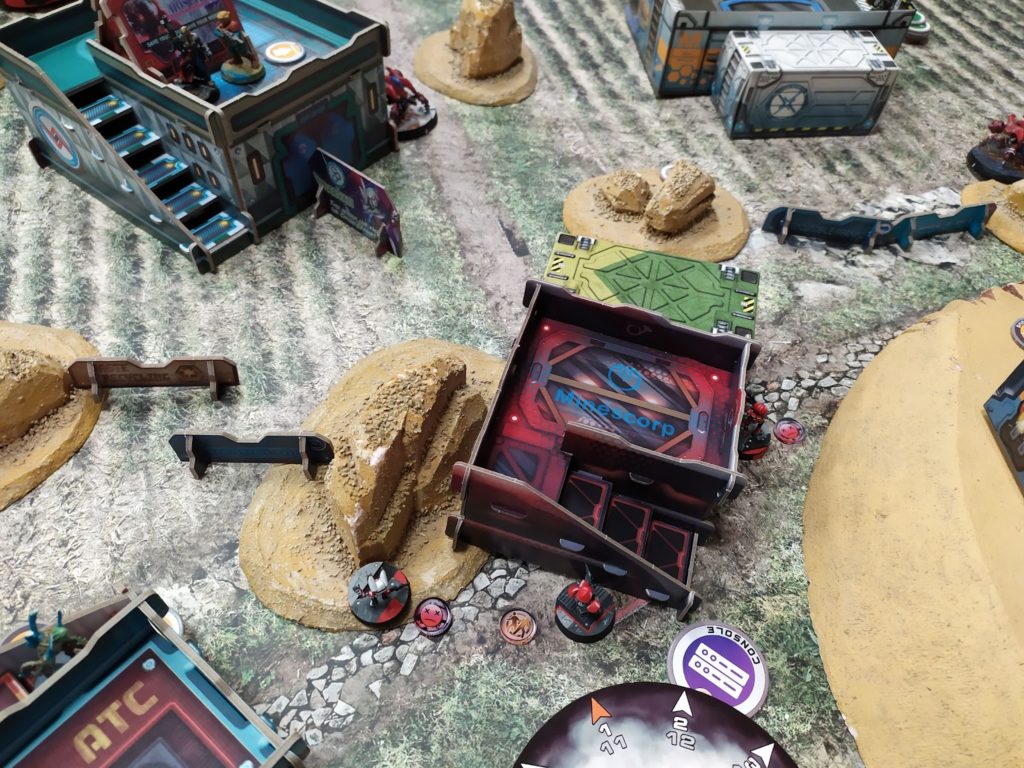
It’s clear what I want to do. Take out the Cutter. My Bounty Hunters rolled MSR, +1 ARM and EXP CCW so not very useful. The latter one was left out of Haris with Sforza. I start by putting down some smoke grenades on the approach to the Cutter with Zondnautica and putting Puppetbots to the job.
An Order or two spent with Red Fury wasn’t very effective.
So I started using templates from Shotguns to take him out, but he managed to dodge/guts out of the range and had to put my Puppetbot out of cover to finish him (the templates were surprisingly effective with 14 Damage, no AP vs Cutter’s 8 ARM).
And this trade was super effective. 12 points for 97.
Another target was Mendoza and after 2 Order from the other Puppetbot with a shotgun he was down as well.
This Puppetbot got taken out by CrocMan with a Multi Sniper Rifle that was not far from Mendoza.
Turn 2
Top of 2 – PanOceania
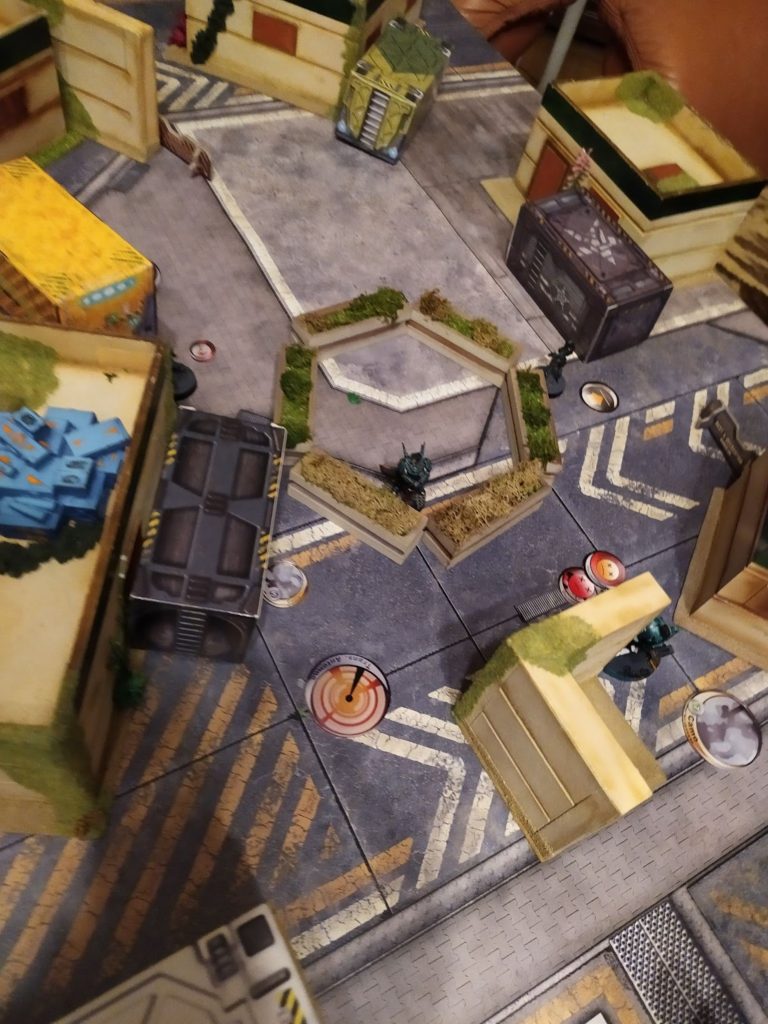
PanO’s second turn was spent getting to Cutter. Curator spent 4-5 orders getting to him and repairing him, and barely managed it as the dice weren’t in his favor.
Bottom of 2 – Tunguska
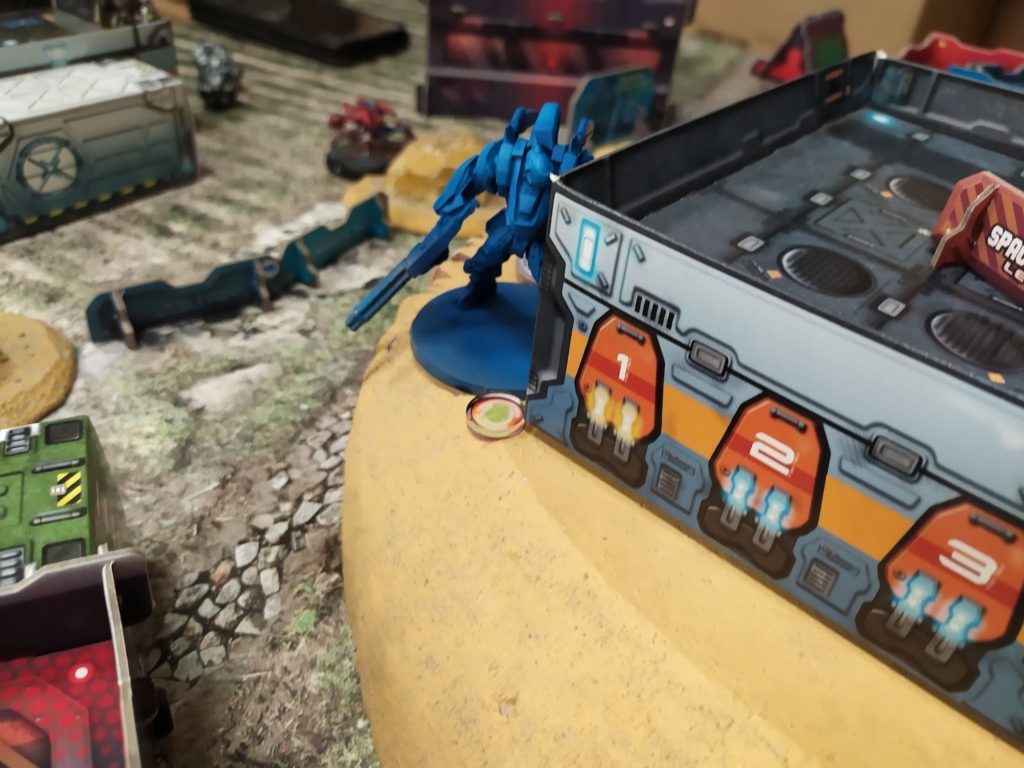
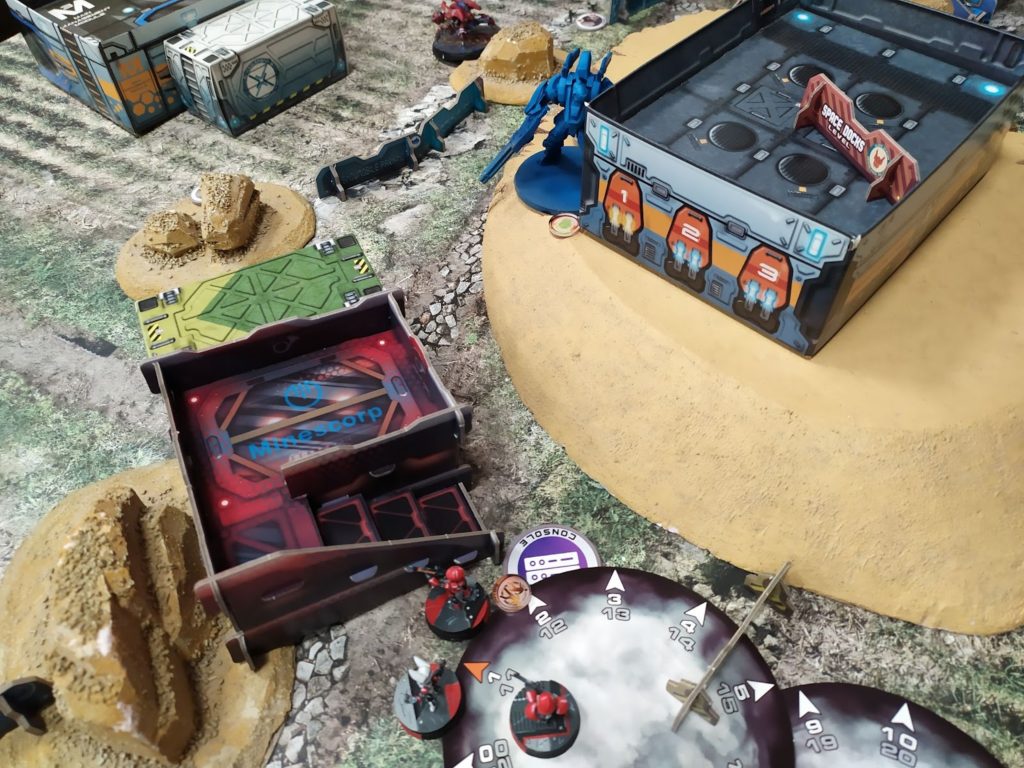
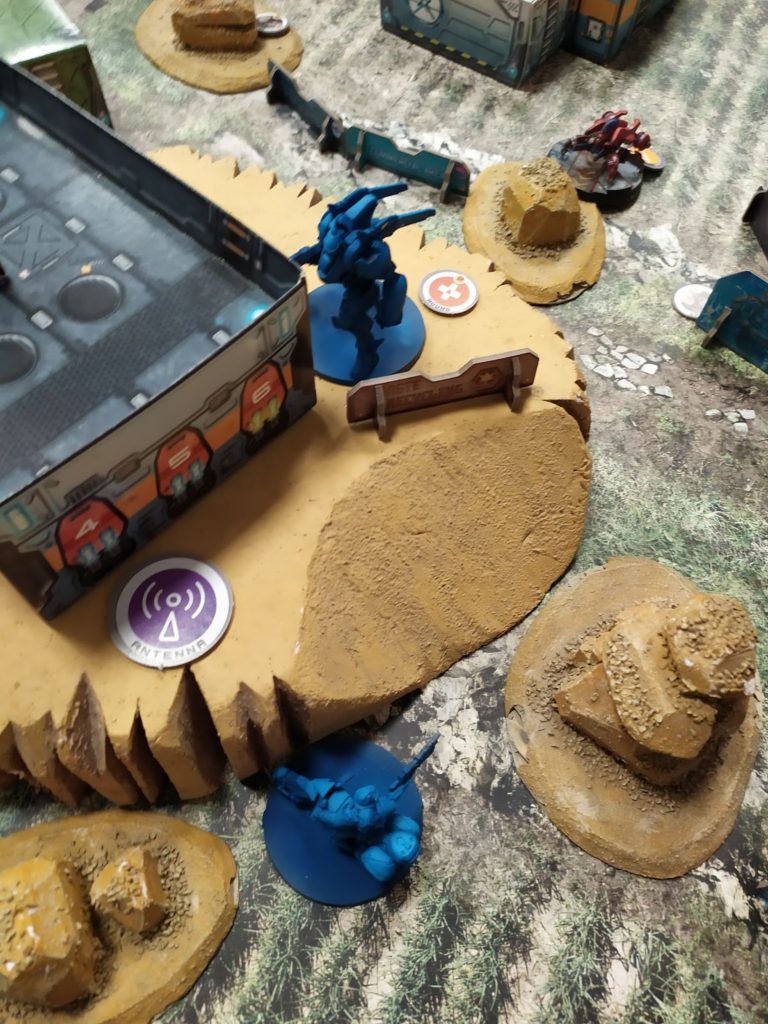
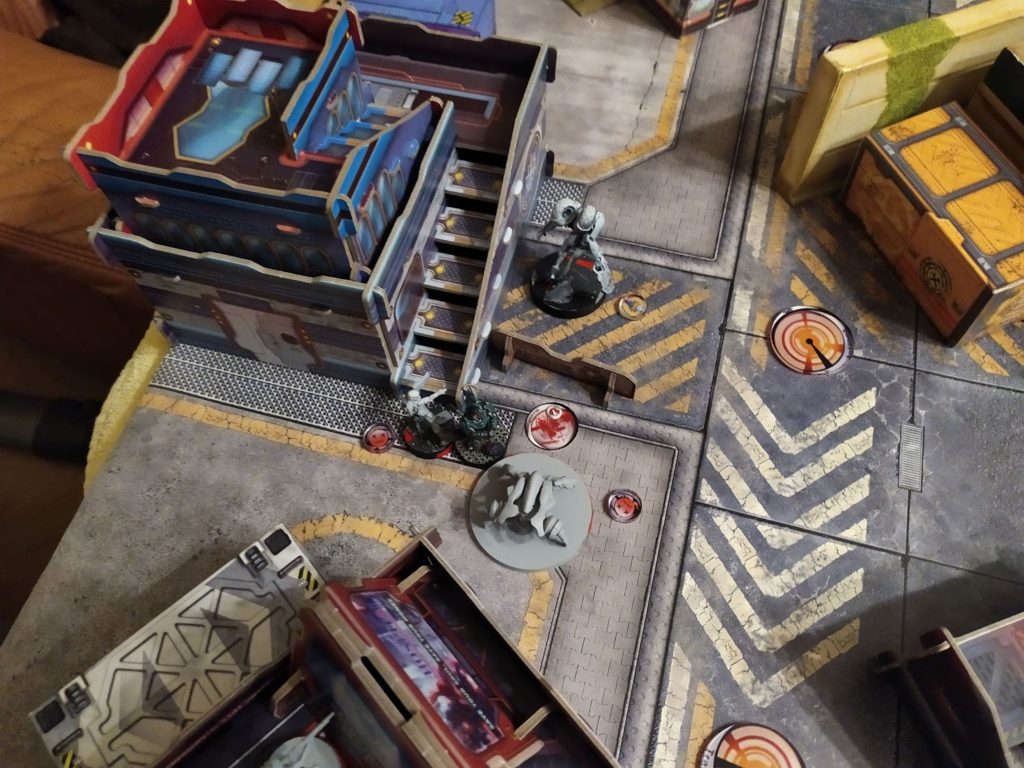
I have to take care of Curator before trying my best against the Cutter, so I pull my bike with +1 ARM. I don’t remember why, but he pushed alone instead of with his Haris. After a good couple of Orders from my side Cutter Dodged to see the Bounty Hunter and Curator hid behind him. I had to use my remaining Puppetbot to get to the Bulleteer and the Curator without risking a shot from Cutter.
I tried my luck with Bounty Hunter one more time, but dice didn’t like my odds.
Turn 3
Top of 3 – PanOceania
PanO had one thing in mind. Murder. Cutter with a full pool of Orders kept doing what he does best.
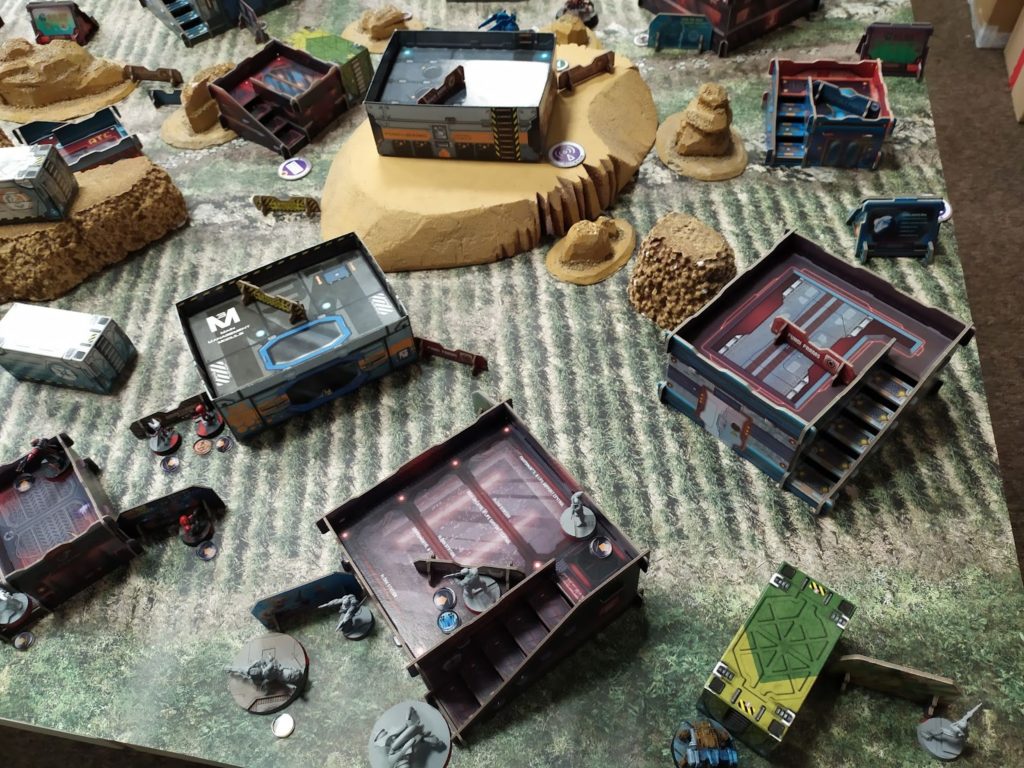
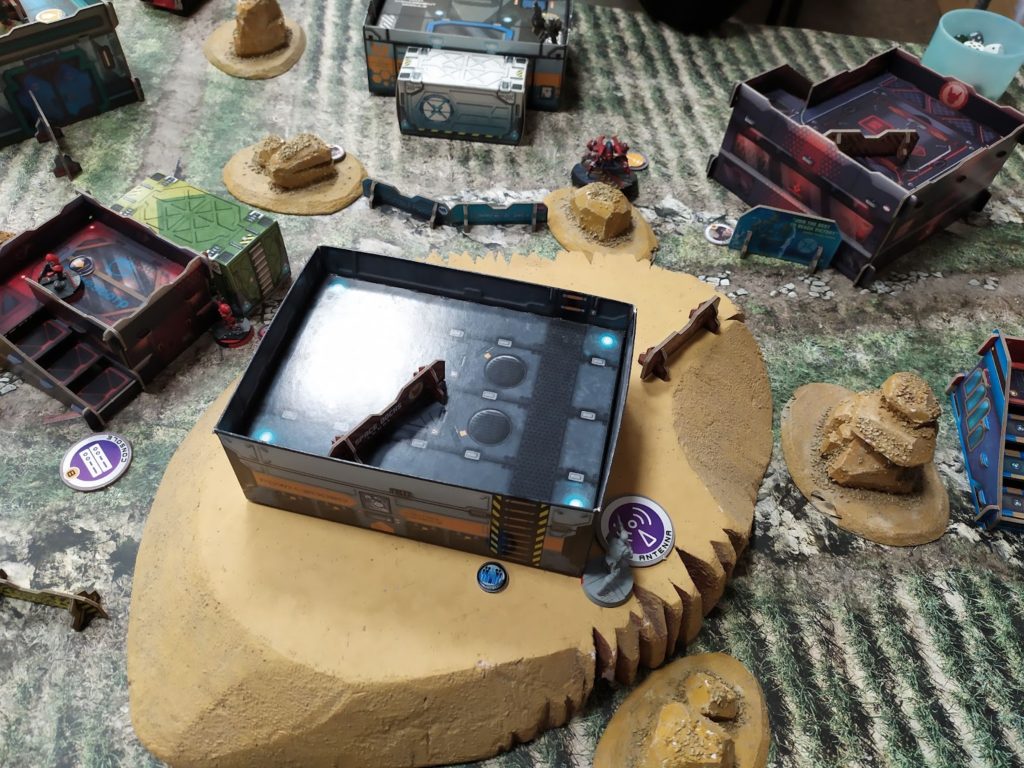
Puppet dodged out of sight, but a few others didn’t have that much luck. Cutter got on top of the building seen at the bottom of the last picture and tried shooting against a few targets. He hoped one of them would be my Lieutenant, but he didn’t have enough height/movement to get him in his sights. I think he eventually went down to a shot from Paramedic’s Combi. Last few orders went for Bulleteer to reach one of the boxes and Paramedic to reach the one near him.
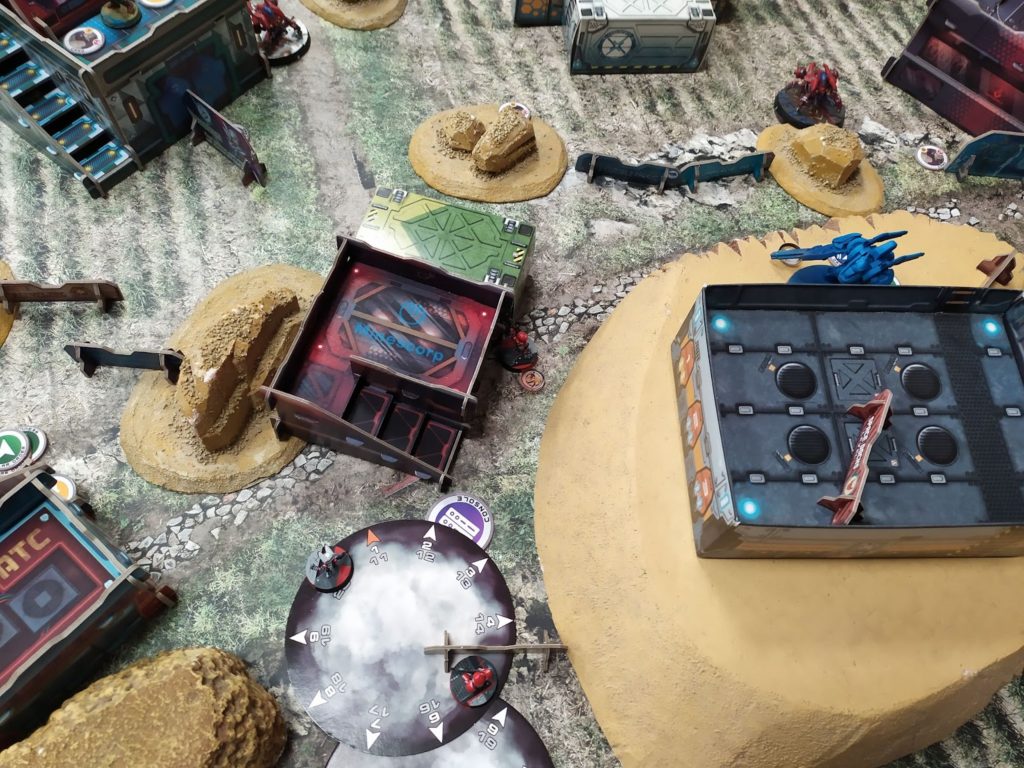
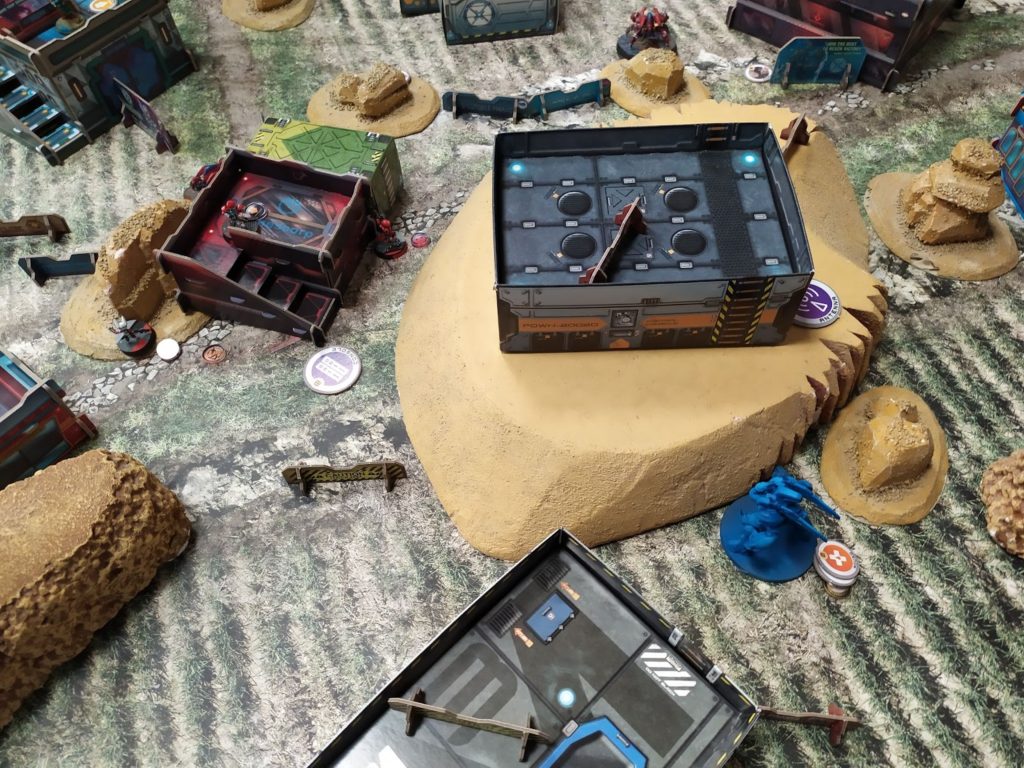
Bottom of 3 – Tunguska
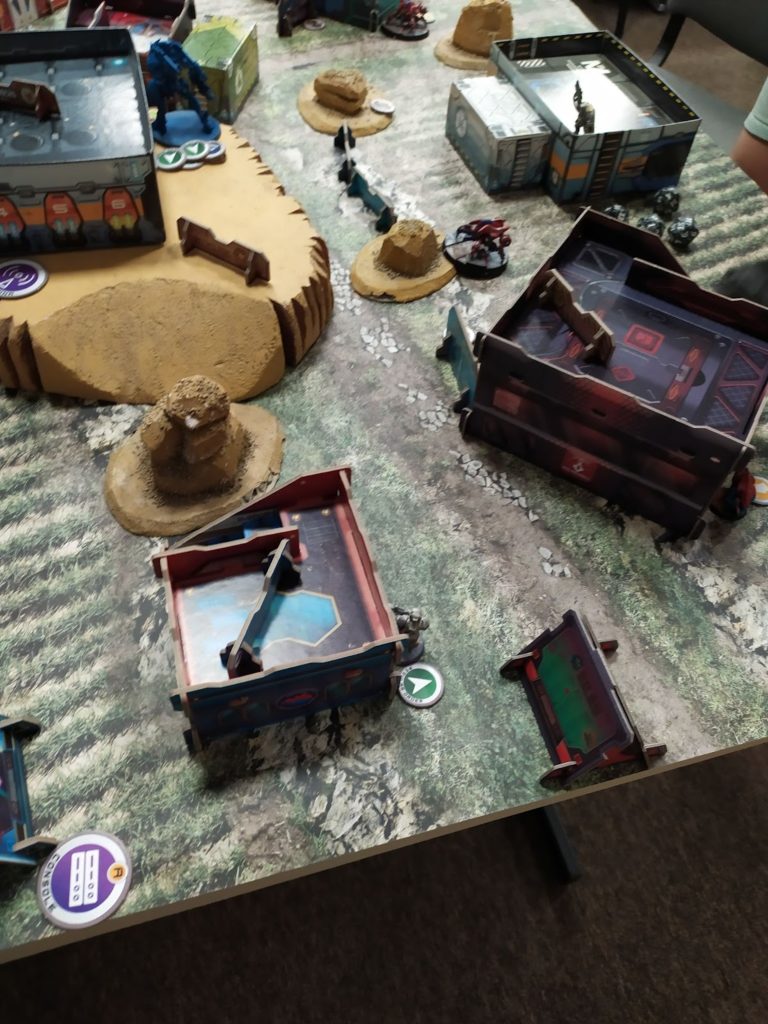
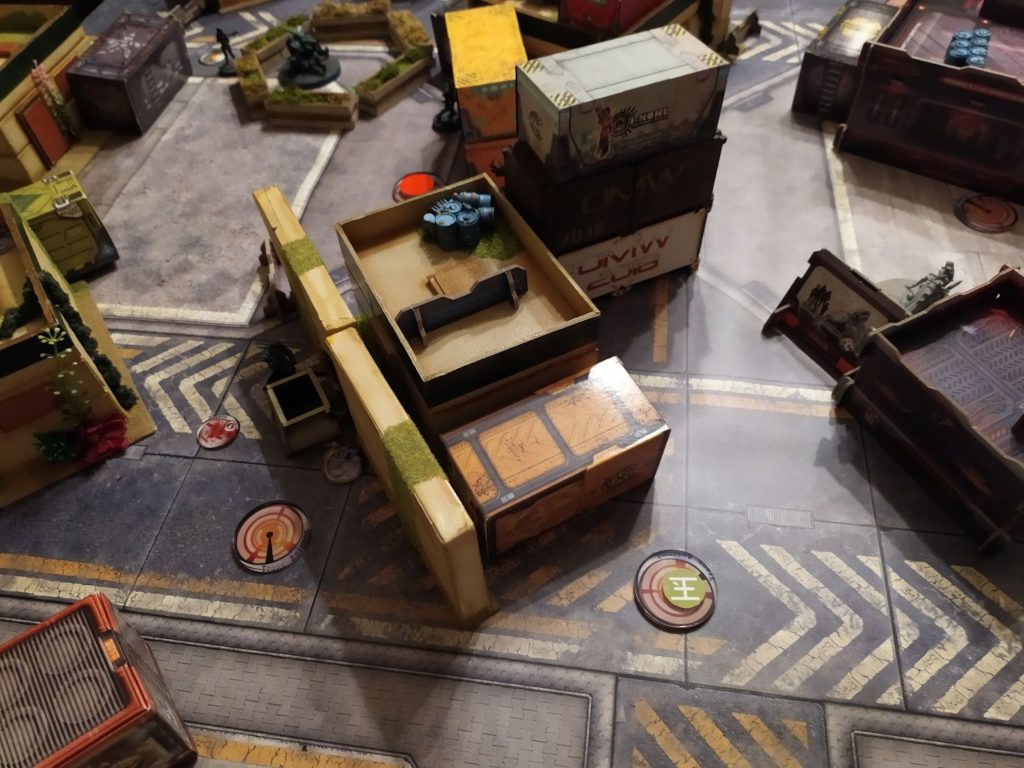
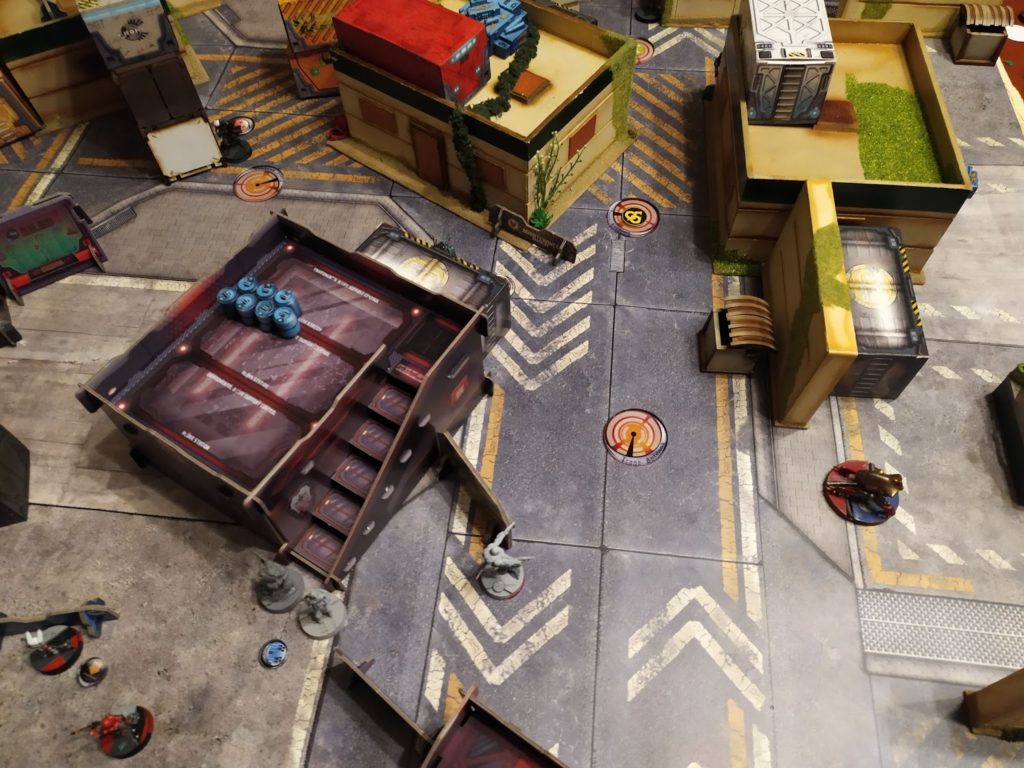
Being free from the most important obstacle, Zondnautica took out Croc Man and tried shooting Bulleteer. Near the box.
After 2-3 Orders he eventually went down and I had one last order to try and reach the box.
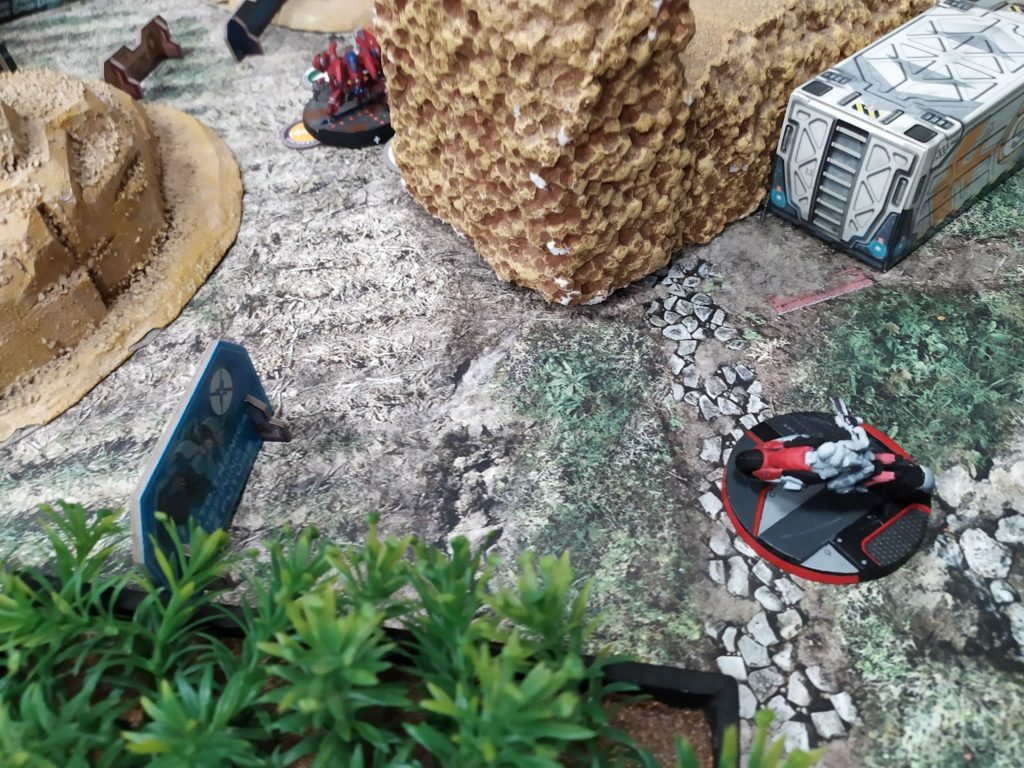
Sadly Le Muet was still watching and took a lethal shot.
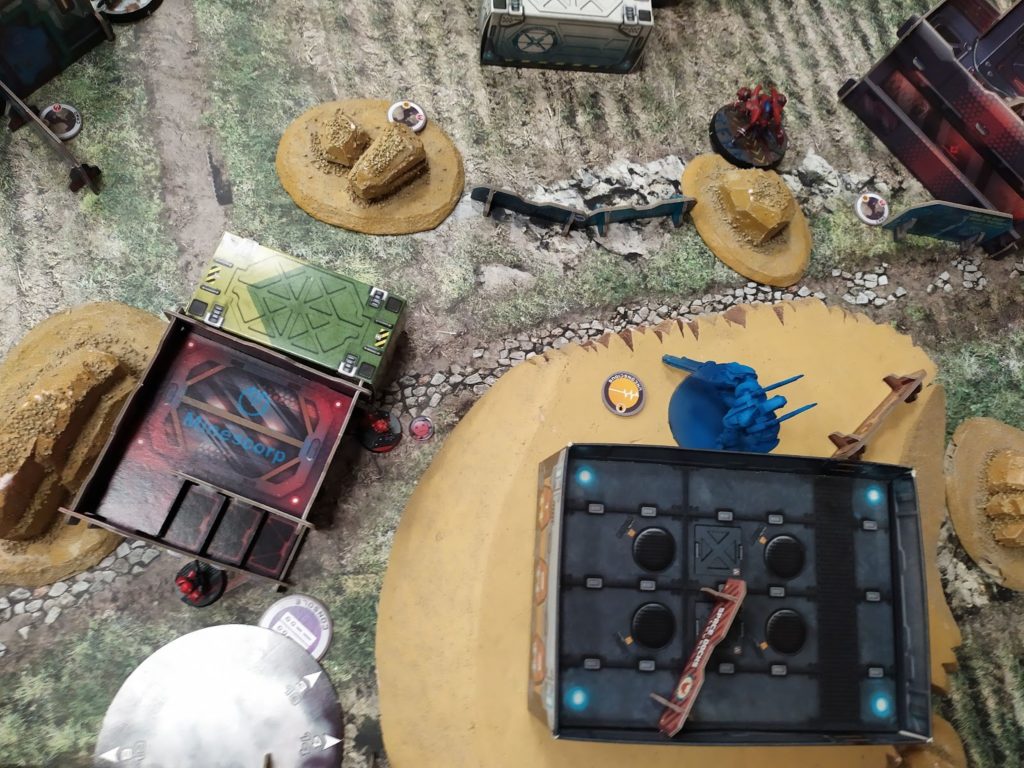
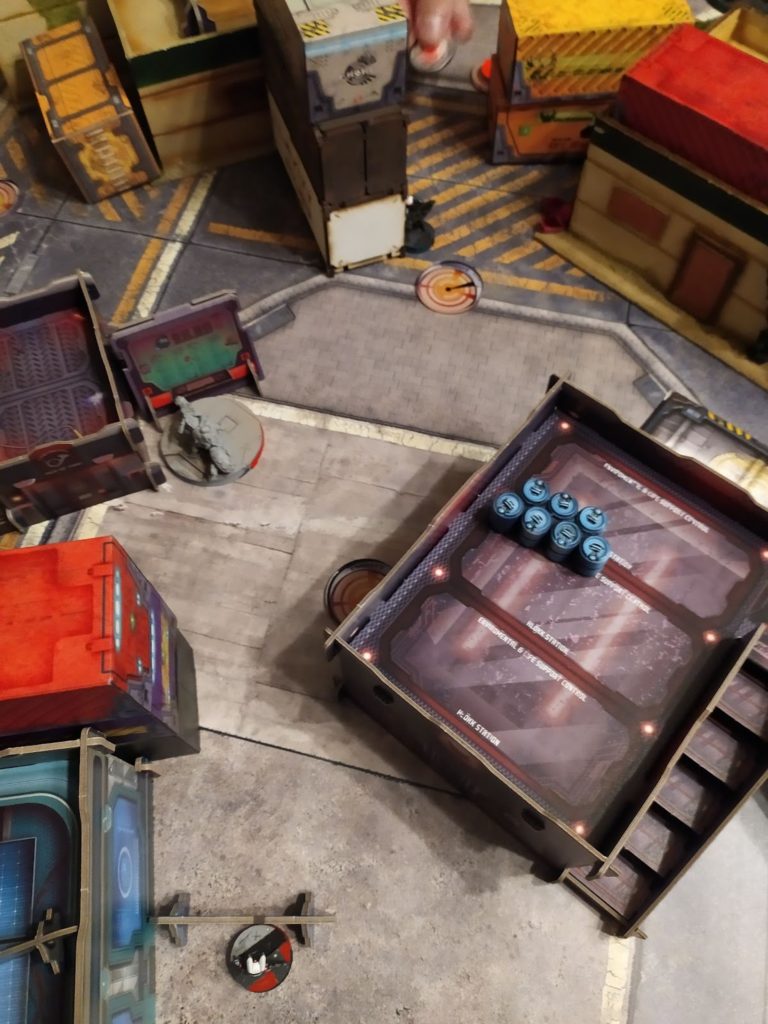
I tried to score anything and as much as I could so I pulled my Lieutenant with Perseus to the middle. Eventually I had to leave the Paramedic behind and Lieutenant with Perseus managed to get close to the medical supply box and gain sights on the Paramedic/Doc near the ammo supply and kill him.
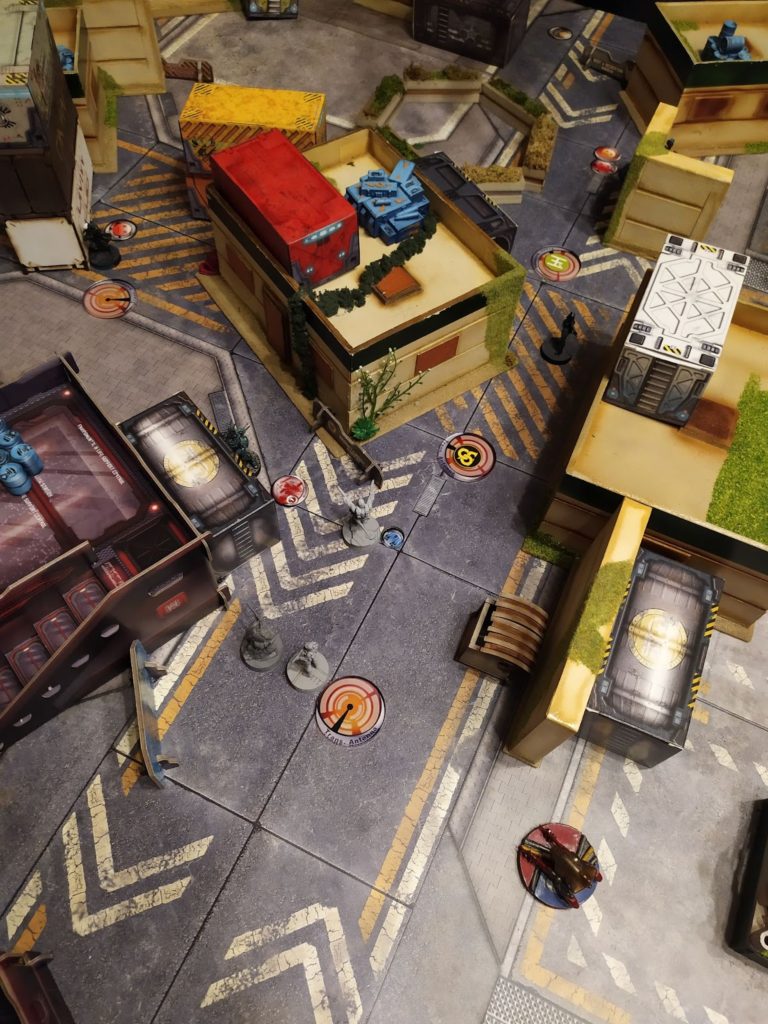
Eventually I realised that I control the wrong box with my Securitate and didn’t get the bonus point I was hoping for (so just 3 OP for me for controlling 1 box while enemy controls none) XD
I also killed all enemy models fitting the description of Eliminate Enemy Command Structure and got another 3 OP for that ending in…
6 – 0
Tunguska win
Game 2
Overview
- Mission: Neural Net
- Forces: Tunguska versus Yu Jing (300)
- Deploy First: Yu Jing
- First Turn: Yu Jing
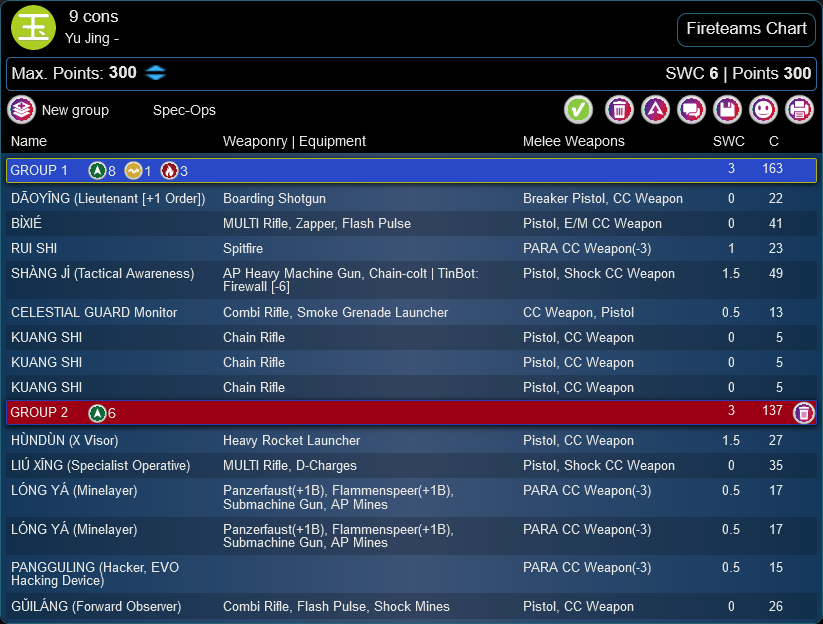
As far as I know my friend wanted to try out Bixie and that’s what it all was about. We’re not very keen on the looks of the model, but her profile looks highly optimised for the points she costs.
Deployment
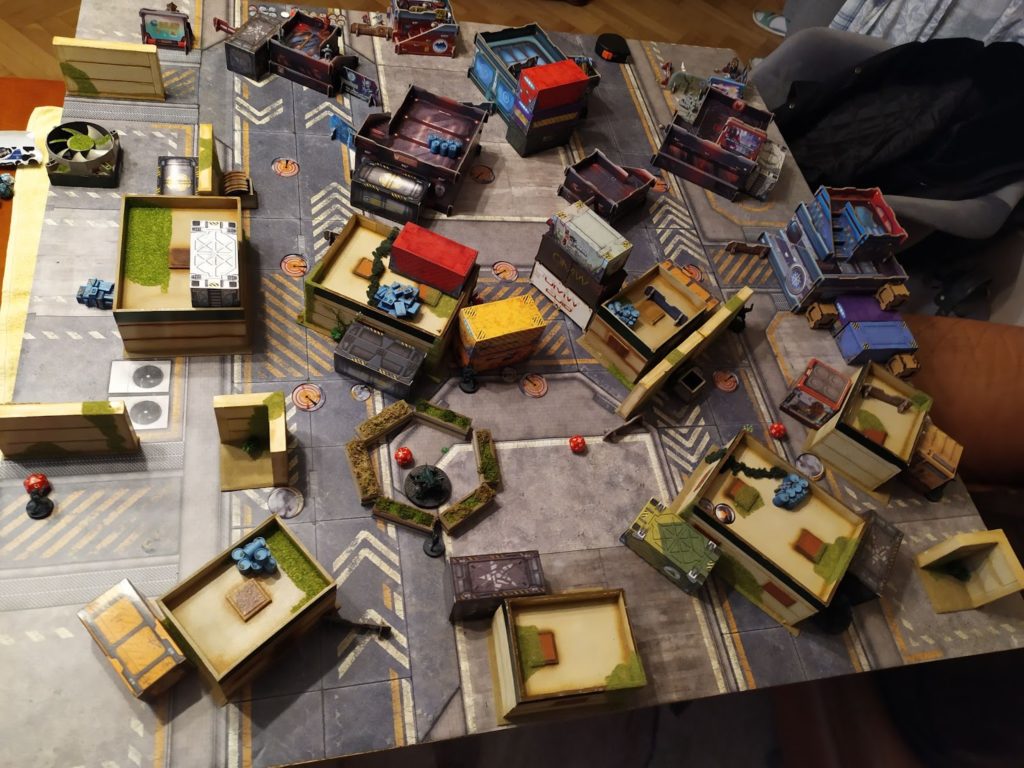
Sooo, Rui-Shi with a Celestial Guard close to the middle. Some Kuang Shisaround the DZ. Large Camo Tokens are Long Yas. Shang Ji and Bixie on the far right ready to attack and Daoying safely on one of the rooftops.
TR bot covers the left while Core Fireteam covers one firelane to the left and entire right side. Motorized Bounty Hunters again deployed sort of together and Zondnautica close to them so they can support each other with weapon ranges. My friend asked who is who and paid too much attention to my Lt so I realised he must have a Combat Jumper of sorts and decided to put my Puppetbots near my Puppet Master and a Lieutenant. This time I rolled ADHL, MSV1 and EXP CCW, and again left EXP CCW out of the fireteam.
Turn 1
Top of 1 – Yu Jing
Shang Ji opens up. Gets to a firing position and in an Order or two takes out my Reaktion Zond, but then gets hit by my HMG Securitate when trying to fight her.
Then a really bad thing happens to me. Liu Xing lands on my Securitate Lt and Puppetbot. Securitate failed her Dodge and Saving rolls and after a few more Orders Liu Xing and HMG Securitate lay dead in my Deployment Zone.
Also Bixie got to the middle-left of the table in preparation for the next turn and Guilang tried activating the console close to YJ DZ in the middle, but only to learn that it was blocked by me, reposition closer to the middle of the table and Camouflage himself.
Bottom of 1 – Tunguska
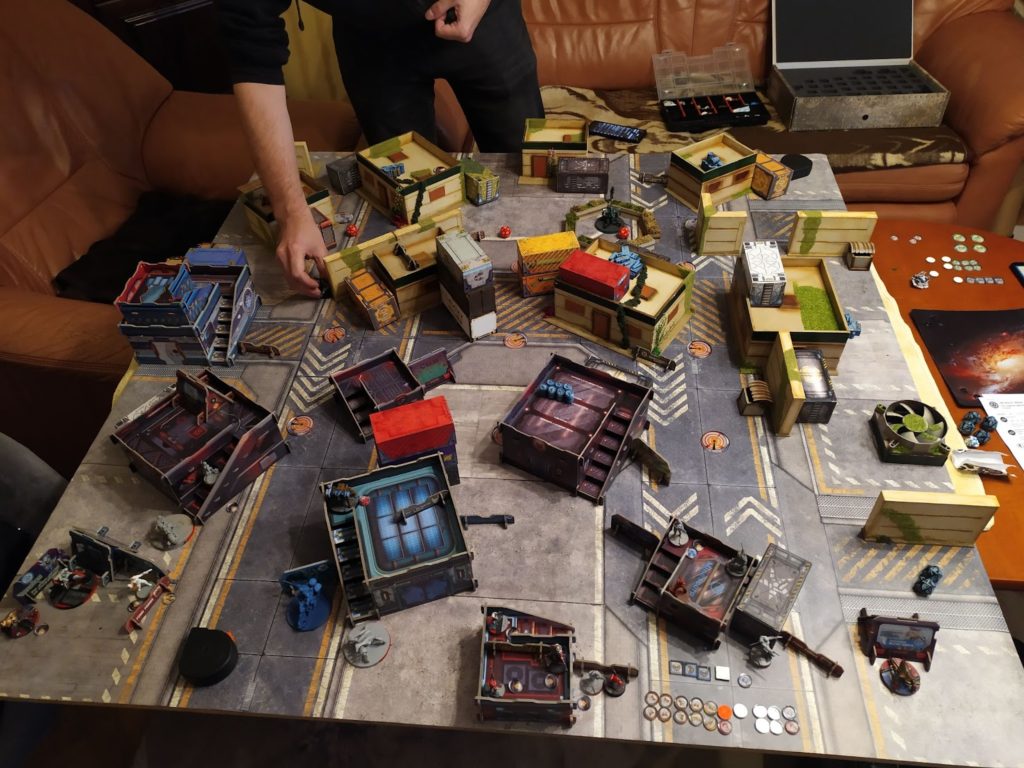
I started the game in LoL. One of the bikers (with EXP CCW) finds Hundun with his HRL and while himself Dodges, the other next to him gets burnt to a crisp. Cheerkiller takes out the Hundun and Zondnautica puts the Long Ya down. I start burning Command Tokens to do something more and she goes to the cover, while sending Zondmate on his way to trade with Shang Ji. It’s one of those hard decisions when you can’t do that much facing both Chain Rifle and a Spitfire at the same time. Shang Ji goes down to Chain, while Bixie Dodges into Silhouette contact with Zondnautica.

I tried pulling previously activated Bounty Hunter, but it (Lunokhod) missed.

Meanwhile the other Bounty Hunter got to the middle trying to take out Bixie with ADHL (+1B), but failed and position so that she can defend herself from Guilang (self editing note: while writing this part I realised that my Securitate should have remained Regular due to Veteran Special Skill in their loadouts, shame on me XD) and Puppetbots to help her in this efforts.
Turn 2
Top of 2 – Yu Jing
Now Bixie goes on a rampage. She takes down Zondnautica and my Bounty Hunter.
Activates middle-left console on 2nd or 3rd try, activates top-left on her way to top right.
Guilang tries his luck against Bounty Hunter and just dies to some random critical hit from Puppetbots Boarding Shotgun.
Bottom of 2 – Tunguska
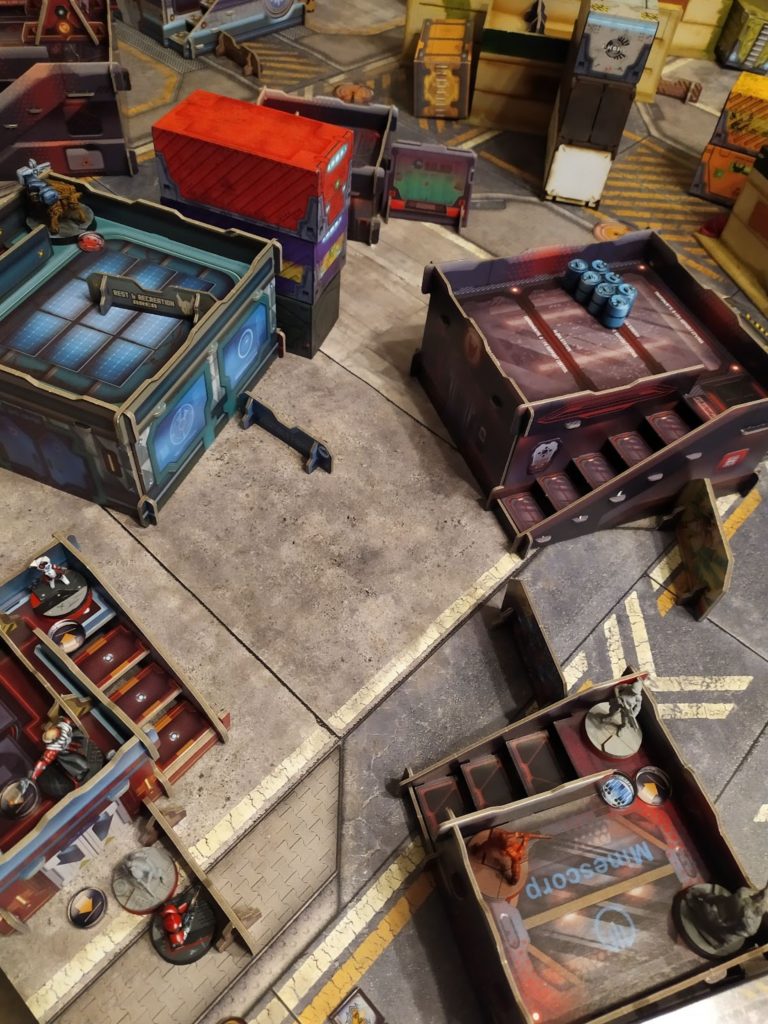
Some Kuang Shis came out of hiding, so I hunted down the left one with my Cheerkiller.
And then tried to deal with some problematic models on my right (like Kuang Shi – in the bottom pic he would be on the corner of the bottom building which white container is located on and Long Ya). Long Ya got taken out, but Kuang Shi survived
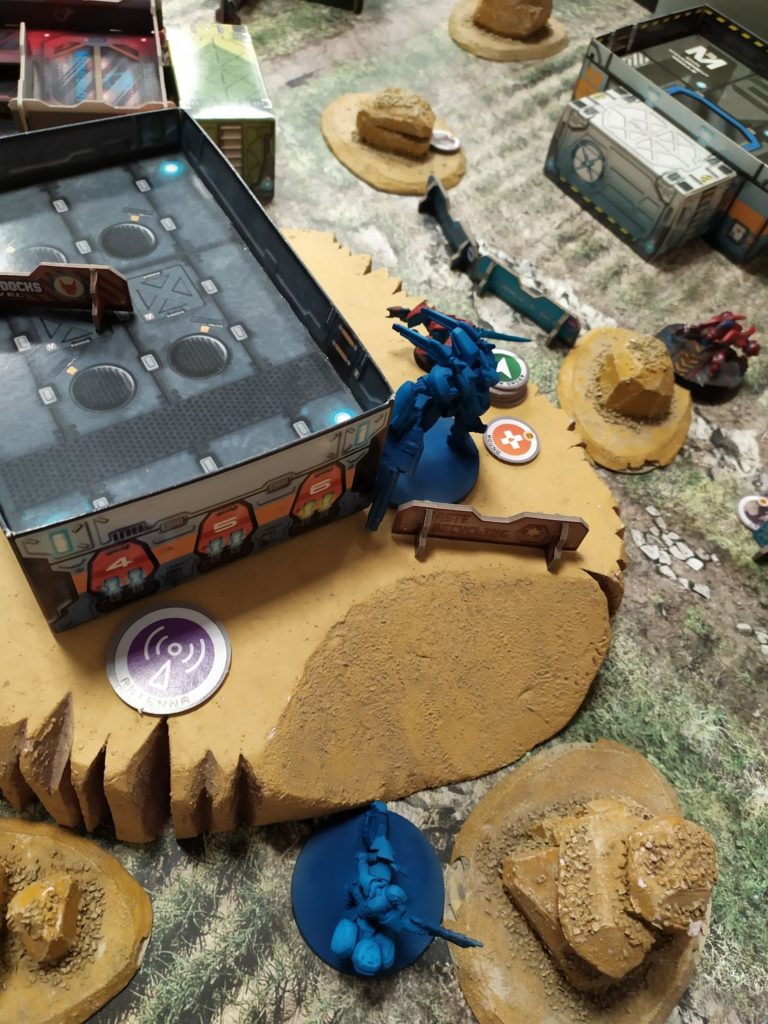
Next I repositioned the 3-man Core next to the Puppetbots to try taking out Bixie through the firelane in the middle of the table, but she Dodges to total cover and I can’t reach her anymore.
Turn 3
Top of 3 – Yu Jing
Bixie went on her MVP run to activate top-right and middle-right consoles while my Perseus and Transductor constantly failed to do significant damage to her and then hid near my Securitate Haris.
Bottom of 3 – Tunguska
There’s one way for me to win this game. I have to activate 3 consoles while deactivating 2 of YJ and I have like 5 Orders to do so and all those consoles that could make this happen for me are on the right side.
Haris goes out, Perseus takes potshots on Kuang Shi moving up and when I try shooting Bixie, the Paramedic approaches the console and fails to activate the console. I accidentally put him in her sight and she gets Zapped out of the comms.
The game was wild and Yu Jing ended up having 4 Consoles activated leaving us with…
0 – 5
Yu Jing win
Post Game Analysis
Lately I’ve noticed that playing with 3 Morlocks every game is not viable anymore for Bakunin. There just wasn’t enough steam with 15 Order cap and their Impetuous were not helpful enough. I’m not sure if 2 Irregular Orders would do (with like 1 in each group) or having them in larger quantities while having them on alpha strike units. I felt it especially when I had 1 Irregular order in 2nd group and Taskmaster + 2 Morlocks Haris where the Morlocks become Regular. Loss of the Taskmaster always hits hard when they start in group 1 with 10 Orders.
I hoped my Haris of Bikes would have high odds of rolling for some good weapons (that’s 6 rolls after all), pull the Sforza for good ranges for him and then go ham on enemy DZ with their rolled weapons (or just SMGs and Chain-colts I guess).
In both games I needed something else to deal with problems I was presented with. And I always could use some more regular orders on the tools I was using (like Puppetbots in the first game and Puppetbots/Securitate in the second one).
While being cheap, the Irregular Orders were just holding me back. Maybe I should have put them in the 2nd group and kept them in 3 different zones of my DZ just like I used to do with Morlocks in Bakunin before the Order cap? Probably would be better, especially with such high MOV values they might not have needed the orders that much to do anything.
To sum up I feel like 3+ Irregulars in general are a liability, but I see that if you put them on something specific that you will most likely use them on (infamous Avatar + 4 Taighas is probably worth mentioning here) it might be worth your time. Maybe just Motorised Bounty Hunter Haris wasn’t that thing and should have taken 2 Bounty Hunters and a Raoul. Use the Bounty Hunters more or less like Morlocks who are better at shooting (and might actually have good guns) and Raoul in group of 10 Orders to drop and wreak some havoc.
Pingback: Mission 048 Report: Highly Irregular – Bromad Academy