BLADES, BULLETS, AND BOXES
by Frank
Overview
- Mission: Supplies
- Forces: JSA versus White Banner (300)
- Deploy First: JSA
- First Turn: JSA

Deployment
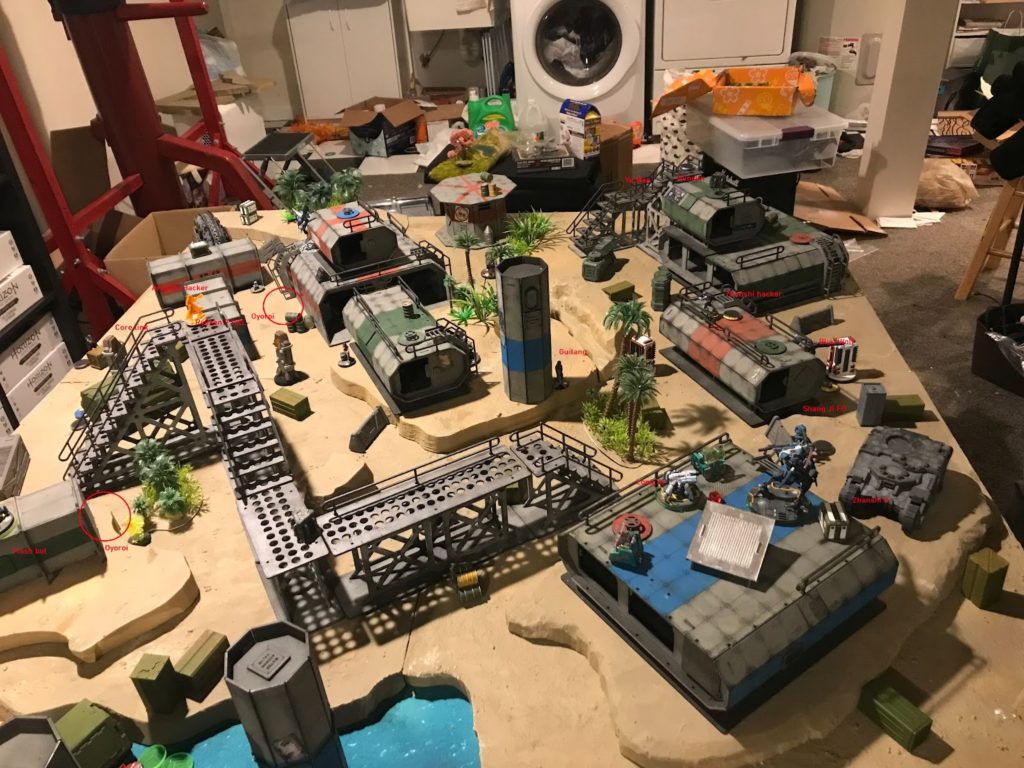
My opponent won the roll-off and decided to choose deployment, because his table side had both a high perch and had good defensive sightlines to 2 out of the 3 objectives.
I deployed my core link mostly prone, with Yuriko’s mine and the Ryuken’s mine covering approaches to it. Aragoto hacker in the middle in total cover. Yuriko had a single long-range rangeband that she could cover with a panzerfaust shot.
I deployed my Lt. Oyoroi first – holding a second Oyoroi and Yojimbo in reserve. Yojimbo is too good of an alpha and I wanted to give him maximum threat capability.
Opponent deployed a Ye Mao haris on his right side, with the vanilla Ye Mao overlooking the board with her panzerfaust. A Long Ya covered the other side, and an in-camoflauge Guilang minelayer placed a deployable repeater near the center of the board. Everything else was mostly hidden.
I deployed my second Oyoroi on my far right, and Yojimbo on my far left. Ultimately, I had 2 mines and 3 koalas covering my DZ against potential incoming Tigers and Guilangs.
He deployed his Blue Wolf hidden, deep behind cover, in the middle of his DZ.
Turn 1
Top of 1 – JSA
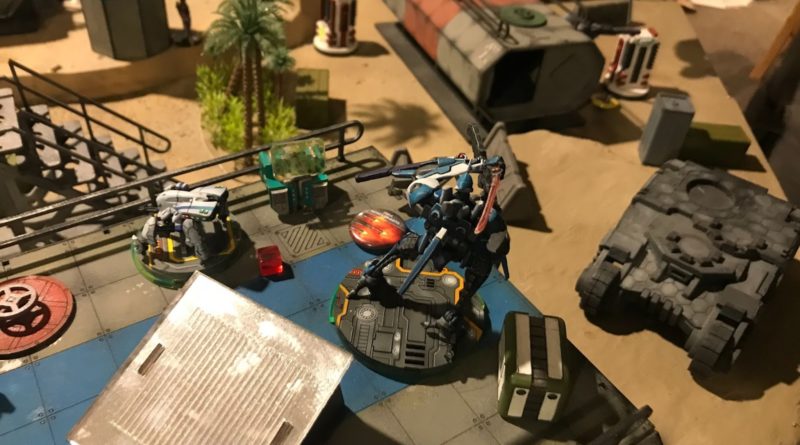
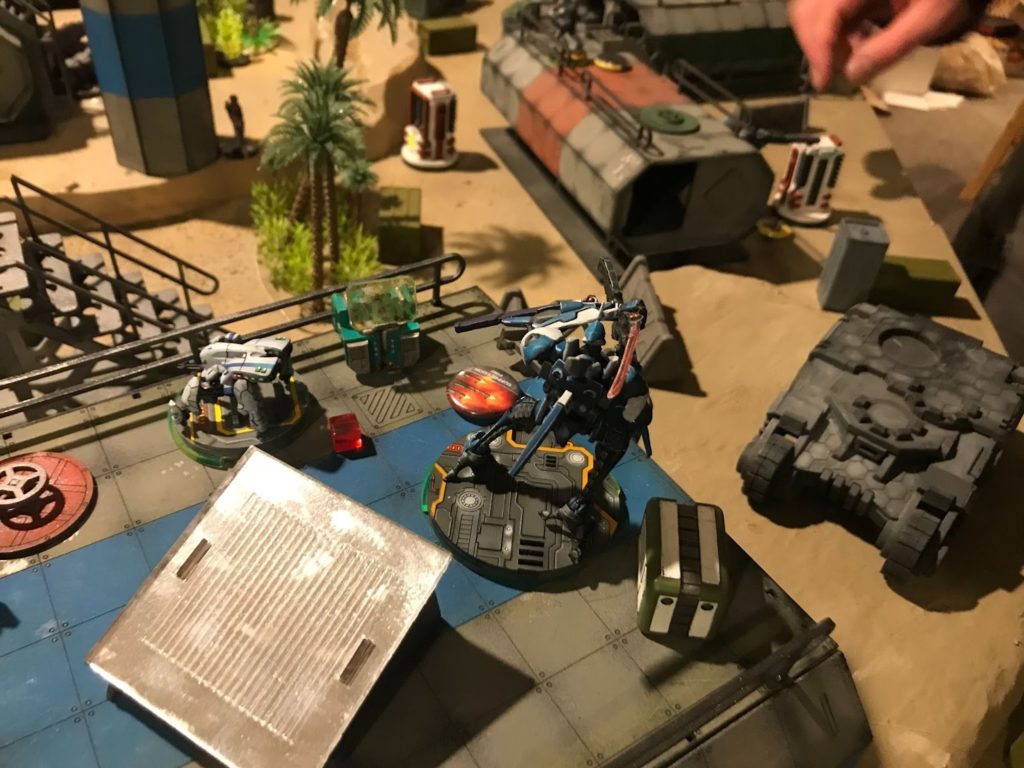
Started with spending both my Oyoroi’s tacaware orders – first on the Lt to take down the Ye Mao pfaust ARO. Took out the Ye Mao, but was struck a revealing Hundun HRL and lost 2 wounds to the fire. (Unlucky!). Spent the Lt order to waste the Hundun and draw attention to that flank.
Spent Chaiyi in group 2’s order to try to discover the distant Long Ya. Failed. Dumped the rest of CG1’s orders shoving the non Lt Oyoroi up the flank (suicidally, perhaps) to get a bead onto the Blue Wolf and the Shang Ji in his DZ. (Killed the Long Ya along the way.) Got 2 wounds onto the Blue Wolf, which then failed guts into total cover, and flamethrowered the Shang Ji and Zhanshi. Zhanshi successfully dodged, Shang Ji burned to a crisp. Spent last order + command token to coordinate both Oyoroi into suppression.

Bottom of 1 -White Banner
I had two TAGs in suppression so my opponent spent the entirety of his turn eliminating them. The Ye Mao spitfire super-jumped into position to get a bead on my Oyoroi Lt in suppression – this is the fight that I asked for, I suppose. I was just barely within 24”, but 1-2 orders of gunfighting brought my Oyoroi down. (Ye Maos are really damn good). My opponent didn’t want to risk the Blue Wolf, so he swung that same Ye Mao around, super jumping along the way, to take a shot outside of the 24” range band to force my Oyoroi to drop suppression – which I did, because I didn’t want an unopposed shot. Now that my Oyoroi was out of suppression, he swung the Blue Wolf around and burst 5 AP Spitfired 2 wounds onto it. One of these volleys had a double crit and 2 hits – and my Oyoroi only took one wound from the volley. At the end of the turn, my opponent, desperate to get the Oyoroi out of his backline, spent the Zhanshi Lt order to climb the ladder and shoot the Oyoroi with his lone combi rifle. I burned him to a crisp with the flamethrower, but one of the combi shots struck true and brought down the Oyoroi.
Turn 2
Top of 2 – JSA
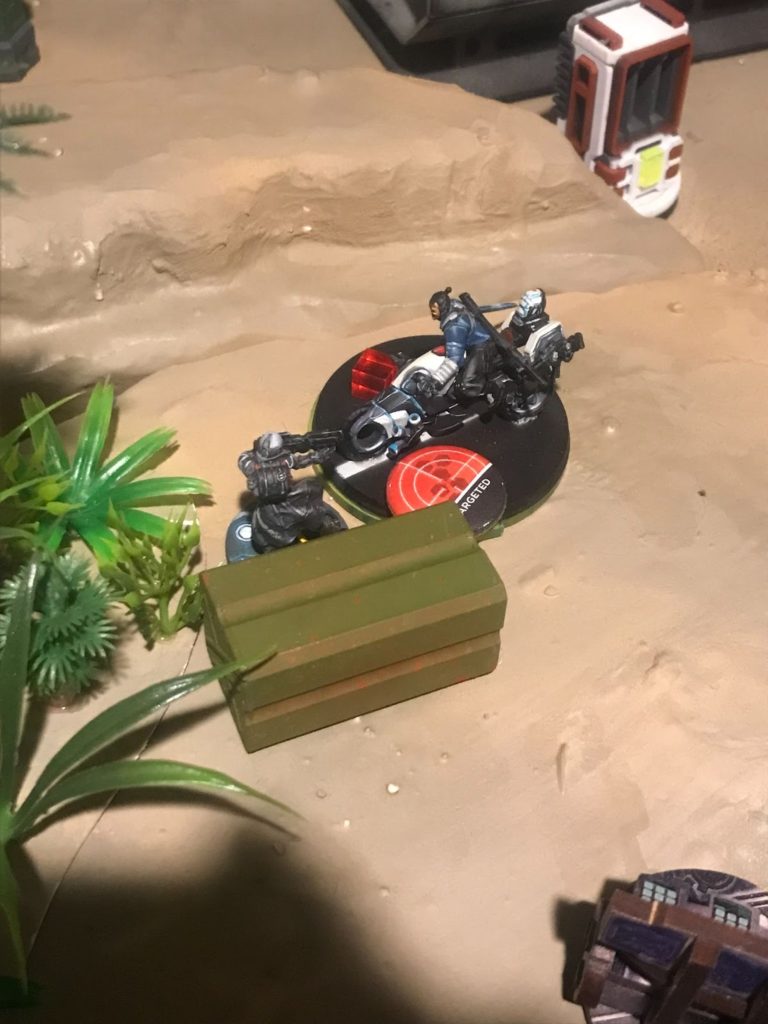
I knew well the suicidal assault capabilities of the Guilang, and even though I knew my opponent was going to be in Loss of Lt, I needed to eliminate the Guilang minelayer covering the objectives. I sent Yojimbo in to do the task – first, he raced up to the Guilang and intuitive attacked the marker with his nanopulsar – getting Spotlit on the way by the Zhanshi hacker. The Guilang revealed with a slug shot and beat Yojimbo’s WIP roll and did a wound to Yojimbo. Yojimbo then raced into base to base, dying to the Guilang’s template, but taking the Guilang off the table with his blade.
With the Guilang out of the way, I raced up the Aragoto hacker and blasted out the Zhanshi’s brain through his own repeater with Trinity. My Aragoto hacker then failed THREE consecutive WIP rolls at the central console and then had to retreat a bit behind cover.
Bottom of 2 – WB
My opponent had enough command tokens to make my life significantly annoying, however. He swung that Ye Mao spitfire around and gunned down my Aragoto hacker. This also proc’d a panzerfaust shot from Yuriko, which managed to kill the Ye Mao. The Blue Wolf then advanced out of cover to confront the Ryuken 9 – which confidently revealed to take the shot – and the Blue Wolf pasted him with a double panzerfaust shot while my rocket went wild. Ultimately the Blue Wolf took a position overlooking two of the objectives. The Ye Mao engineer advanced a little bit to make a run at the objectives.
Turn 3
Top of 3 – JSA
With my Aragoto hacker dead, the only specialists I had to get up the board was my core link – which, luckily, was almost entirely comprised of specialists. I spent my last command token to bring the Chaiyi into the main group, and trudged my core link up the field, ultimately getting Yuriko in a firing position against the Blue Wolf while ALL my other core link members slingshotted towards my right-side objective. Shockingly, Yuriko managed to take off the last wound from the Blue Wolf with her combi rifle. My Keisotsu pulled out a box from the Supply crate and my link team members shuffled about to guard against any incoming attackers.
Bottom of 3 – WB
Turns out my opponent’s only surviving unit on the board at this point was the Ye Mao engineer, and with only his Lt order and irregular order, he was gunning for a classified. He long skill superjumped to try to get to the midfield, but core-linked Yuriko brought him down.
JSA Victory , 5-1. (Spotlighting Yojimbo netted my opponent a classified).
Post Game Analysis
I probably shouldn’t have been as suicidal with my Oyorois, because had they survived to turn 2, my victory would probably have been much more secure, but at least their presence meant that my opponent’s entire turn 1 was spent dealing with them rather than focusing on any objectives. I really, really wanted to gun down that Blue Wolf, because that thing is fast and burst 5 AP is terrifying. Ultimately, I should have moved my Lt Oyoroi down from the rooftop instead of leaving it up – even with my Kempetai CoC saving me from LoL, having a TAG in turn 2 would’ve been really useful. I knew I was sending my second Oyoroi to her death by having it end the turn in my opponent’s DZ, but losing my Lt was a real shame – really, losing 2 wounds to a Hundun fire rocket is just bad luck for a TAG. I think overall JSA can handle double Oyoroi very well because they have pretty good access to DZ minelayer and crazy koalas – any Tiger or Guilang that came knocking to take on my core link would’ve had to wade through a whole bunch of bullshit.